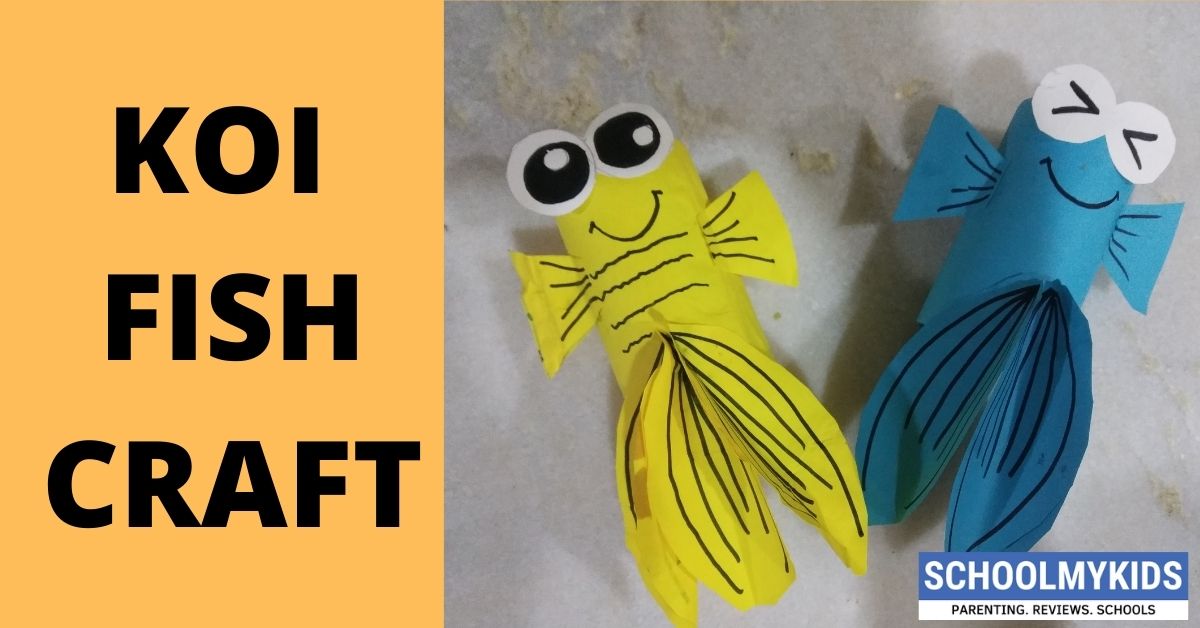
Koi fish is considered to be a lucky charm since ages. It is a beautiful fish with different colours… Today let’s make a pair of koi fish using basic art and craft supplies. Let’s make these koi fish and hang them in our living rooms or favourite corner of our rooms and adore our home décor.
Follow these simple steps to make your own koi fish craft. Also, check out our other collection of Art and Crafts & DIY Ideas.
Materials Required to make Koi Fish Craft
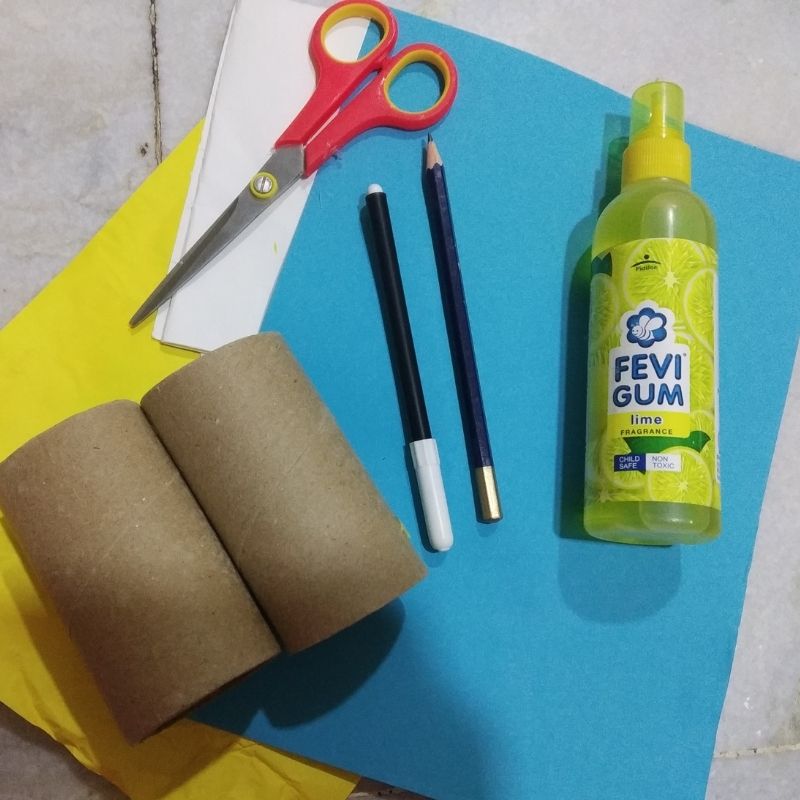
- Colourful papers
- White paper
- 2 Toilet paper rolls
- Pencil
- Sketch pens
- Scissors
- Glue
How to make Koi Fish Step by Step
- Take two different coloured sheets, bright colours preferred along with two tissue paper rolls.
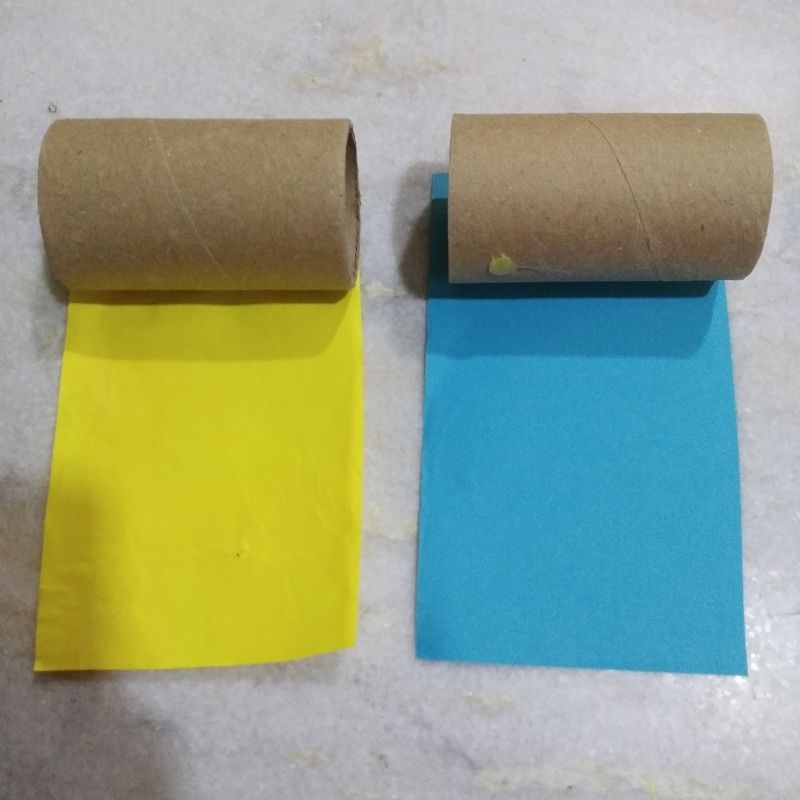
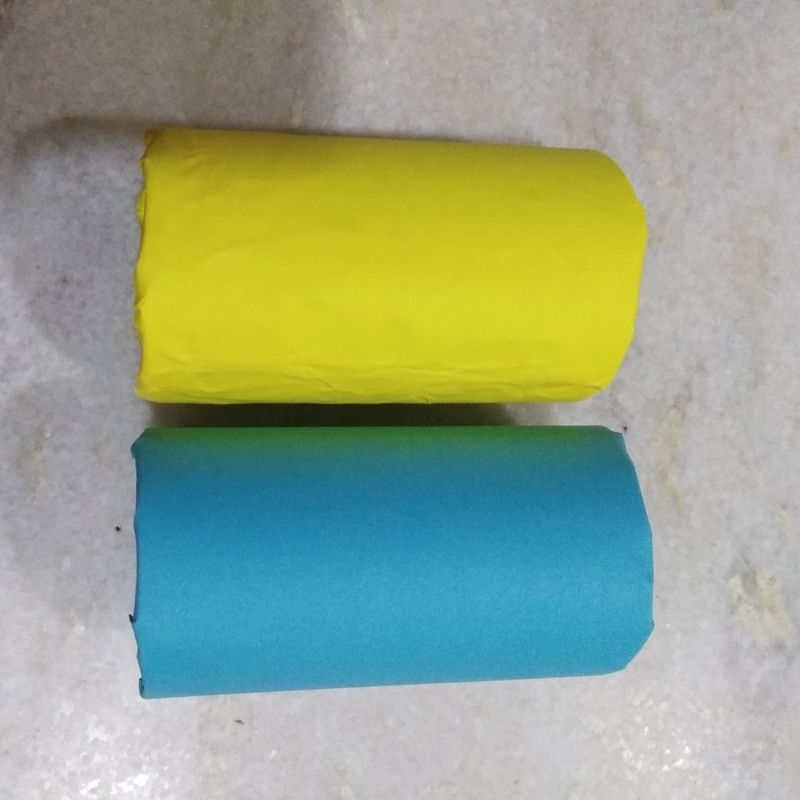
- Next, Stick these two sheets on two different tissue paper rolls and keep aside.
- These tissue paler rolls would serve as the body of our koi fish pair.
- After this step, take the same coloured sheet and draw the tail of the koi fish
- Draw around 3 to 4 portions of the tail each since koi fish has a bushy tail at the end. Similarly, draw a pair of fins using the same colour for each fish.
- Add details on the tail and body of the koi fish using a black sketch pen.
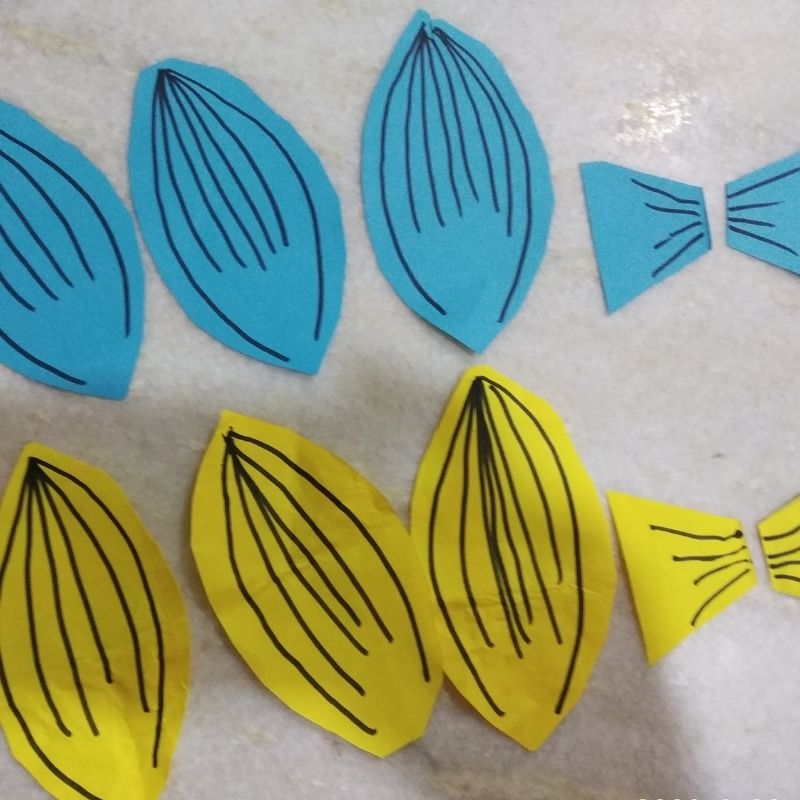
- Next, cut the tail of the koi fish and fold each tail only at the tip of the tail where it is going to be attached to the body.
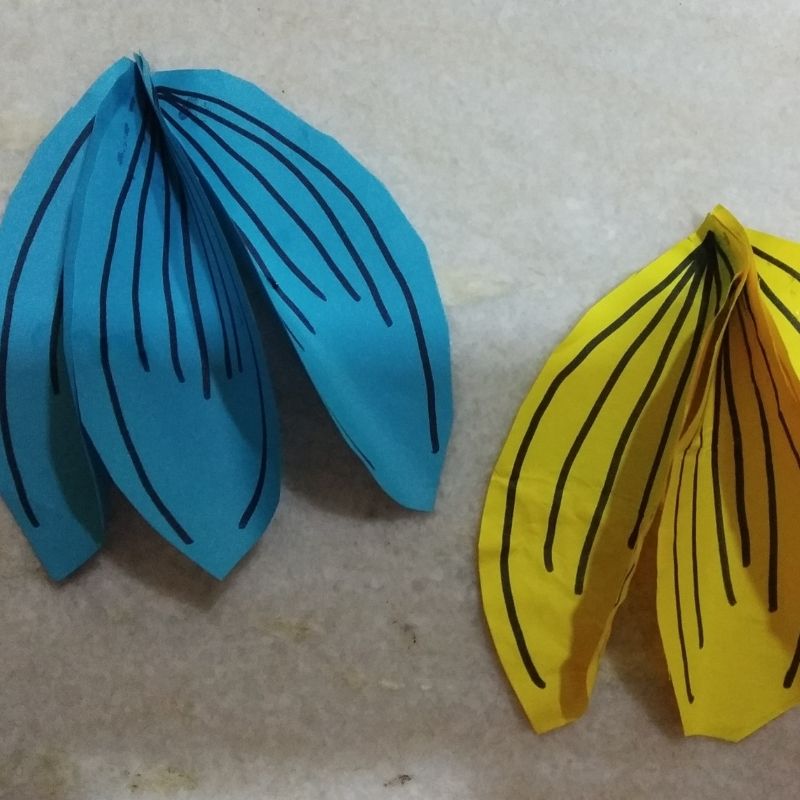
- Stick these portions of the tail to each of the koi fish as per the colour. Stick the fins on both sides of the tissue paper roll.
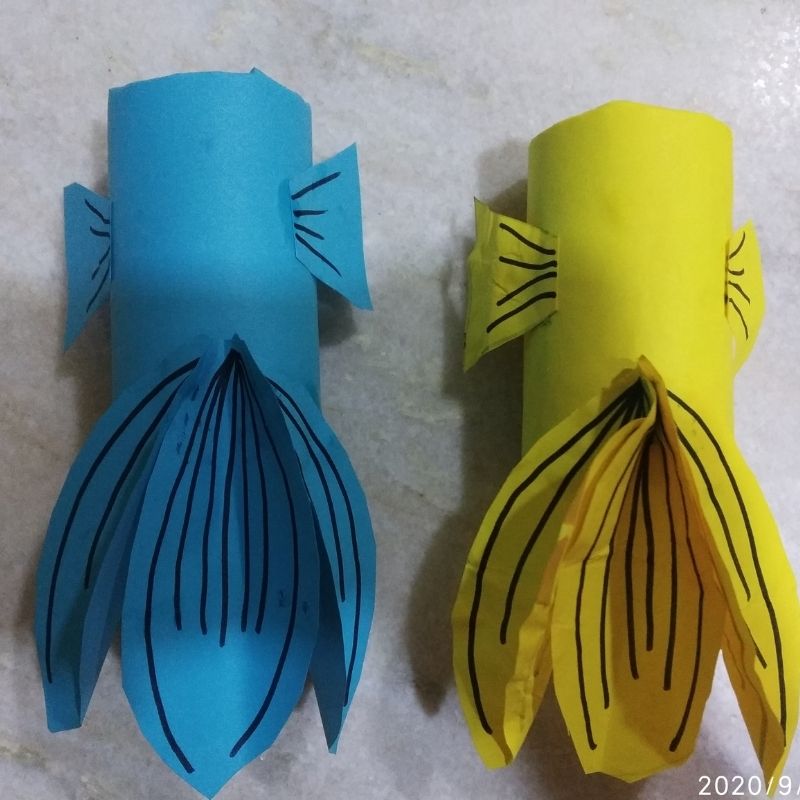
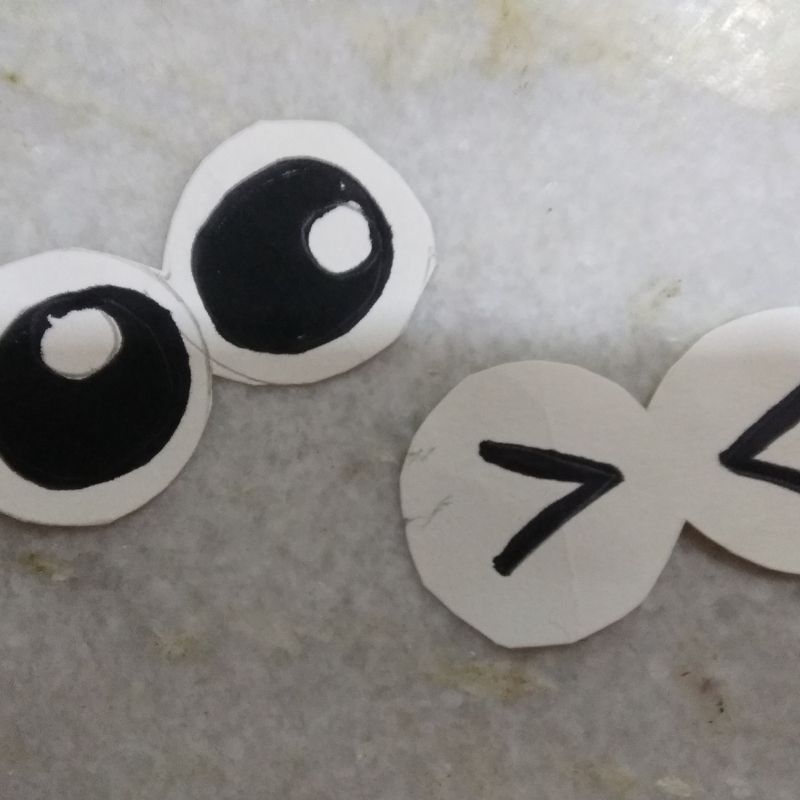
- After this step, draw two eyes each for the koi fish using a white paper.
- Add details using a black sketch pen.
- Once done, cut the eyes and stick over the top end of the tissue paper roll.
- That’s it children you koi fish pair is now ready.
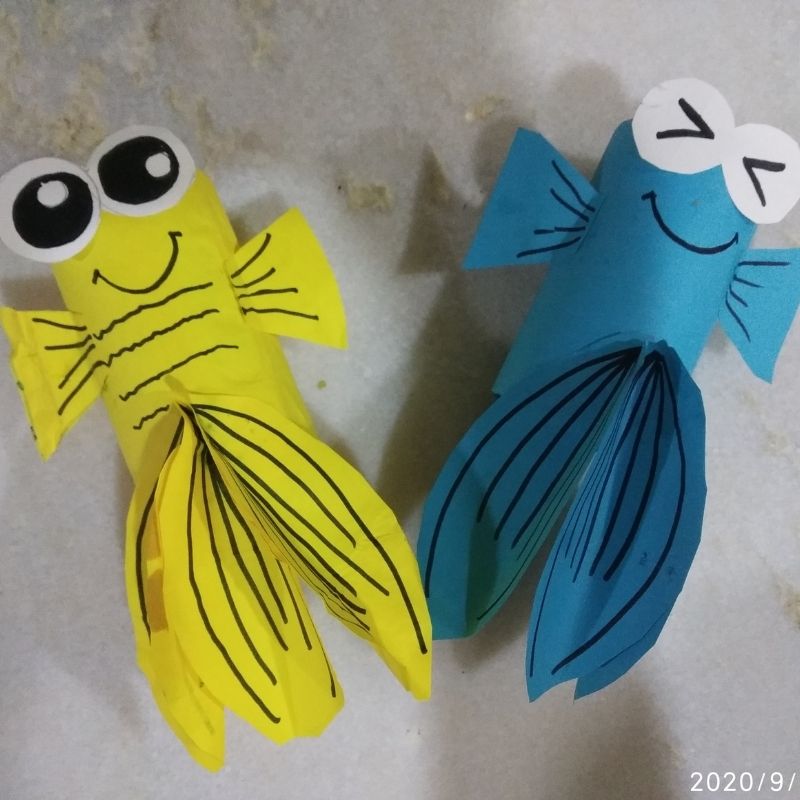
- You can tie a thread to the tissue paper roll by punching holes in them and hang it on your doorknobs or near the windows and invite lucky charm at your place.
- It’s fun and exciting to create these lovely koi fishes crafts
Try for yourself!




Be the first one to comment on this story.