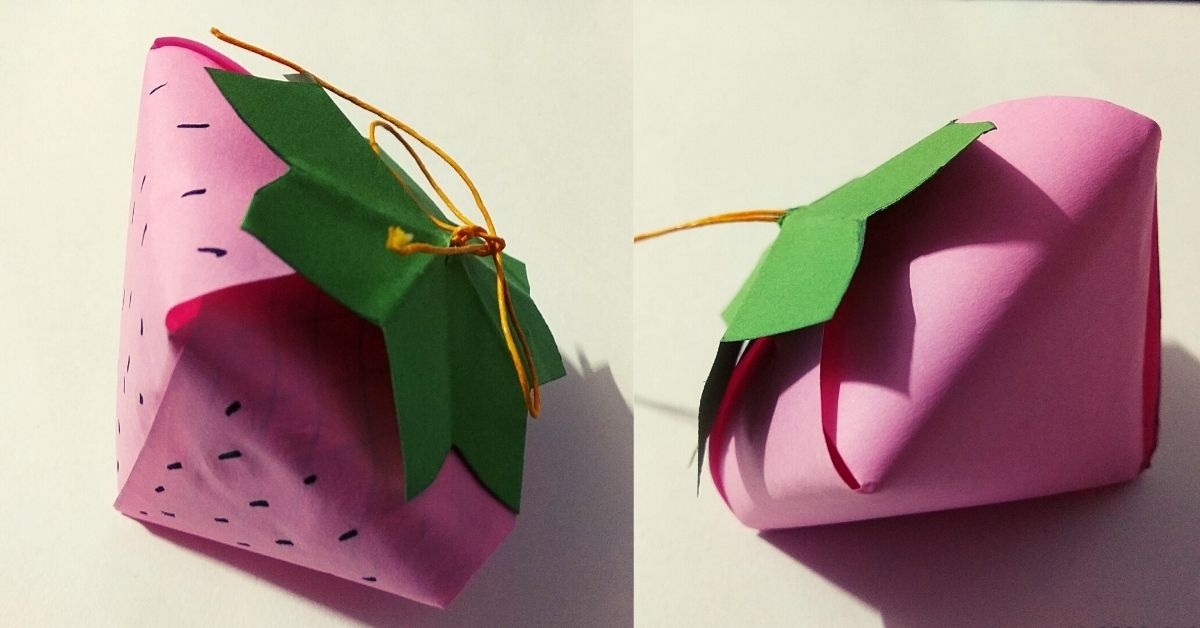
Pink and red strawberries are loved by all of us. They are super tangy and sweet and sour. We relish strawberry ice creams and milkshakes. So today let’s make a strawberry gift box. Yes, a strawberry gift box to send in some sweet candies and toffees to our friends and loved ones.
You can add small gifts like necklace or bracelet for your BFF or just simply use it for decoration.
Let’s know how to make DIY Strawberry gift box. Also, check out our other collection of Art and Crafts & DIY Ideas.
Materials required to make Strawberry Gift Box
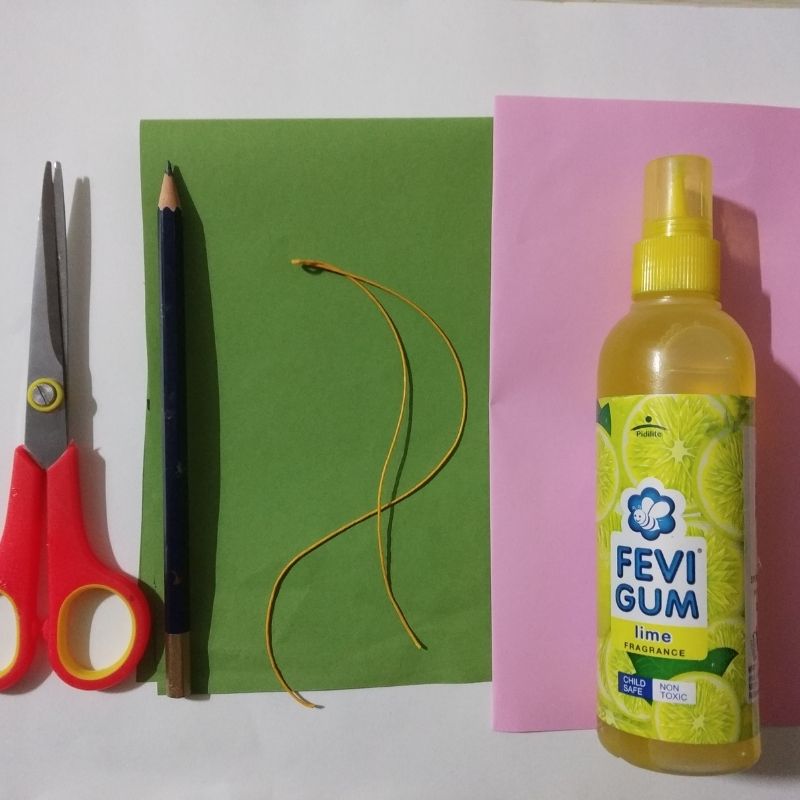
- Pink or red paper
- Green paper
- Yellow or green thread
- Pencil
- Sketch pens
- Scissors
- Glue
How to make Strawberry Gift Box Step by Step
- Take a pink or red square sheet.
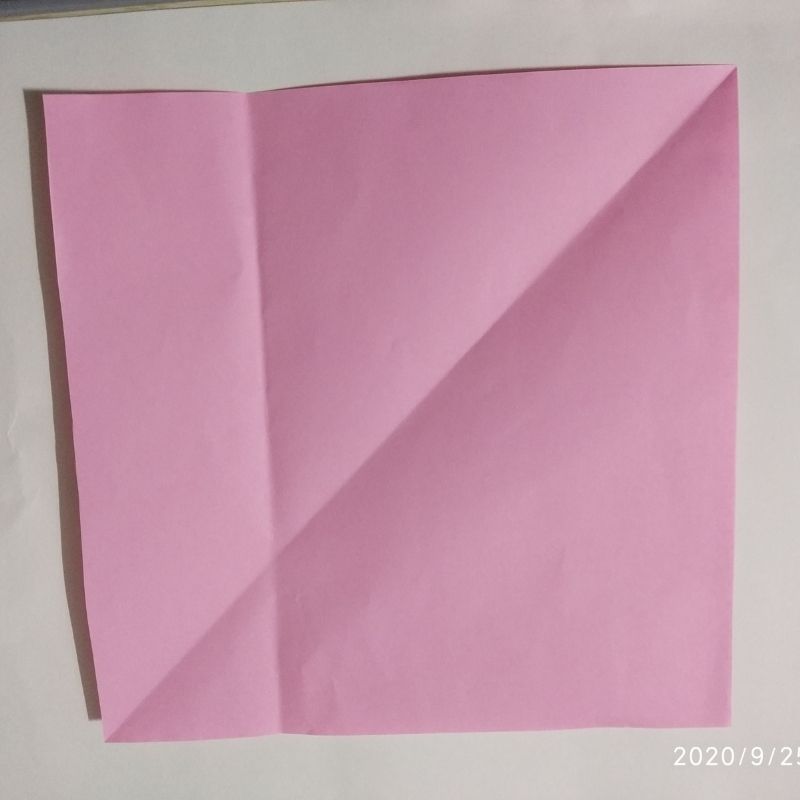
- Next, fold it into half.
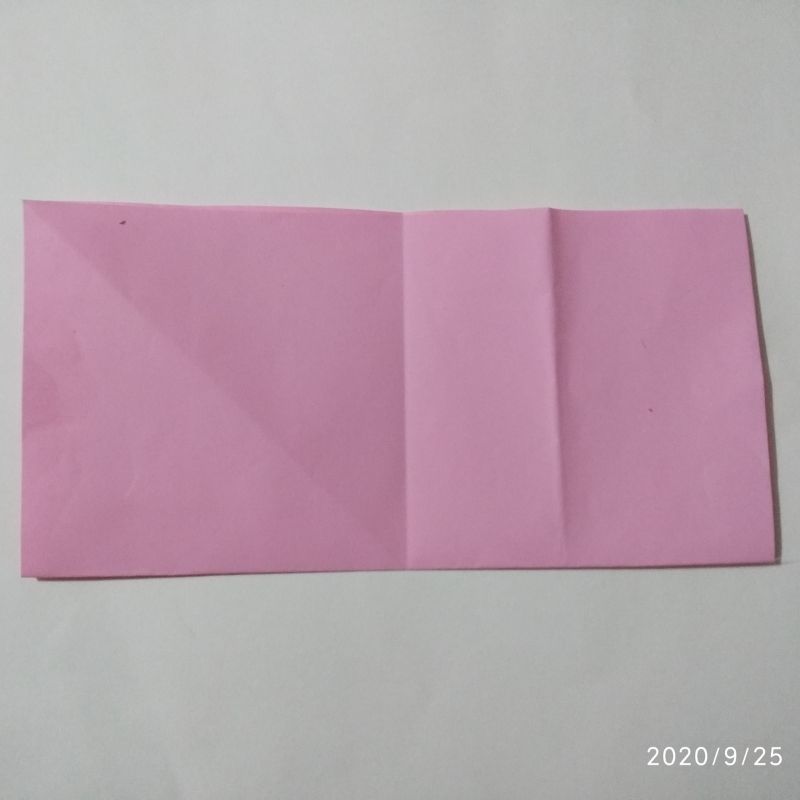
- Further, fold this into a square.
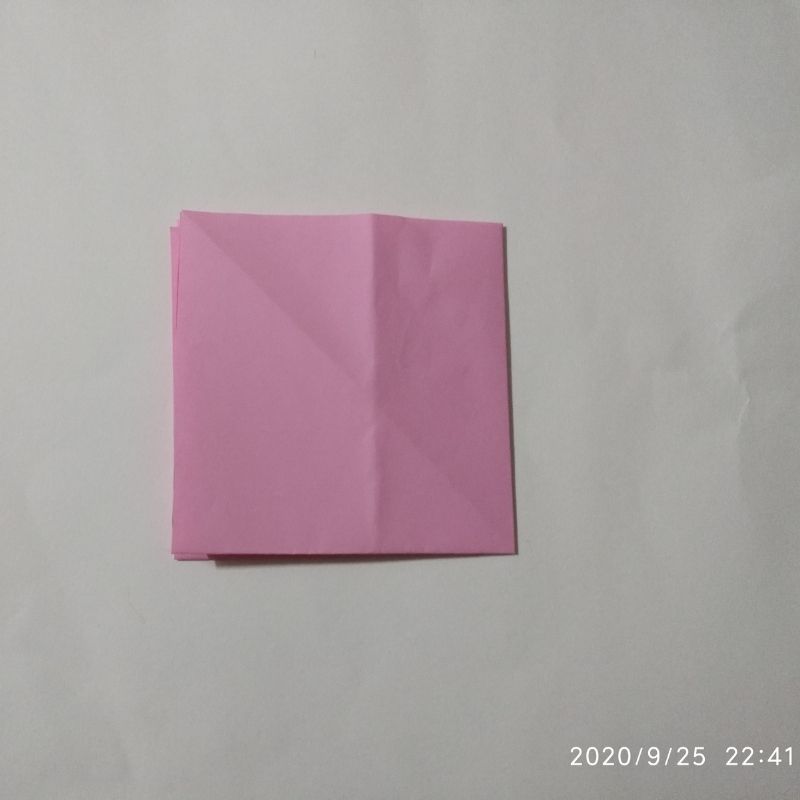
- Once you fold this into a square fold it into a triangle.
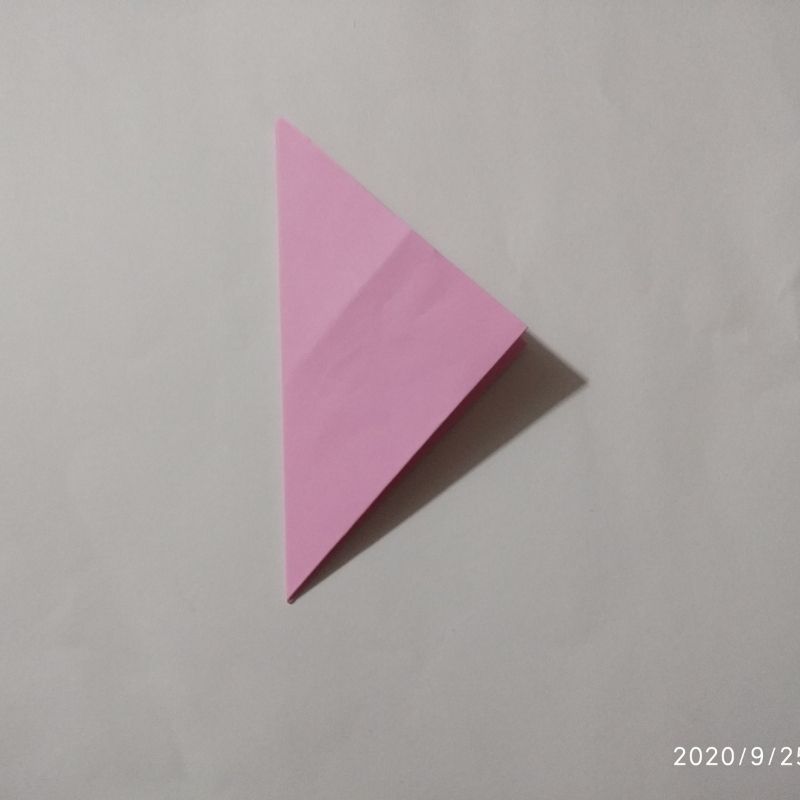
- Draw the shape of a strawberry over this triangle.
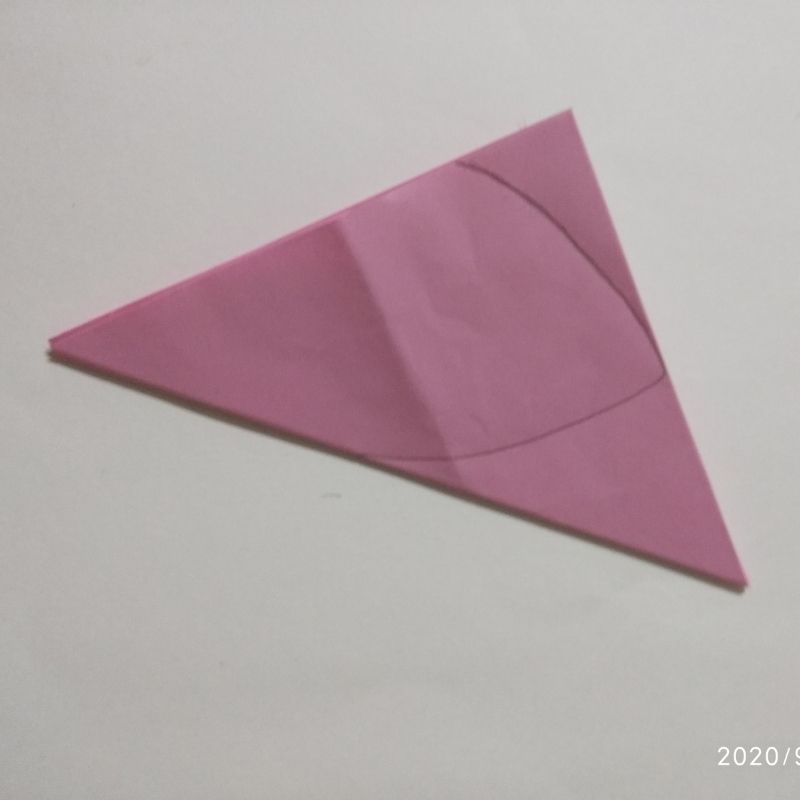
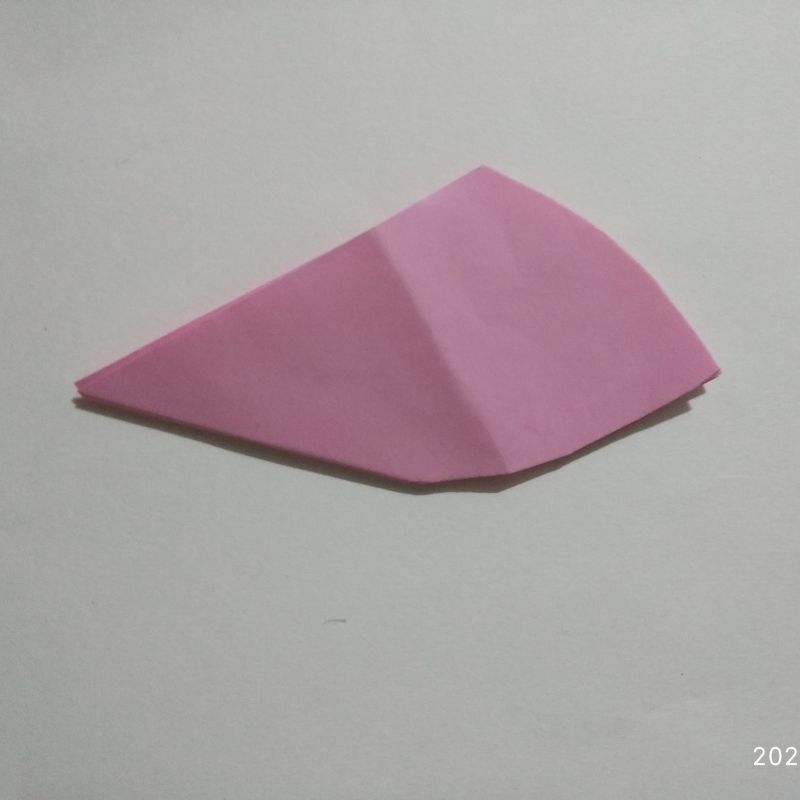
- Make sure you do not hamper the fold line, draw it in a way that the fold line is intact.
- Once drawn cut the strawberry-shaped pattern.
- Now open the sheet.
- You will have a floral pattern on opening the pink or red sheet.
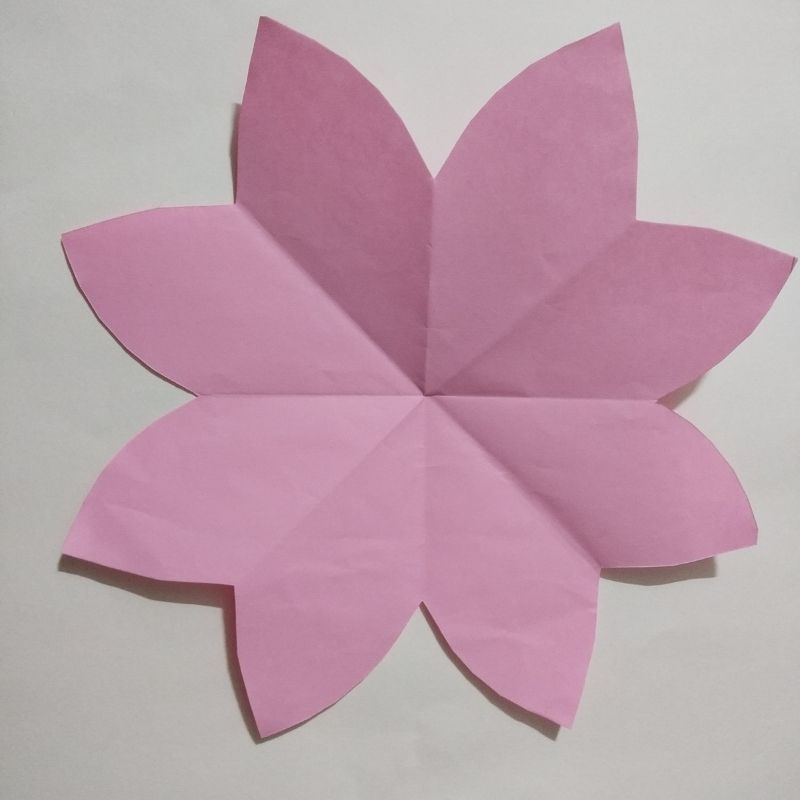
- Mark any two adjacent petals on this sheet and cut them.
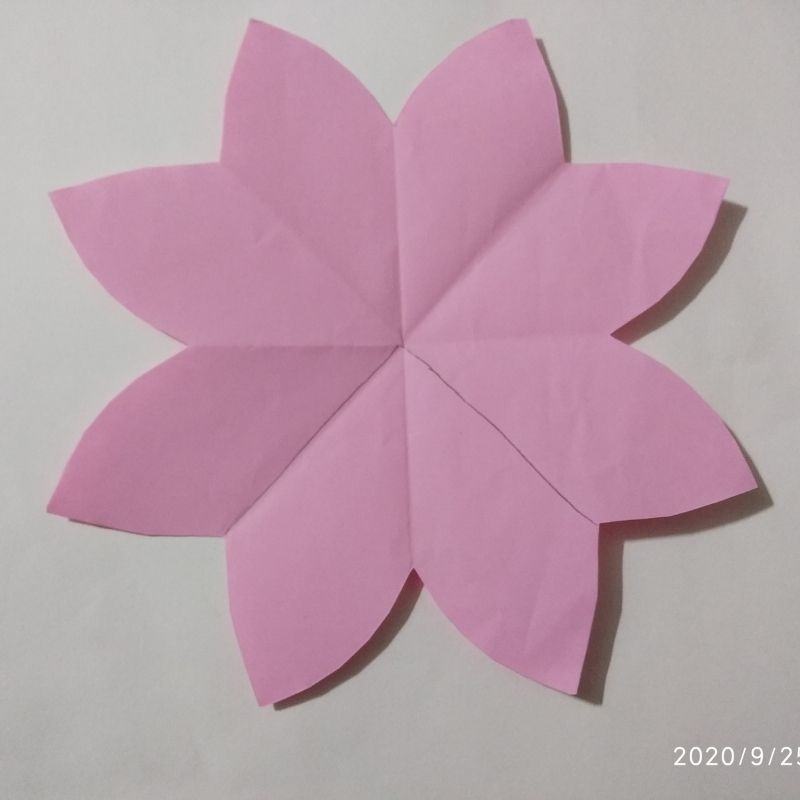
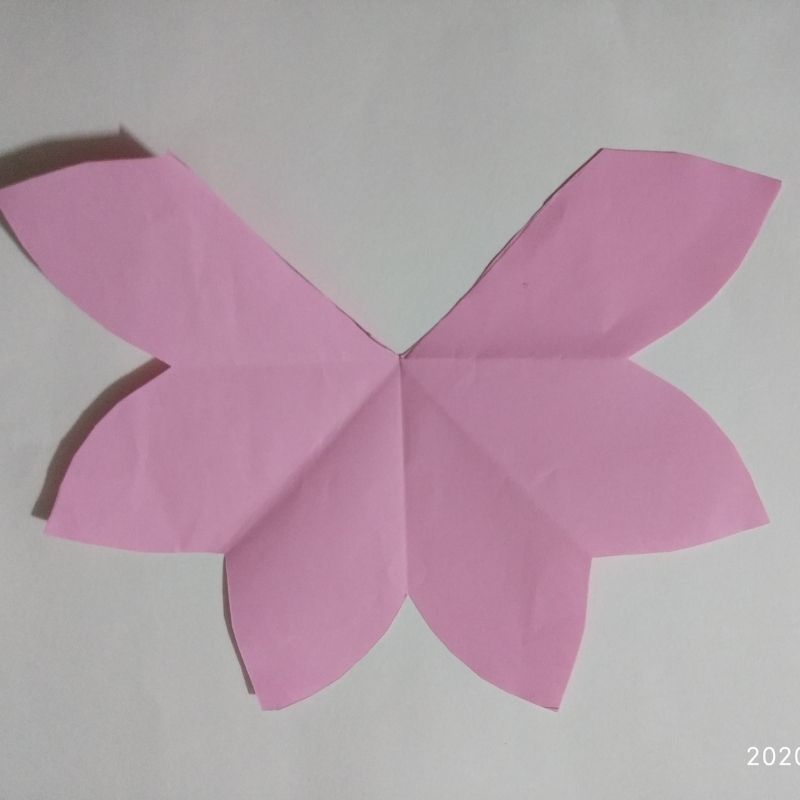
- Next, after cutting stick the two petals by overlapping each other besides the cut portion.
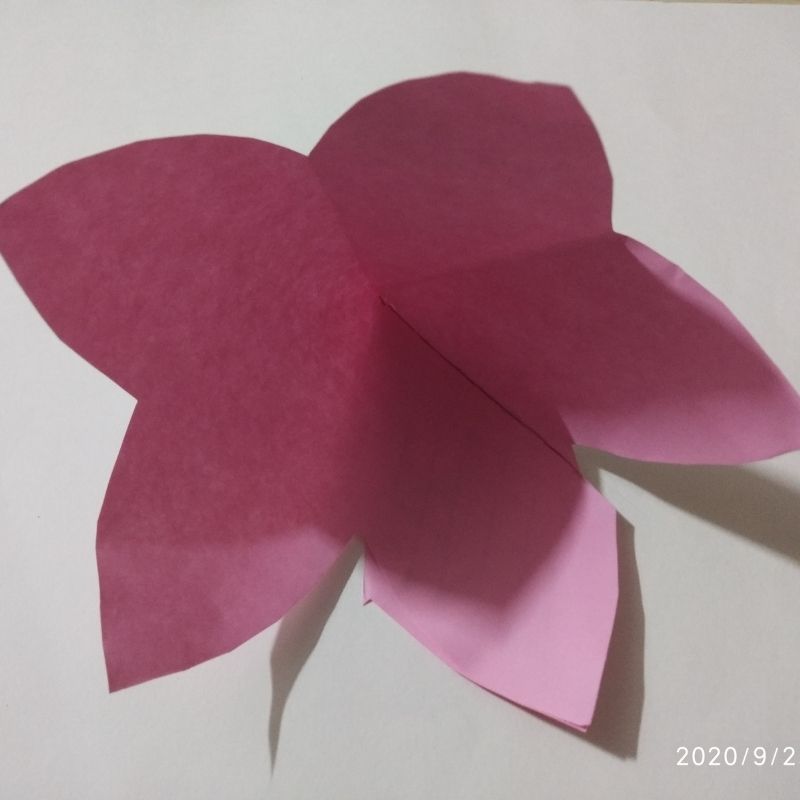
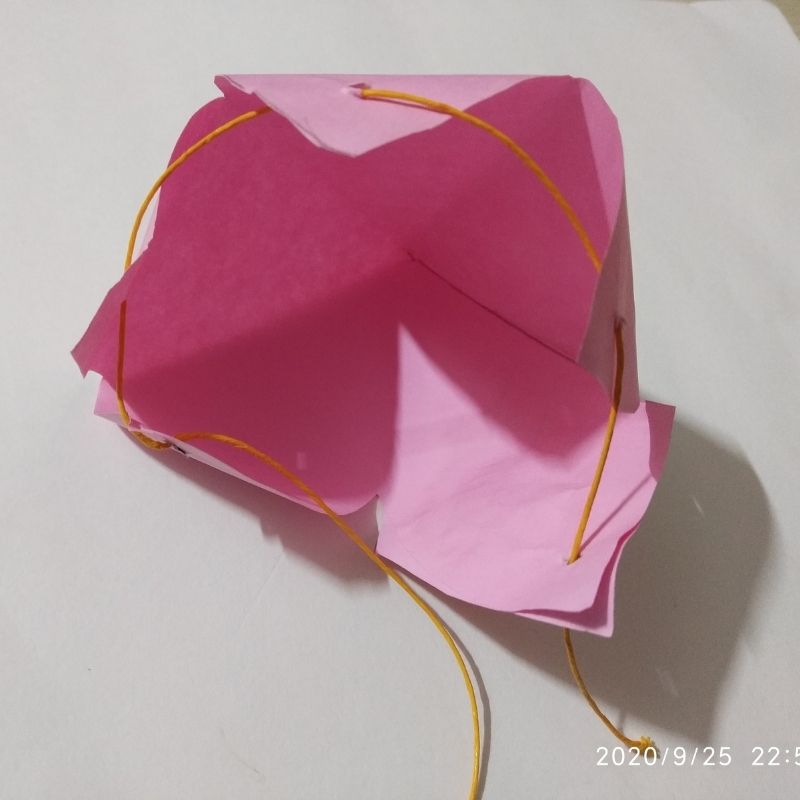
- Now you will have a strawberry ready.
- After this punch or pierce small holes at the tip of the petals.
- Pass a thread through these holes.
- After you pass the thread through all holes you will have two free ends.
- Next, take a square green sheet smaller than the red or pink sheet and follow the steps till you form a triangle.
- Next cut a leaf pattern on this triangle and cut it.
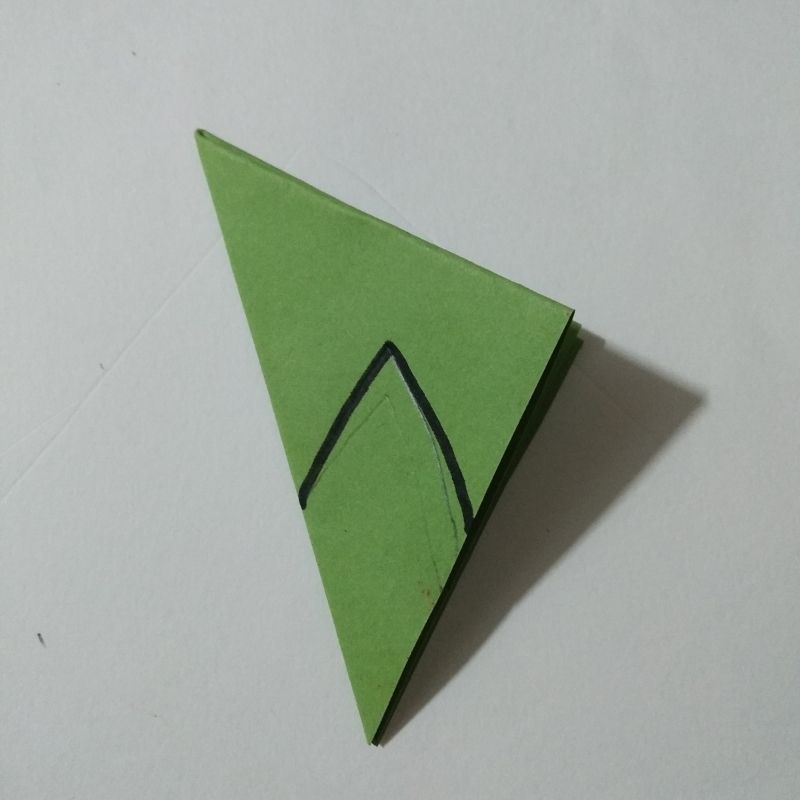
- Now after opening the sheet you will have a strawberry leaf ready.
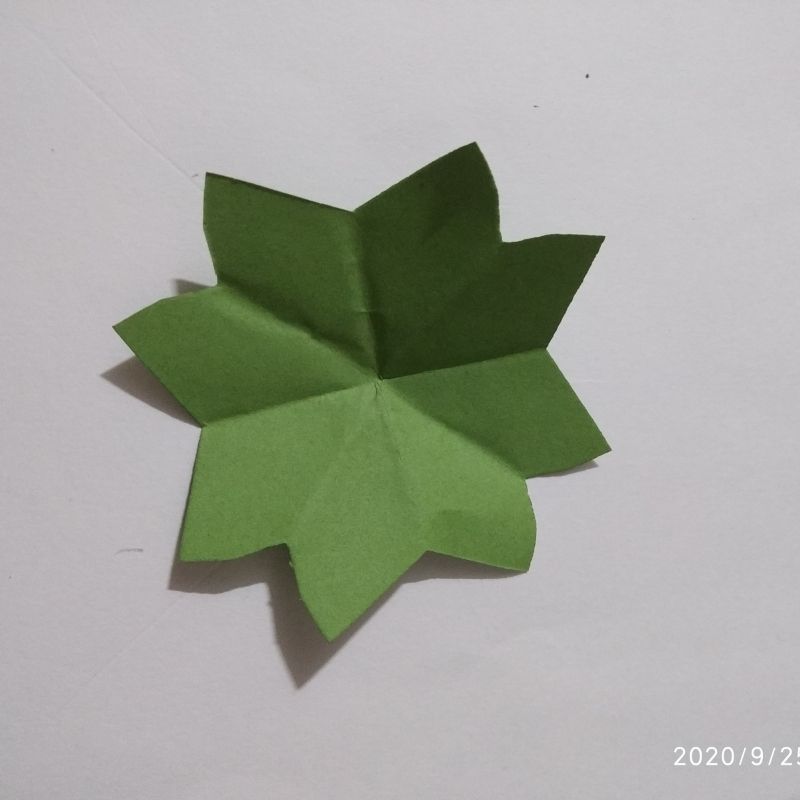
- Pierce a hole in the centre and pass the two free ends of the thread through this hole.
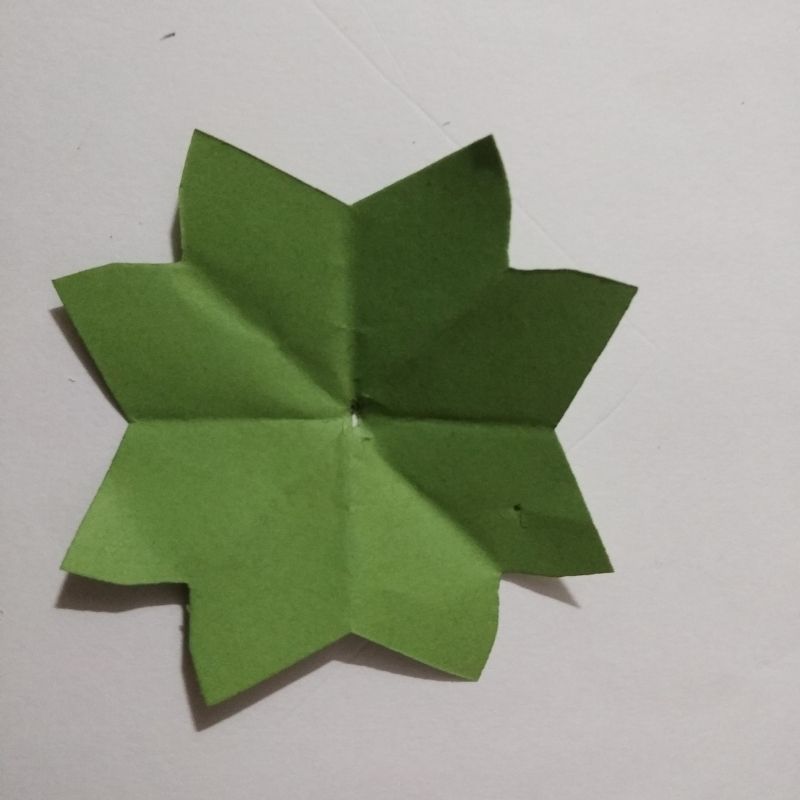
- Tie it in a bow shape pattern and your strawberry gift bag is now ready.
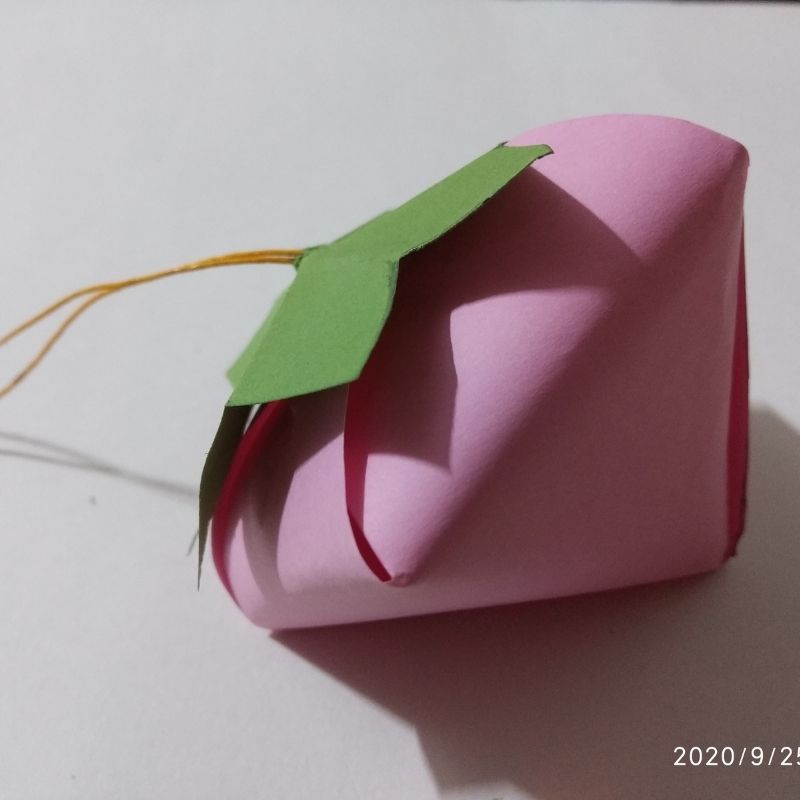
- You can send in some sweets through this wonderful gift bag of yours.
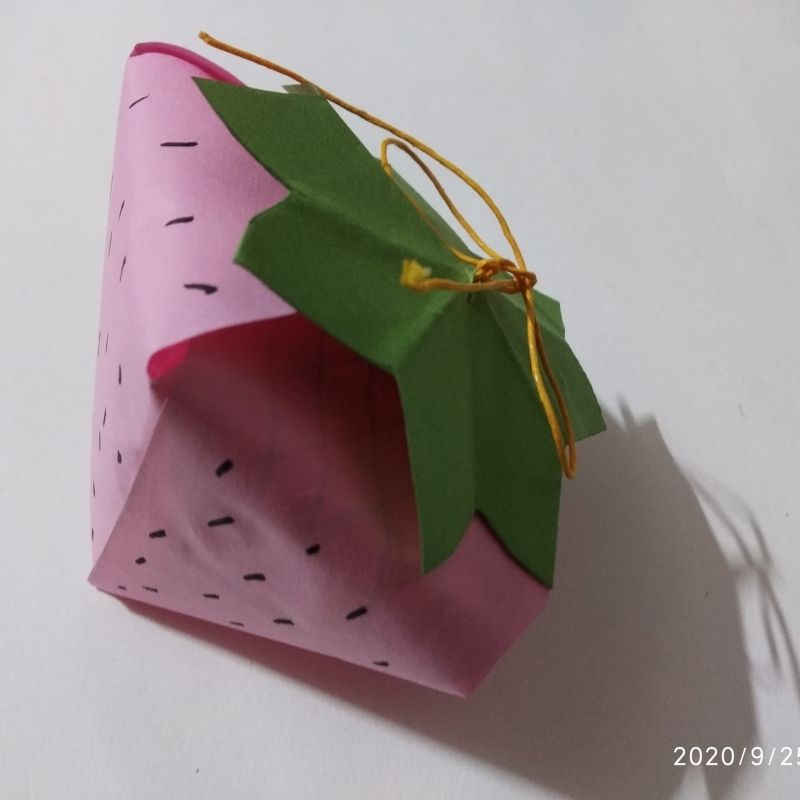
Enjoy kids!
