Ho ho ho! We love dear Santa who gifts us beautiful surprises! So let’s celebrate Christmas with our beautiful creations! We can make our very own Santa Claus décor using paper. Let’s make a beautiful Santa wall hanging using popsicle sticks along with basic art and craft supplies.
Follow the instructions to make popsicle stick santa.
Materials Required to Make Popsicle Stick Santa
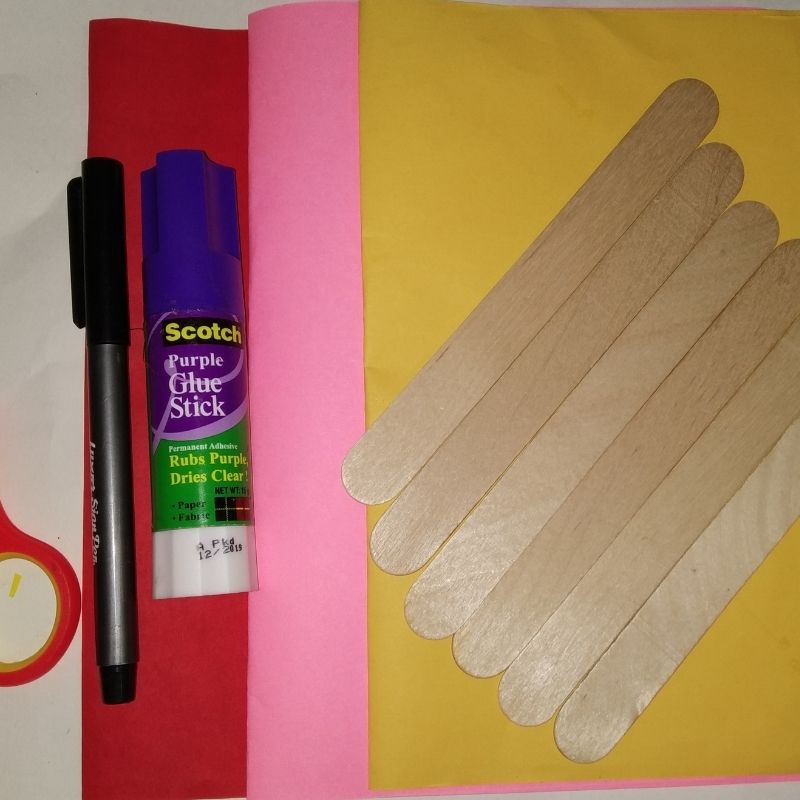
- Red paper
- Pink or light orange paper
- White paper
- Popsicle sticks
- Sketch pens
- Pencil
- Scissors
- Glue
How to Make Popsicle Stick Santa Step by Step
- Take a pink sheet of paper.
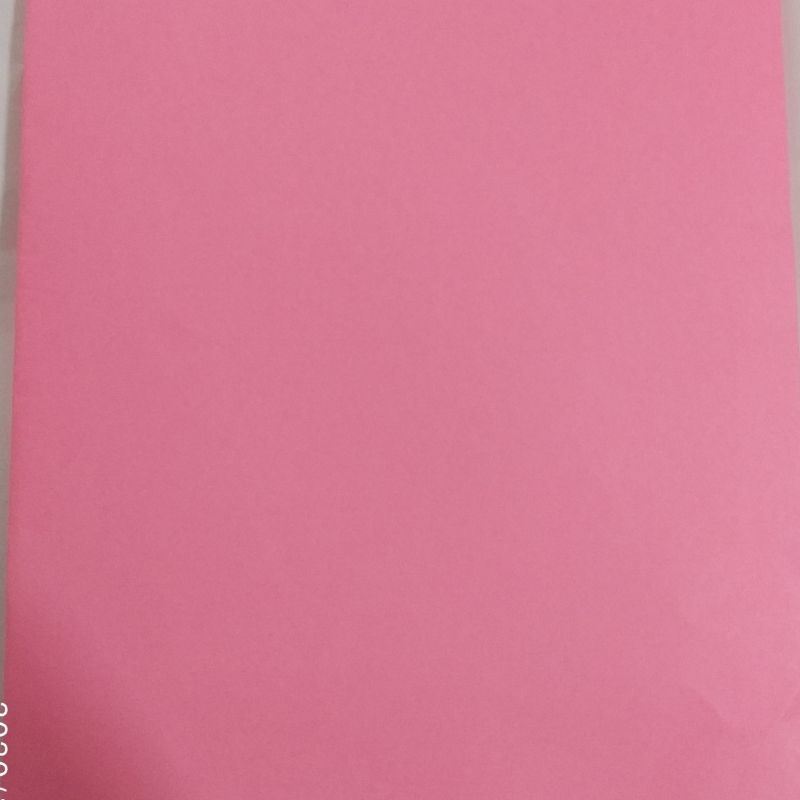
- Size should be half of A4
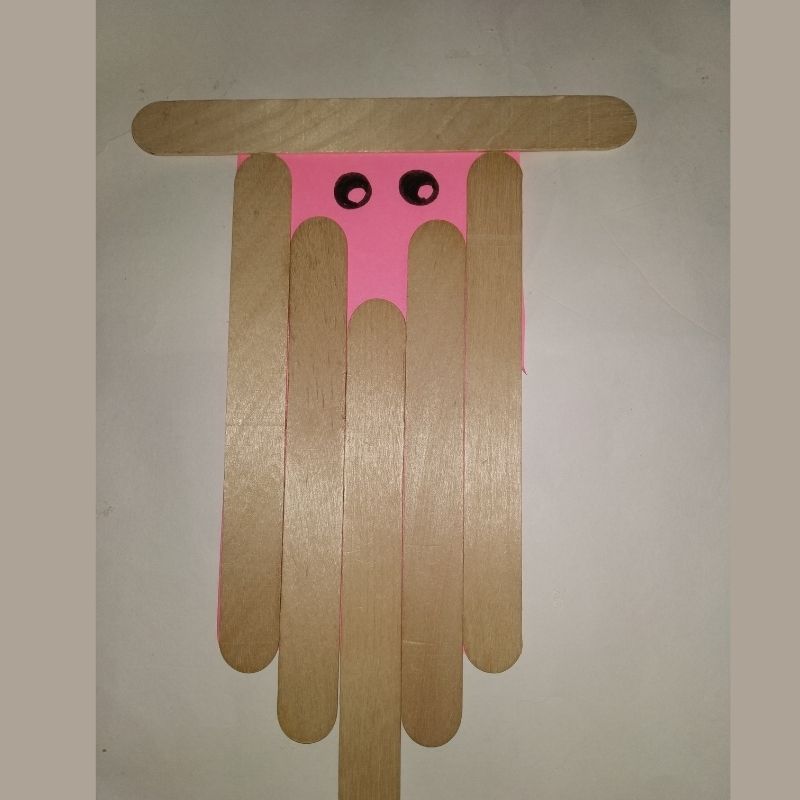
- Now hold it vertically and arrange the popsicle sticks on it in a vertical fashion in a descending step pattern. Do this from left to right. Make sure you have one stick in the centre and two on each side.
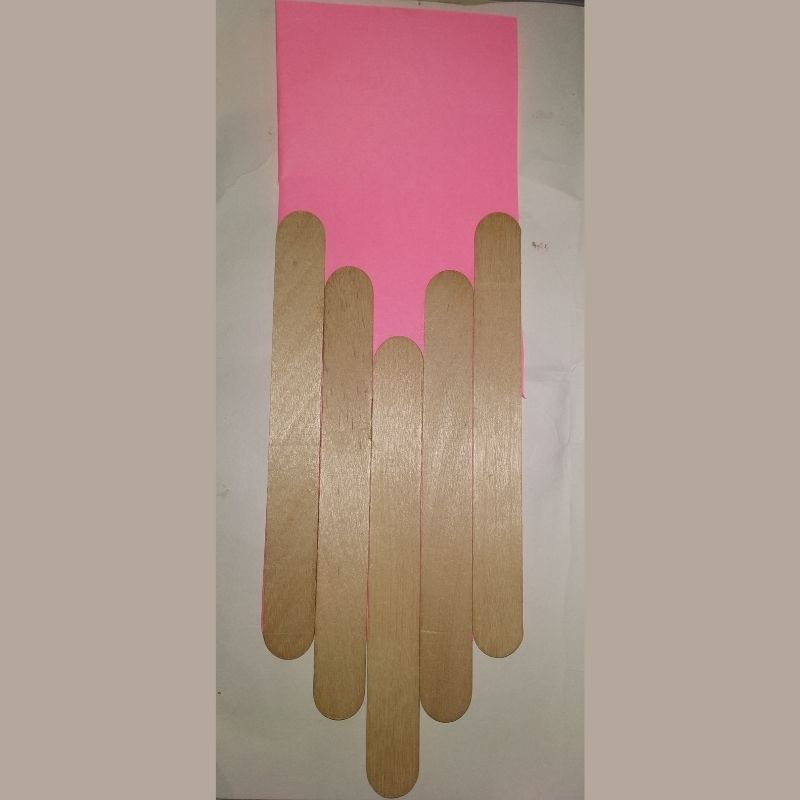
- Once done cut the extra portion of paper on the sides.
- Next, stick a popsicle stick horizontally above the vertical sticks.
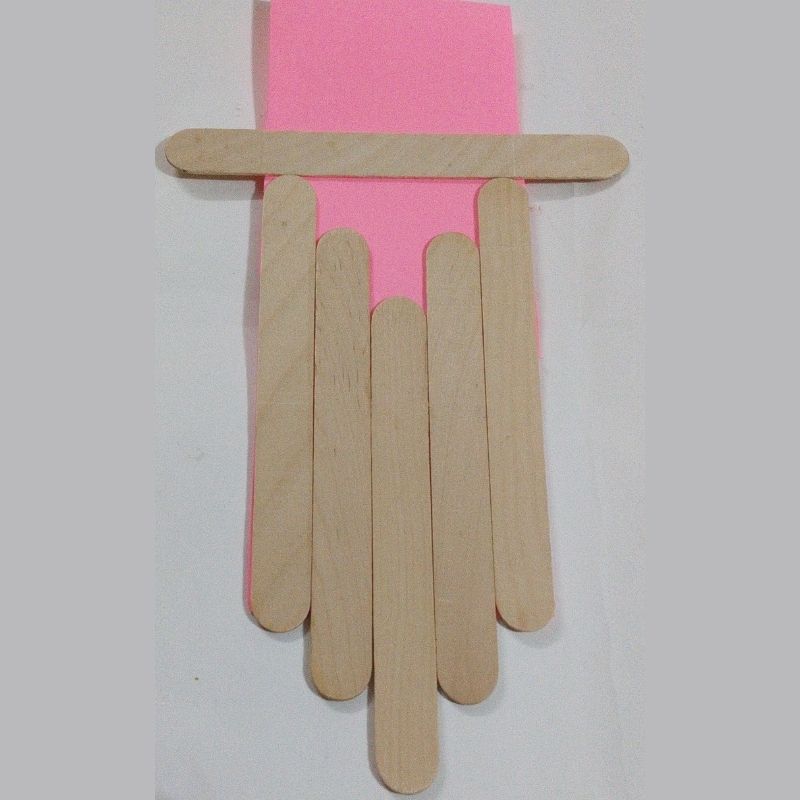
- Cut the extra portion of pink paper and keep this framework ready.
- Next, draw the eyes of Santa Claus using a black sketch pen on the pink portion, in between the horizontal and vertical sticks.
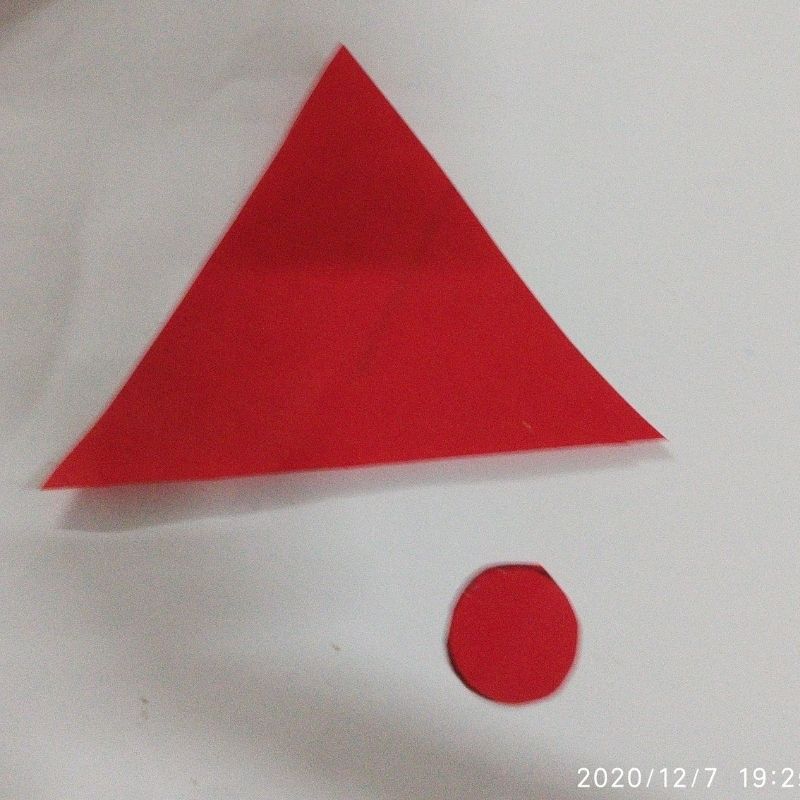
- Now, take a red sheet of paper and cut the cap and circular nose of the Santa.
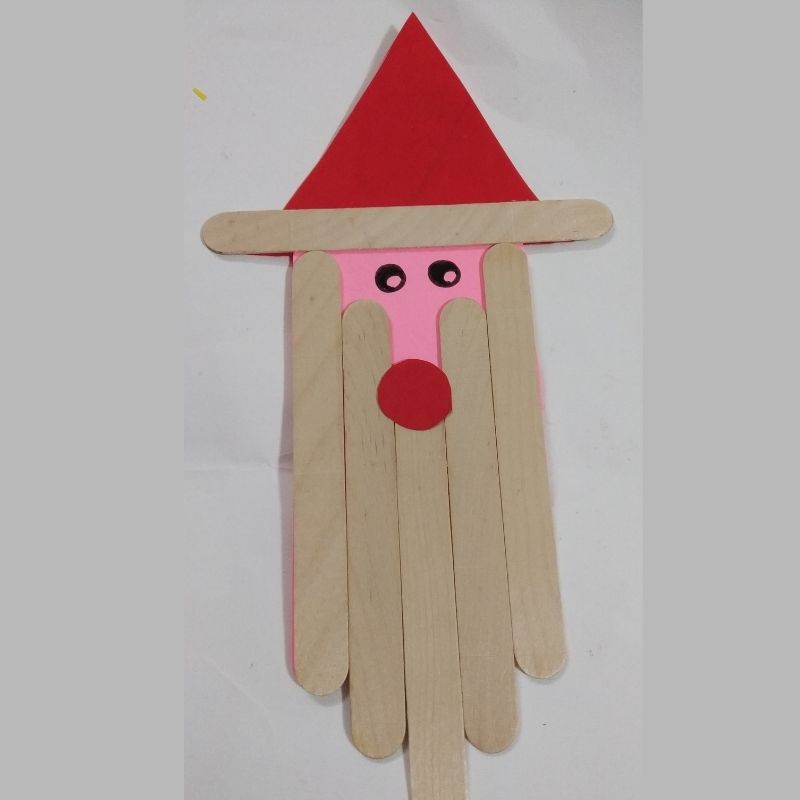
- Next, stick the cap above the horizontal stick and nose in the centre of the popsicle sticks arranged vertically.
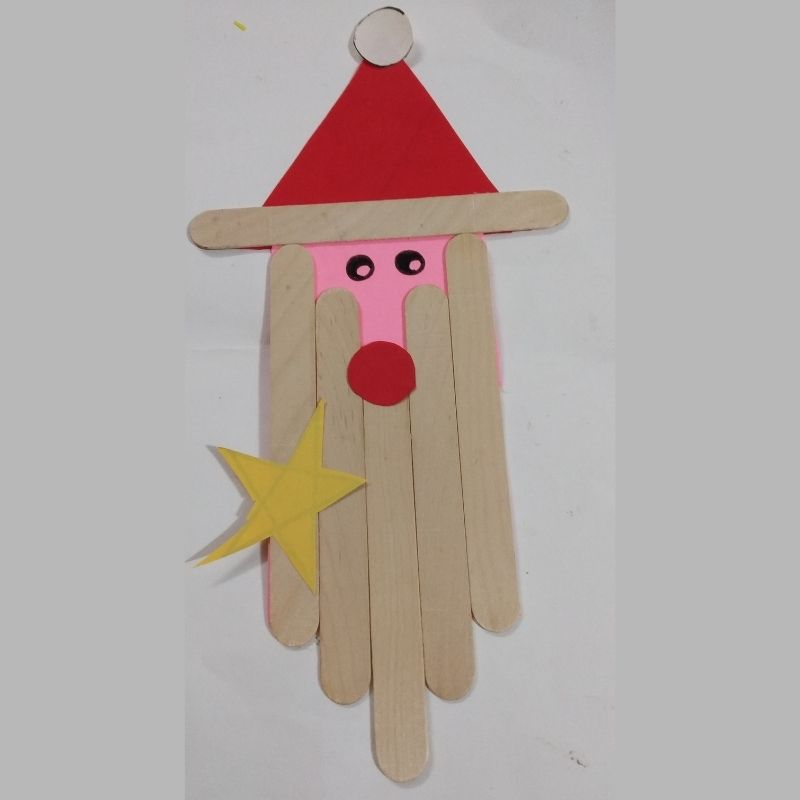
- Once done, cut the pom-pom ball for the cap using a white sheet and a star broach using a yellow sheet of paper
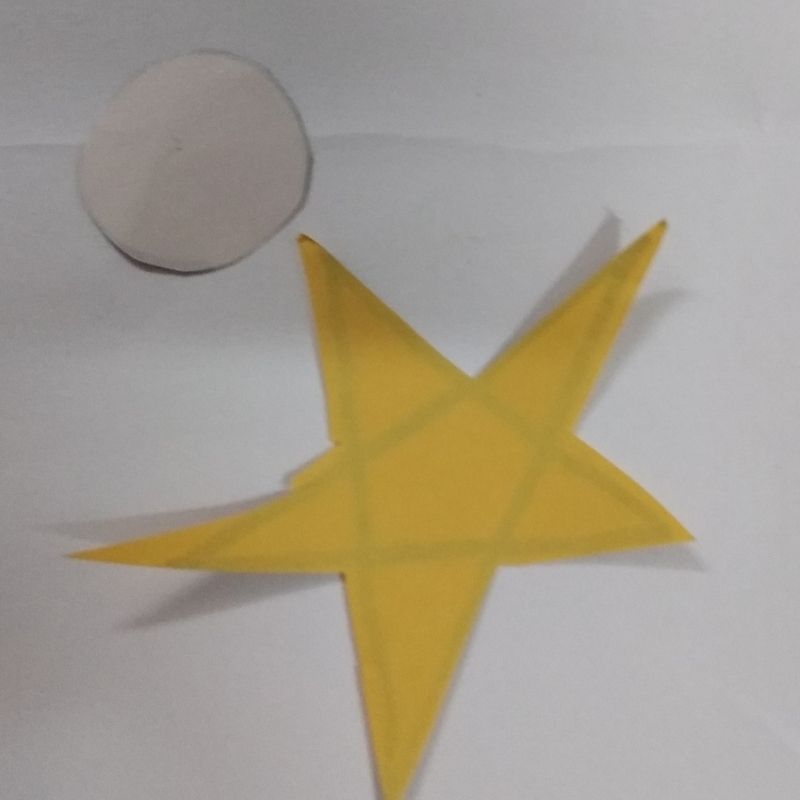
- Stick these on the framework.
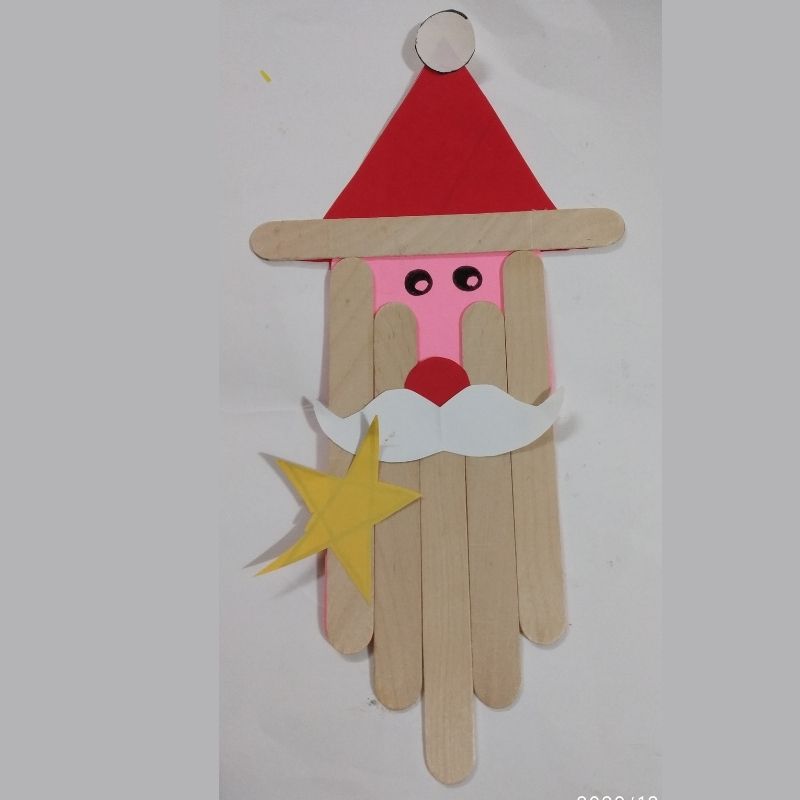
- Next, take a white sheet of paper and cut the moustache of the Santa Claus and stick it beneath the nose.
- Add details to the broach using a black sketch pen.
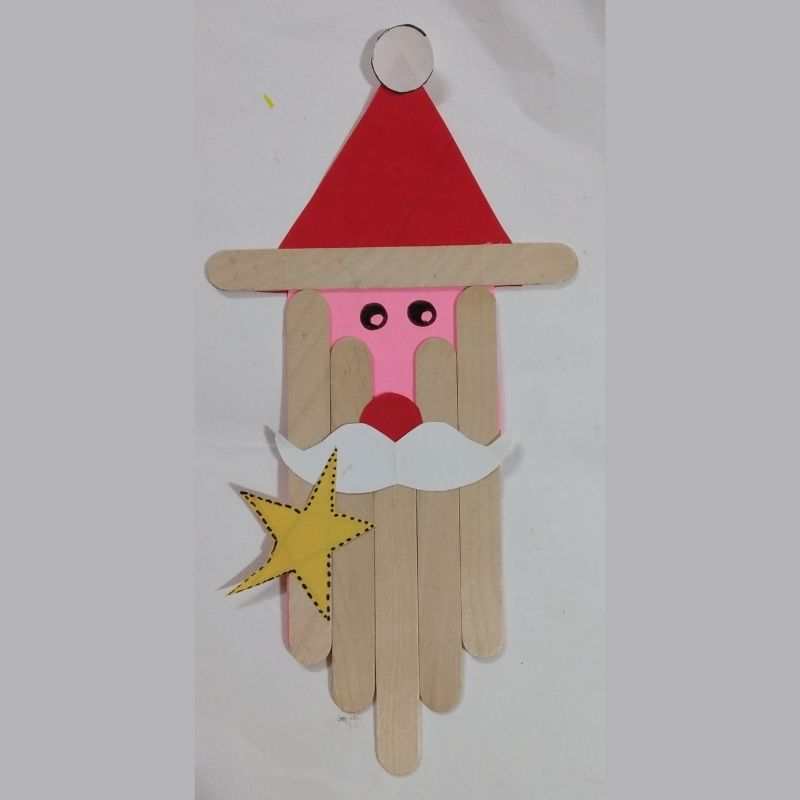
- That’s it, kids! Your beautiful popsicle stick Santa craft is now ready!




Be the first one to comment on this story.