Colourful birds are chirping around us. They rest on tree barks and it’s an amazing sight to appreciate their beauty. The colours, their chirping everything is so soothing. So today let’s make one colourful paper handprint bird! Sounds interesting? Yes, indeed it is! Let’s see how!
Follow these simple steps and get started to make your very own beautiful paper handprint bird.
Materials Required to Make Paper Handprint Bird
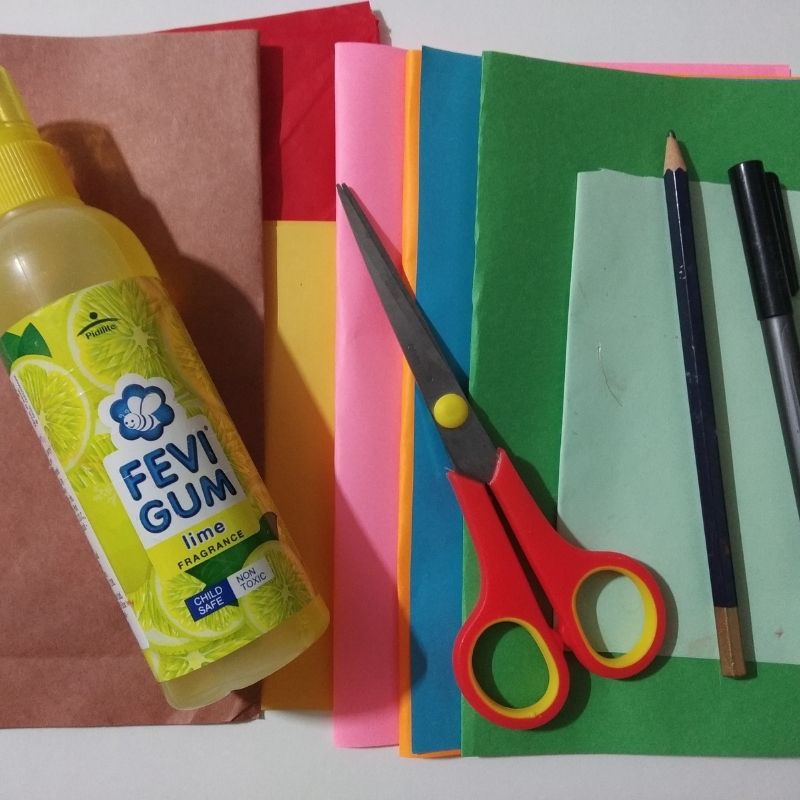
- Bright coloured papers
- Brown paper
- Yellow paper
- Red paper
- White paper
- Sketch pens
- Pencil
- Scissors
- Glue
How to Make Paper Handprint Bird Step by Step
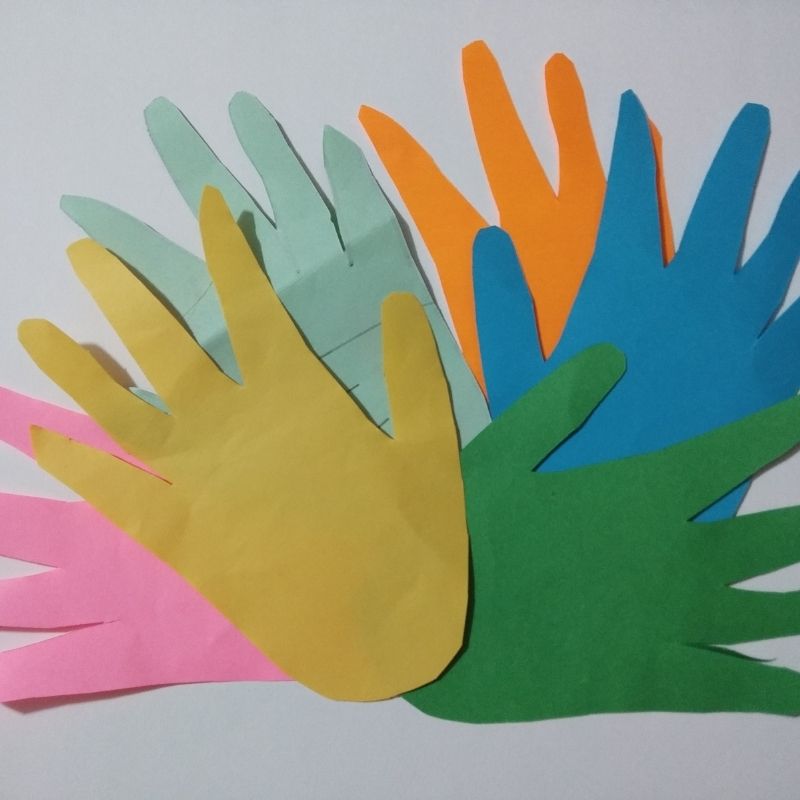
- Let’s start by drawing our handprints on coloured papers.
- You can use any contrast colours or colours of the rainbow.
- Choose around 6 colours and draw your handprint on it.
- Next cut all these handprints and keep aside.
- These 6 handprints would serve as the wings or the feathers of the bird.
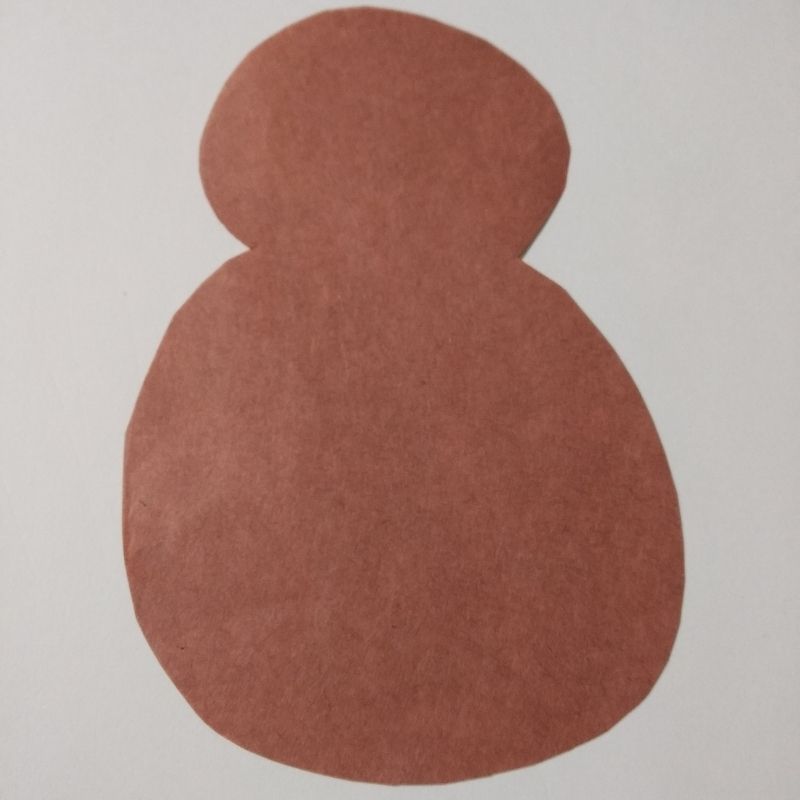
- Next step is to draw the body of the bird. For this, you would need a brown sheet of paper. Use a brown sheet of paper and draw and cut the body of the bird.
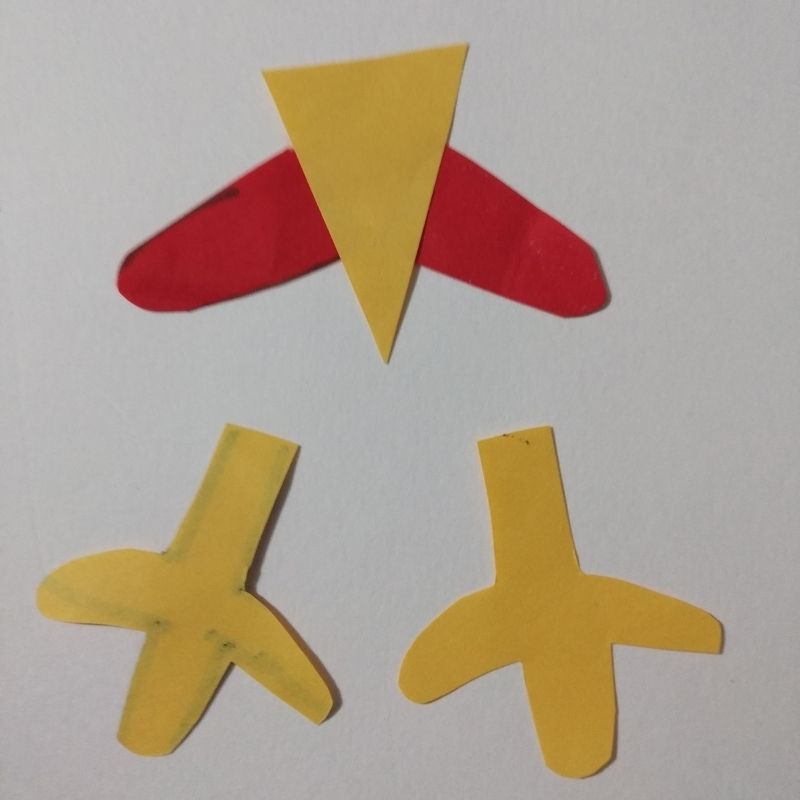
- Next, use a yellow sheet to draw and cut the feet and the beak of the bird.
- You also need to draw the neck or the sagging chin of the bird. Use a red coloured sheet to draw and cut the same.
- Next, use a white sheet to draw two eyes of the bird. Cut them and keep aside.
- Next, add details to the eyes using a black sketch pen.
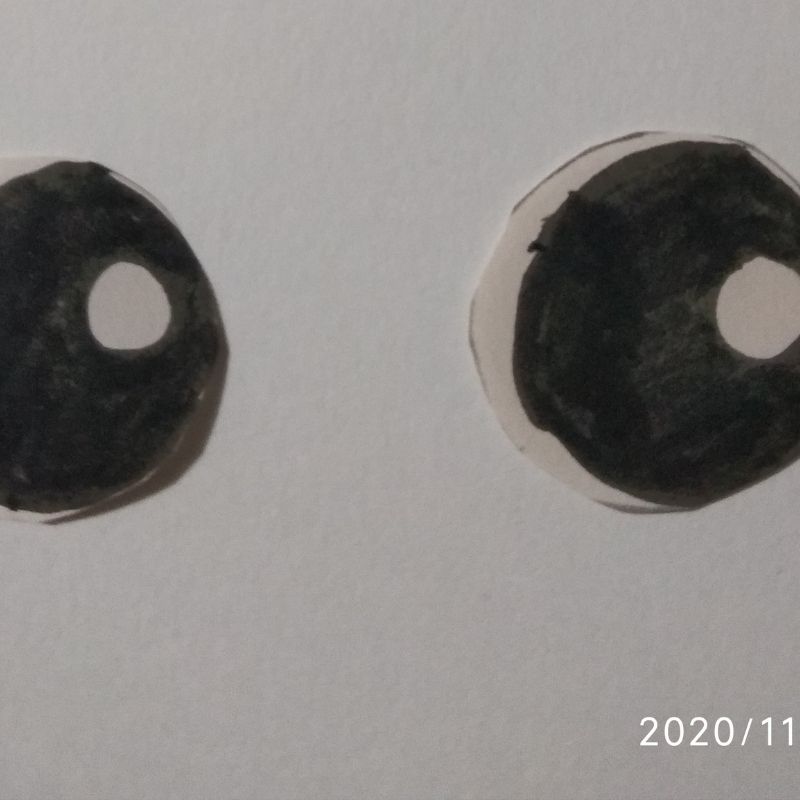
- Finally, arrange the handprints behind the body of the bird in a fan-shaped pattern. Stick them to give that effect to the wings.
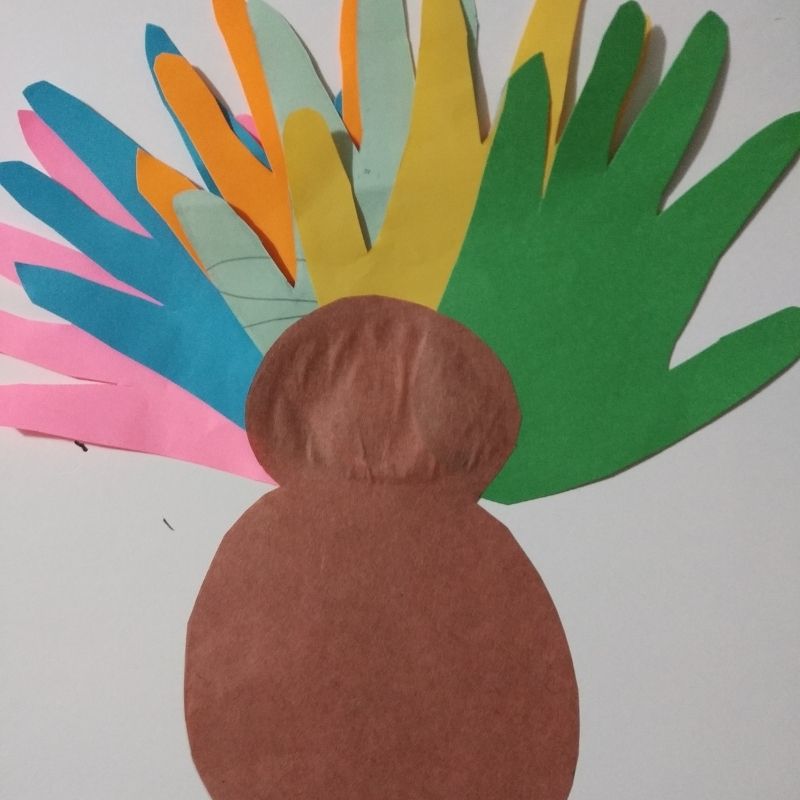
- Assemble and stick the elements of the bird’s face and body.
- That’s it, children! Your handprint beautiful bird craft is now ready!
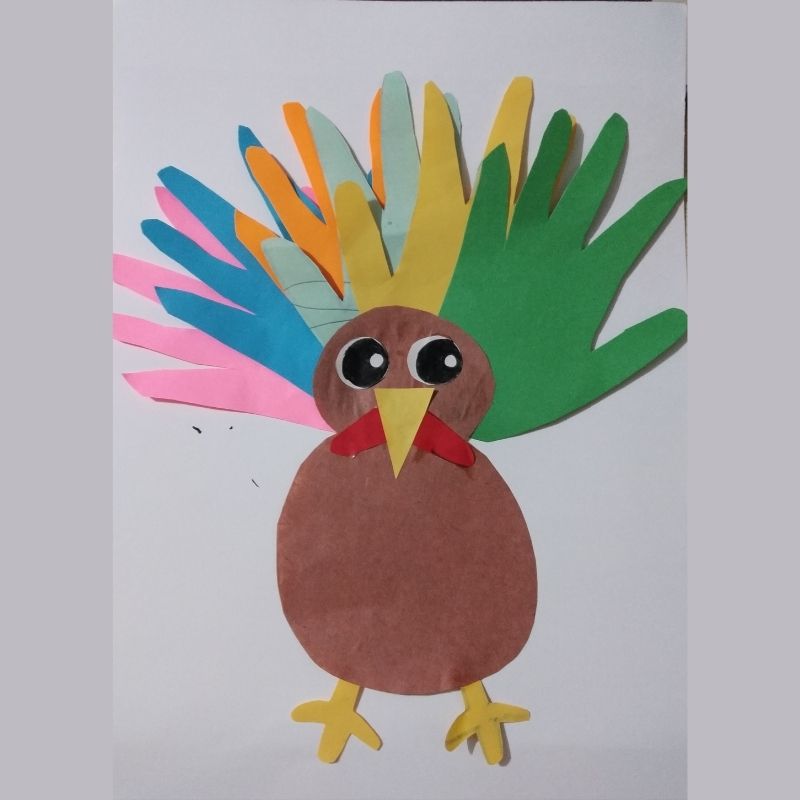
- Enjoy kids!




Be the first one to comment on this story.