We all love flowers. They are so bright and beautiful. Imagine picking up flowers from a garden and adoring our flower vases with these.
What if we have a basket full of flowers arranged to welcome our guests at home. Sounds interesting, doesn’t it? Indeed it does! Many times we are unable to pick fresh flowers or procure them easily. Do not worry! Today we are going to learn how to make our very own flower basket at home using a few colourful papers and at home stationery supplies which will look just perfect in your houses.
Let’s follow these steps to know DIY paper flower basket
Materials Required to make Paper Flower Basket
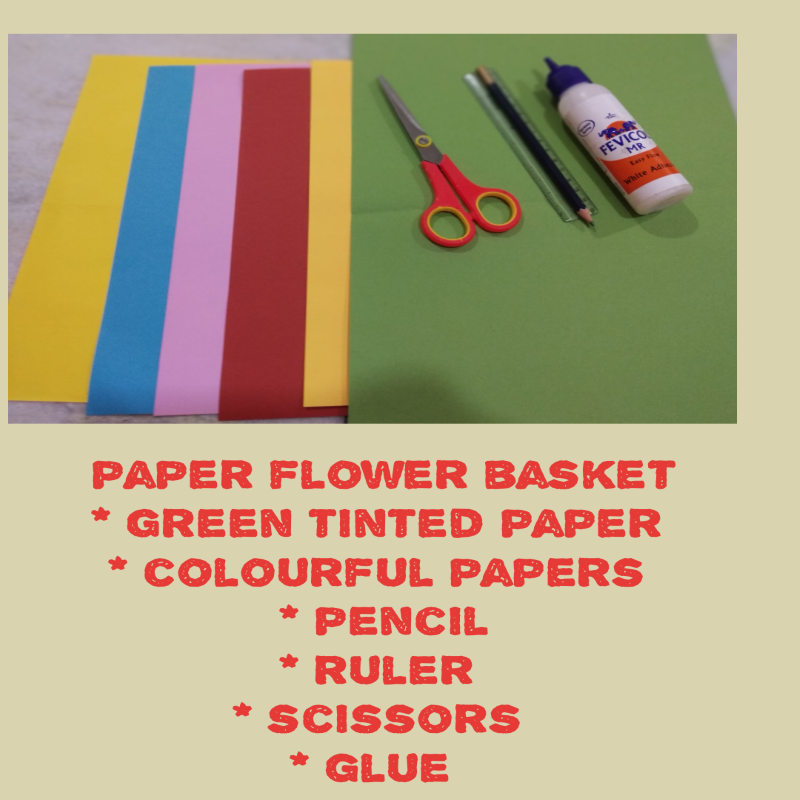
- Green tinted paper
- Colourful papers
- Pencil
- Scissors
- Glue
How to Make a Paper Flower Basket Step by Step
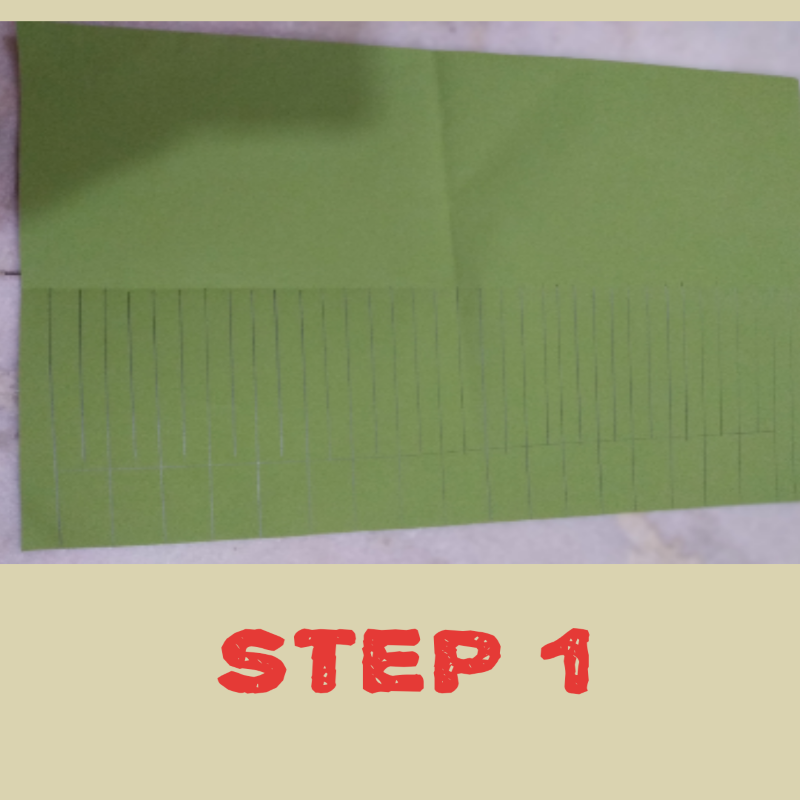
- Take a green-tinted paper and fold it into half.
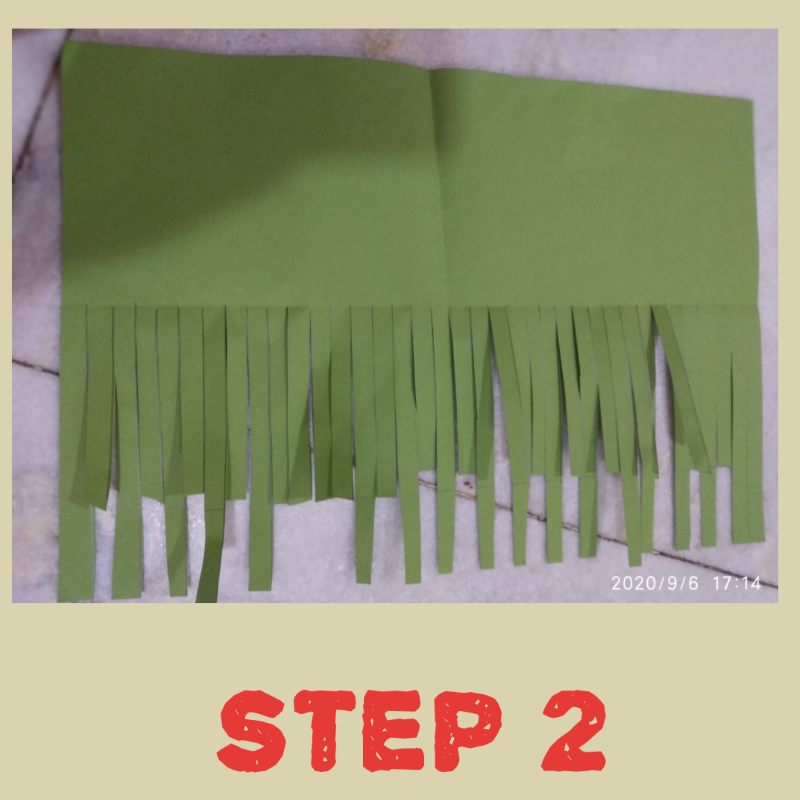
- Use the other half to draw strips one after the other, divide your paper into equal-sized parts in alternate long and short vertical strips.
- Next cut these strips as per the length and keep aside.
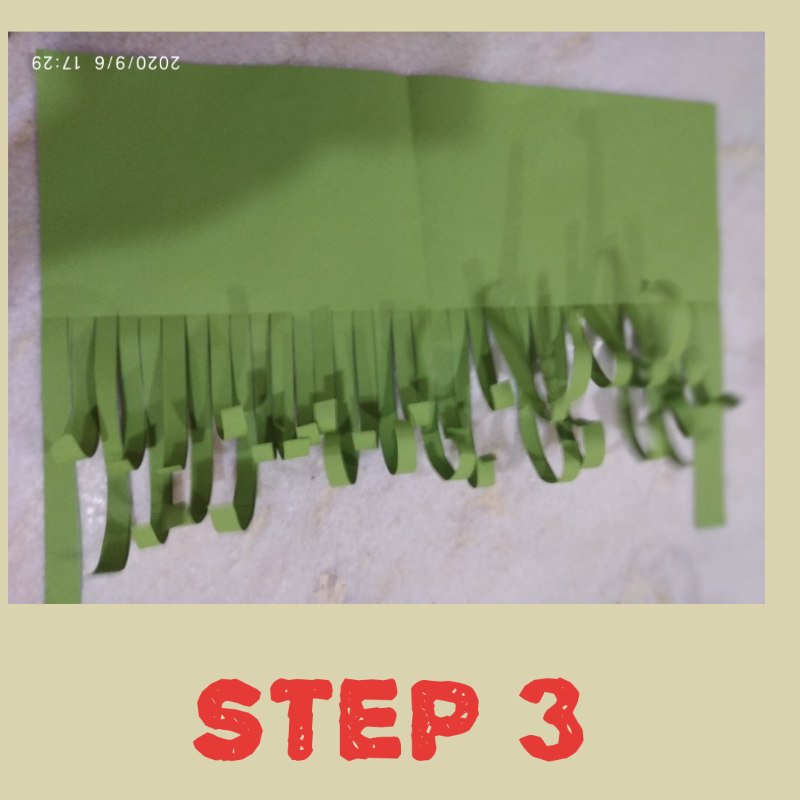
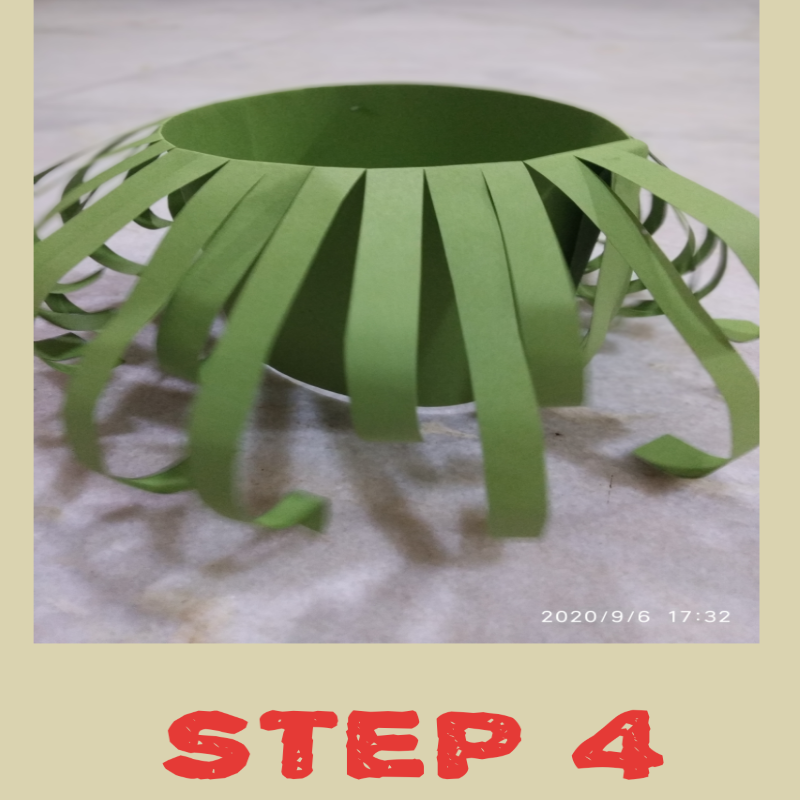
- Now using a pencil curl the ends of these strips to give the effect of greens in the flower basket.
- Later fold this paper with the curled strip ends on the top and another half of the paper would act as a base for the flower basket. You can cut some portion of the base horizontally to make a base as per the length of the basket greens.
- Now take colourful sheets of paper and draw flowers with five petals one size bigger than the other. Make pairs of these colourful flowers as per your choice of colours.
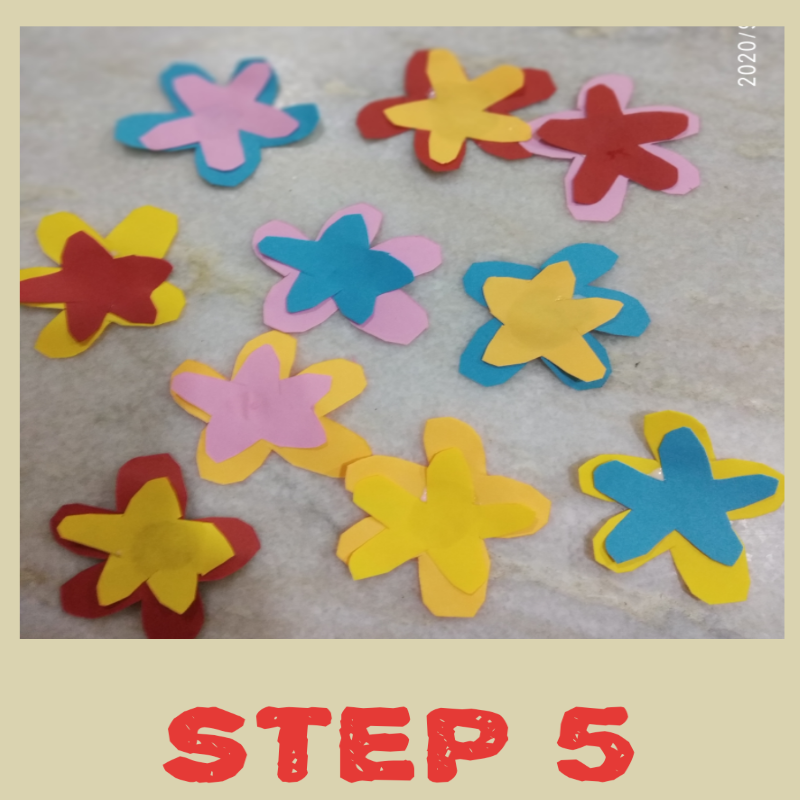
- Stick the smaller flower over the bigger flower in the center and make around 10 flowers or more as per the size of your green paper.
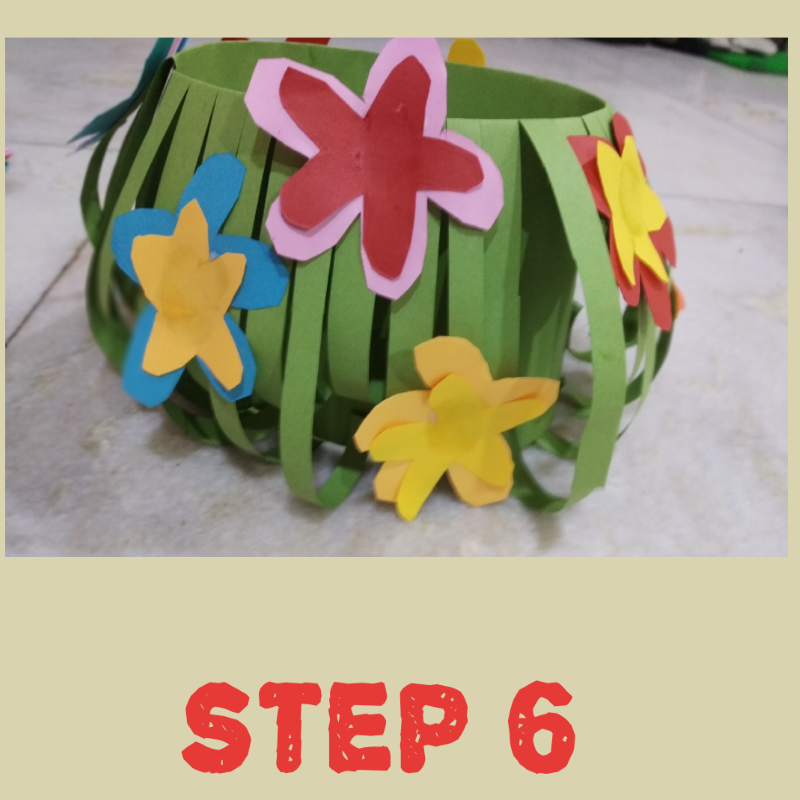
- Now if you have diamonds or mirrors stick it in the centre of these flowers to make your basket look more attractive.
- You can try to make other shapes of flowers and explore your creativity.
- This beautiful Paper Flower Basket is ready
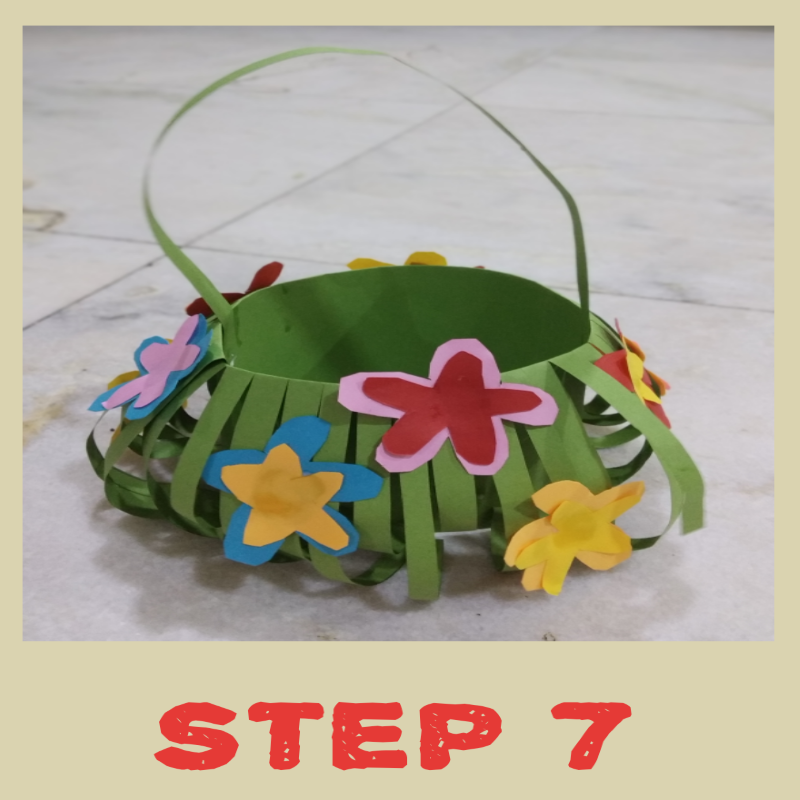
Happy crafting kids!
