Bunnies or rabbits as we know them; are cute and adorable. They are a ball of fur and one of the most agile and quick creatures. They hop and feed on leafy greens and vegetables. One of the most favourite animals of kids. So, today let’s make one super easy and cute paper bunny envelope. Gift it to your loved ones and flaunt your creativity.
Let’s get started, kids!
Follow these easy steps to make your origami paper bunny envelope craft.
Materials Required to Make Paper Bunny Envelope
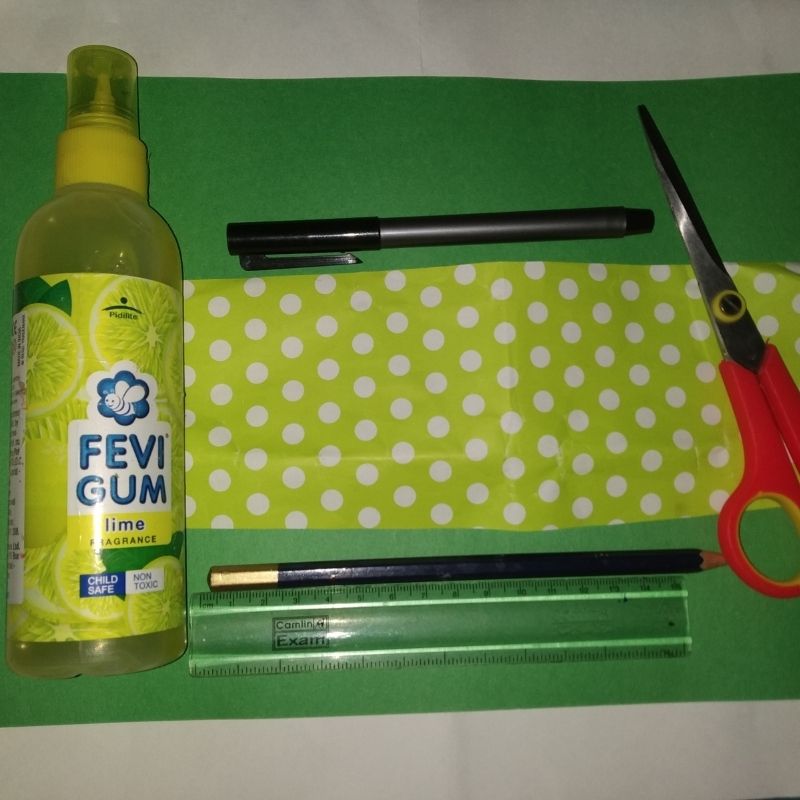
- Green designer paper
- Green paper
- Black Sketch pen
- Pencil
- Scissors
- Glue
How to Make Paper Bunny Envelope Step by Step
- Take a green designer paper and cut it into a rectangle or a thick strip
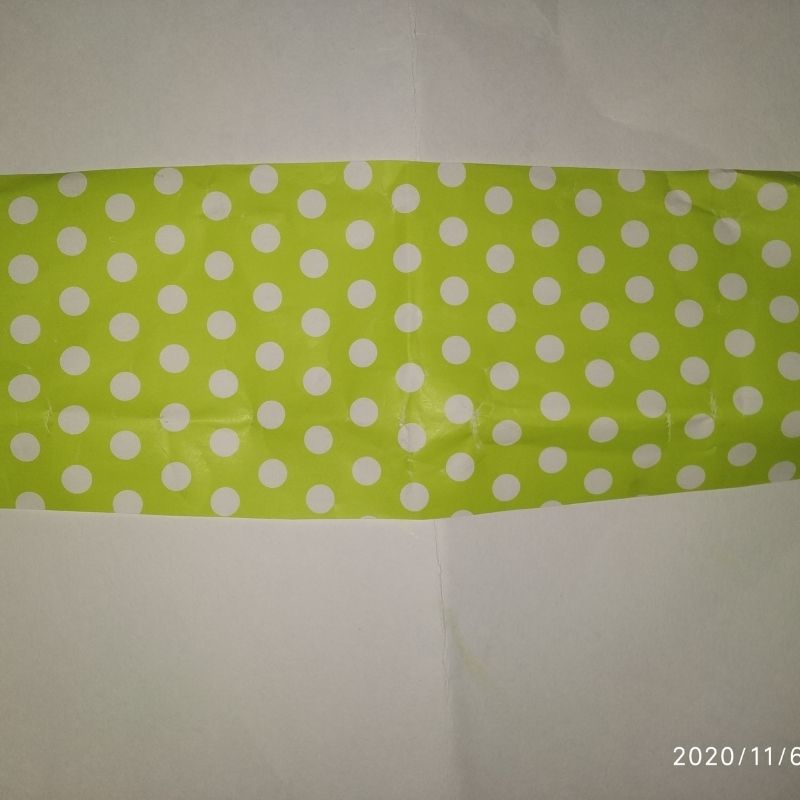
- Fold this thick strip into half.
- Once you fold it into half you will have three sides open.
- Apply glue on the sides and stick the sides to seal the paper, once stuck you will now have a pocket with three closed ends.
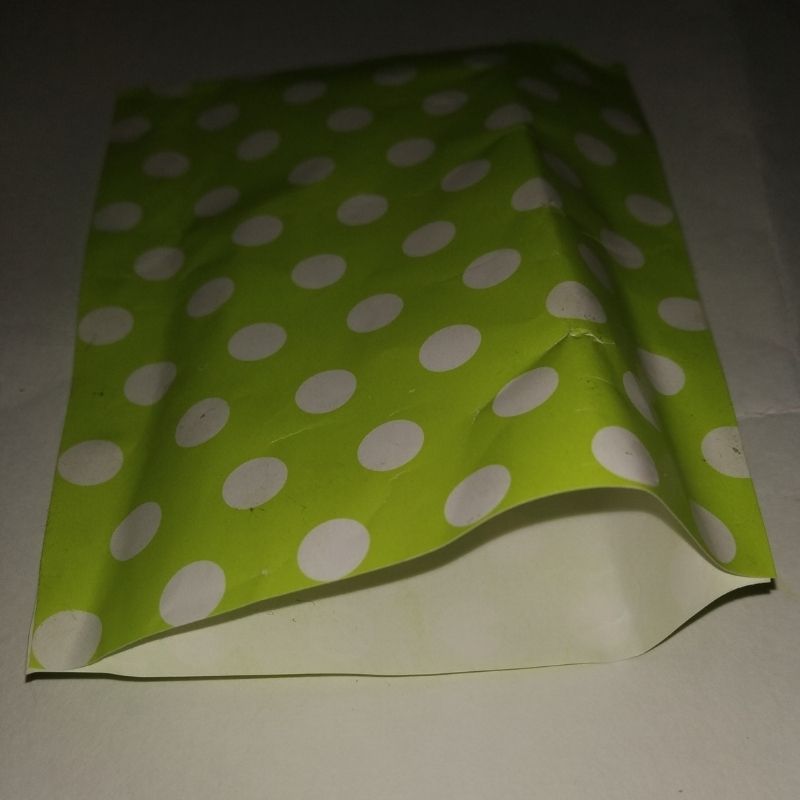
- This is the base of our bunny envelope.
- Now take a green sheet of paper and cut a circle. The diameter of the circle should match the width of the pocket.
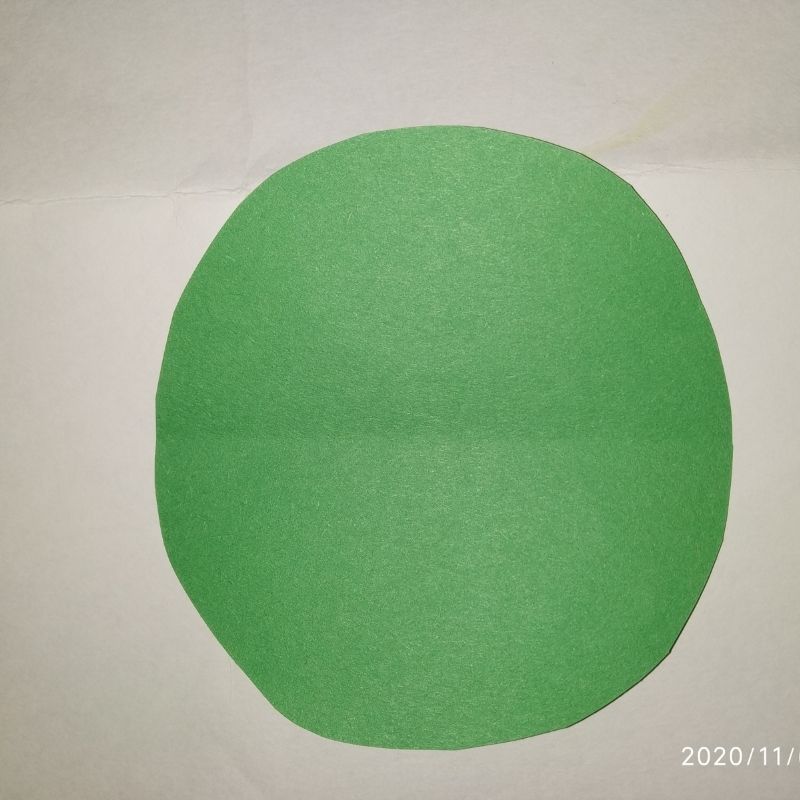
- Next, fold the circle into half.
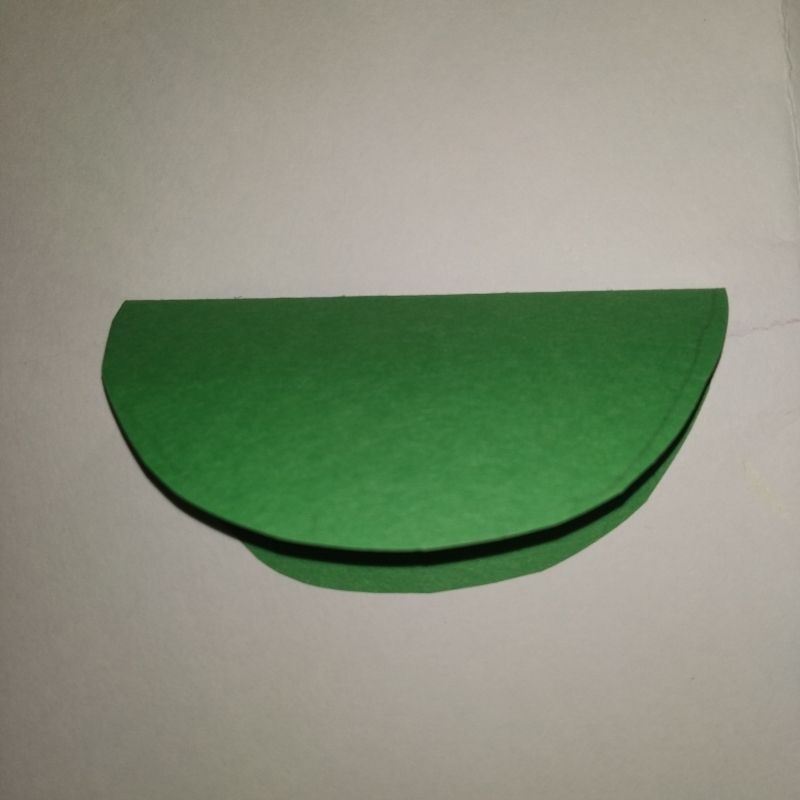
- Apply glue to one half of the circle and stick this half on the backside of the pocket.
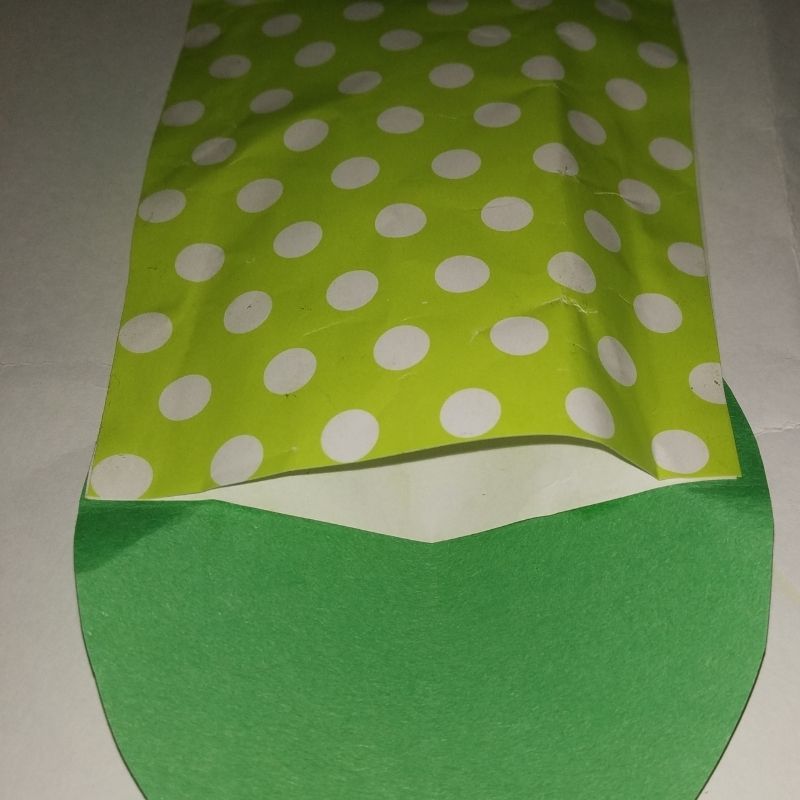
- This would serve as a flap for the envelope with one free end.
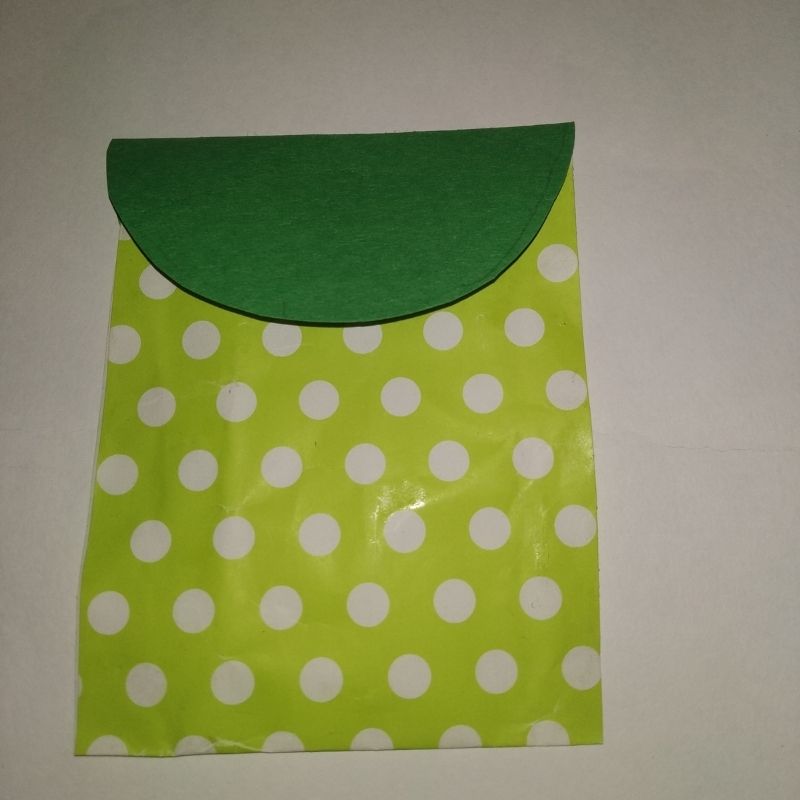
- Next, take a green sheet and cut the ears and paws, use the green designer paper to cut the inner ears,
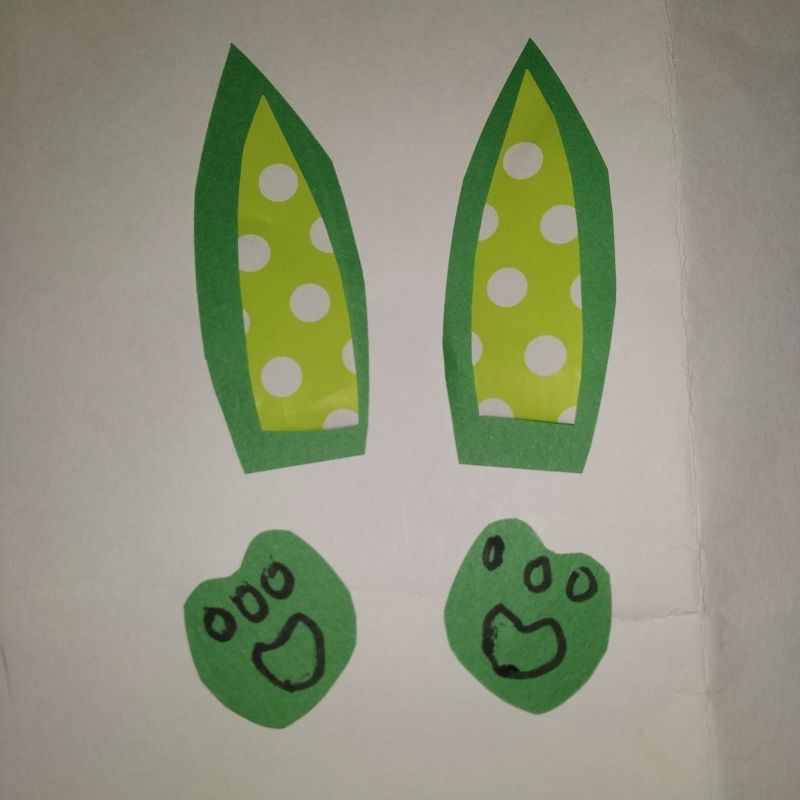
- Stick the inner ears over the green ears and stick the ears over the top of the flap.
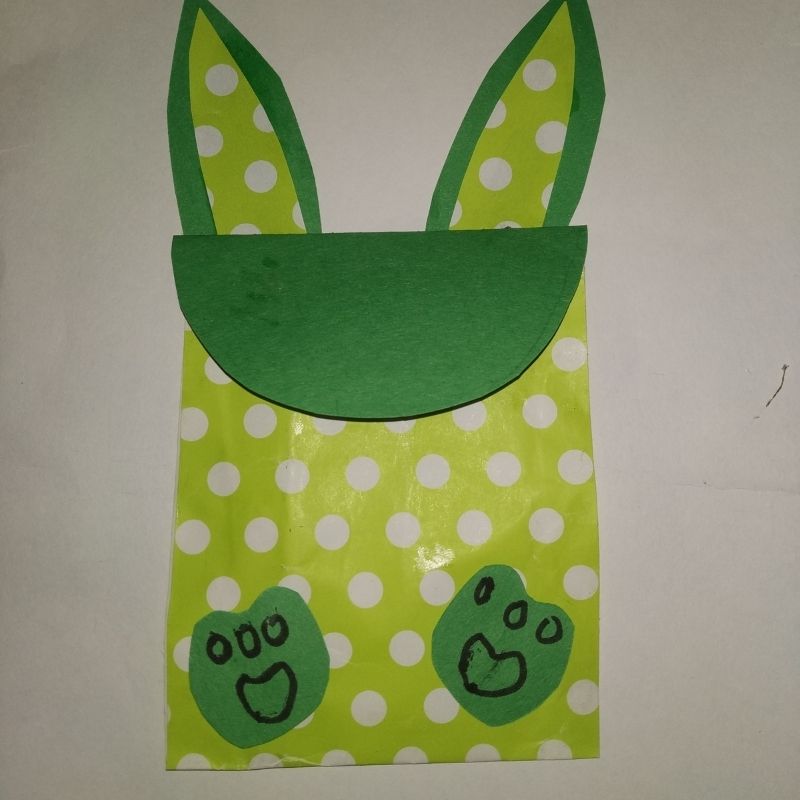
- Stick the paws on the bottom side of the pocket and add details using a black sketch pen.
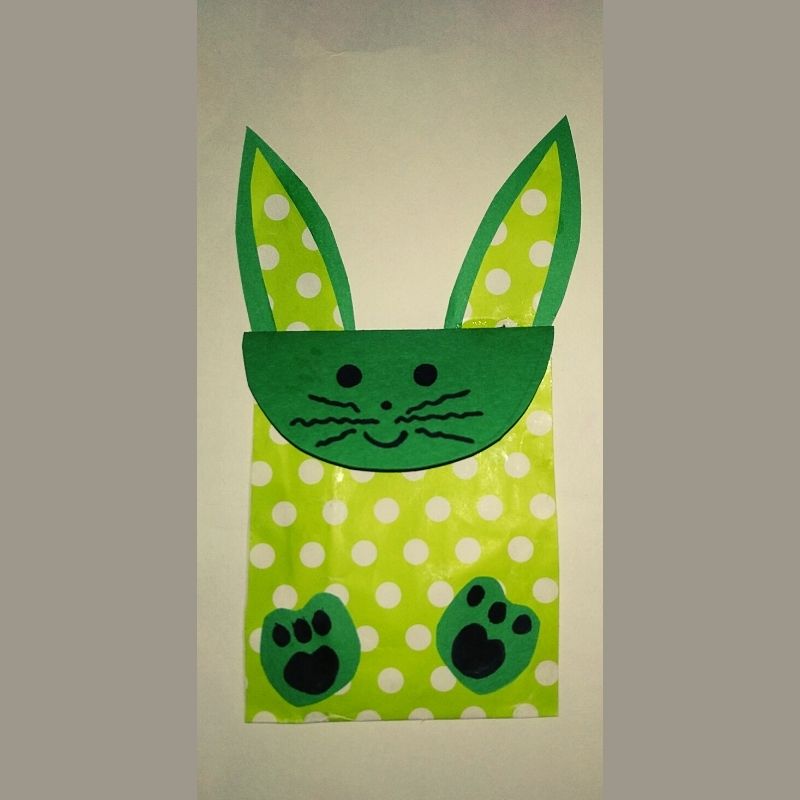
- Next, add details to the face of the bunny using a black sketch pen.
- Your easy and simple paper bunny envelope is now ready to gift.
Try for yourself kids!





Be the first one to comment on this story.