Hello kids! Peacock is our national bird! Yes all of us know that! The way it dances in the rains is a mesmerizing sight. It’s beauty is priceless. So today let’s make one beautiful peacock using simple paper folding techniques. With basic at home art and craft supplies, we are ready to make one beautiful yet creative crafty origami peacock.
Follow the instructions to make most beautiful origami peacock.
Materials Required to Make Beautiful Origami Peacock
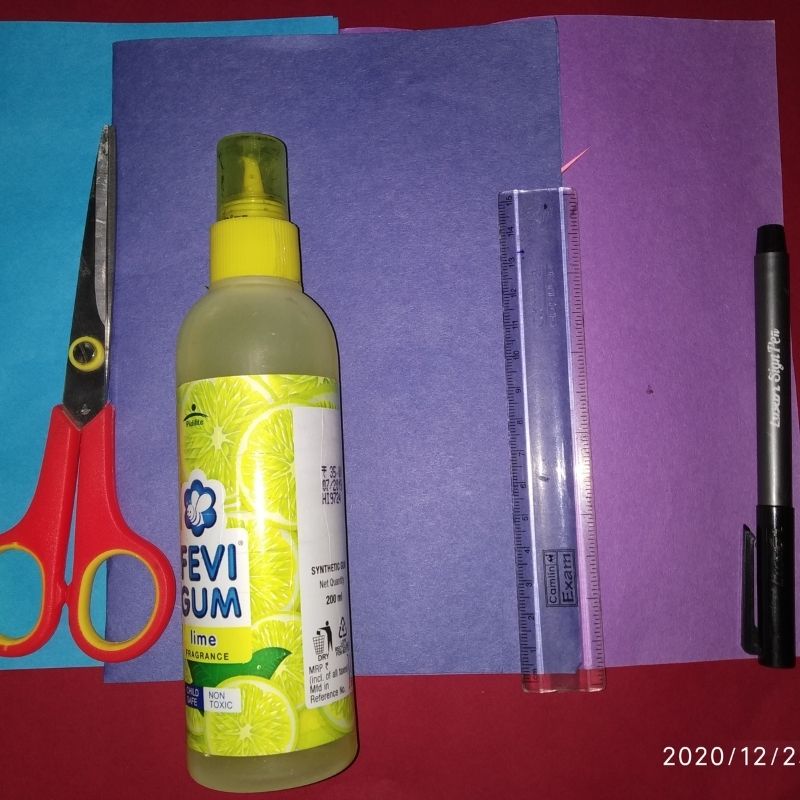
- Purple paper
- Blue paper
- Sketch pens
- Pencil
- Scissors
- Glue
How to Make Beautiful Origami Peacock Step by Step
- First, we need a blue sheet of paper.
- The preferred size is A4
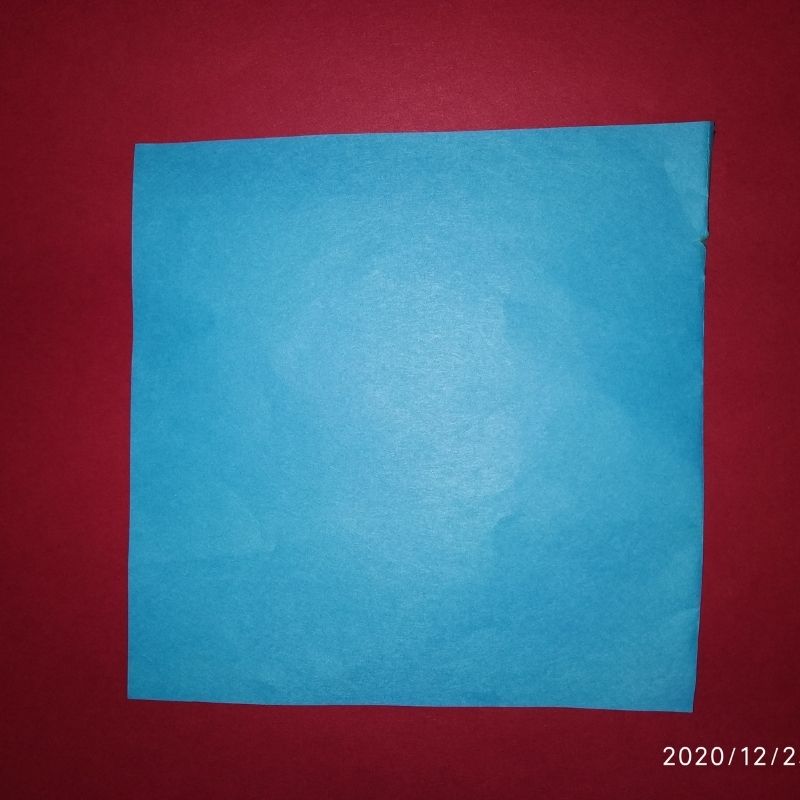
- Now cut a square out of this paper. Approximate size should be merely 15cms.
- Now let’s fold this square into a triangle.
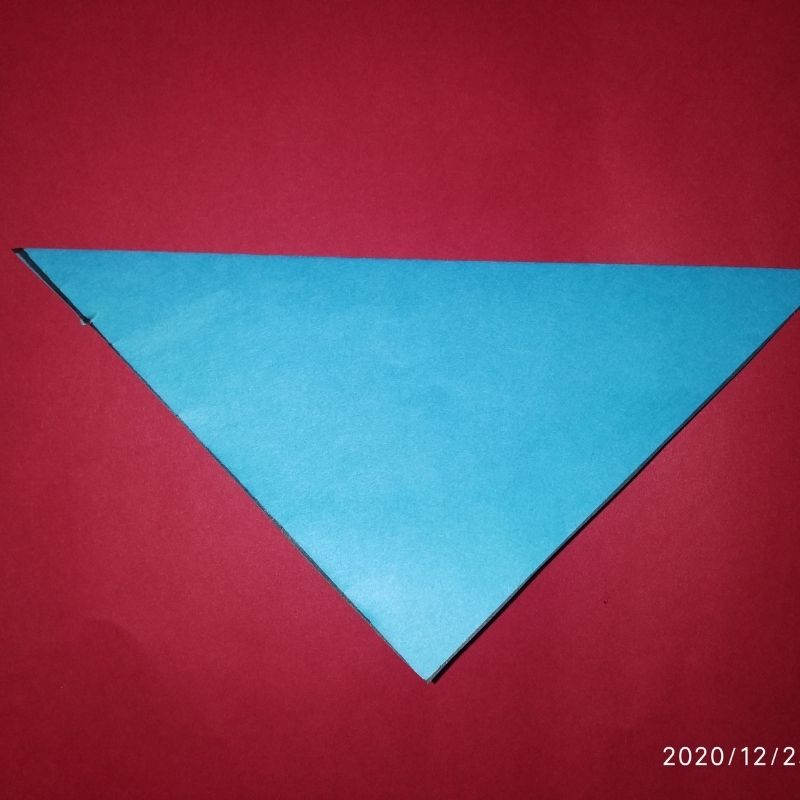
- Next, fold two small vertical triangles along the midline of this triangle fold.
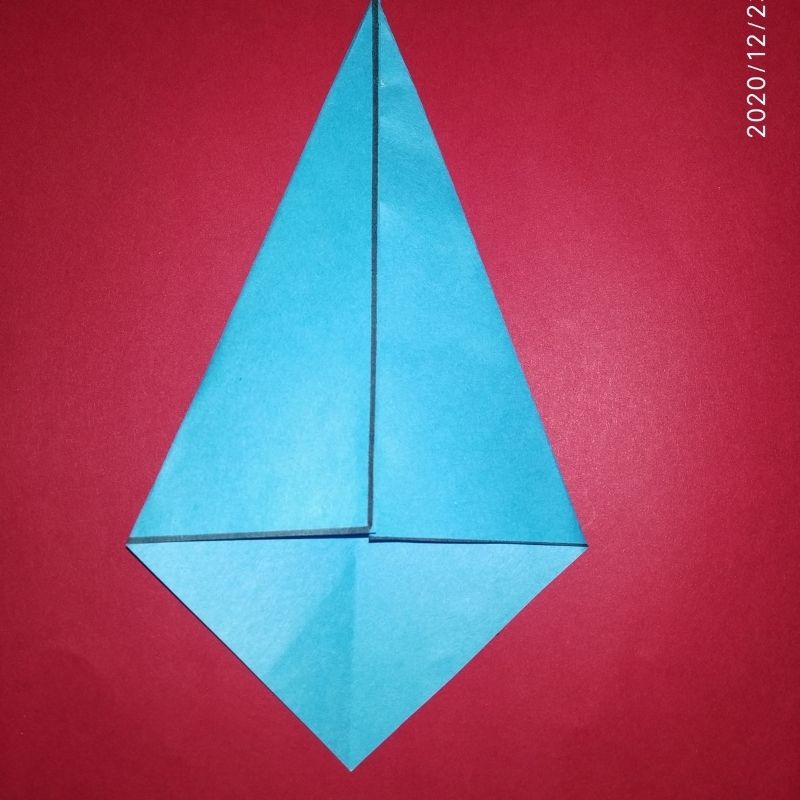
- Two big triangles sideways on top and two small on the lower end.
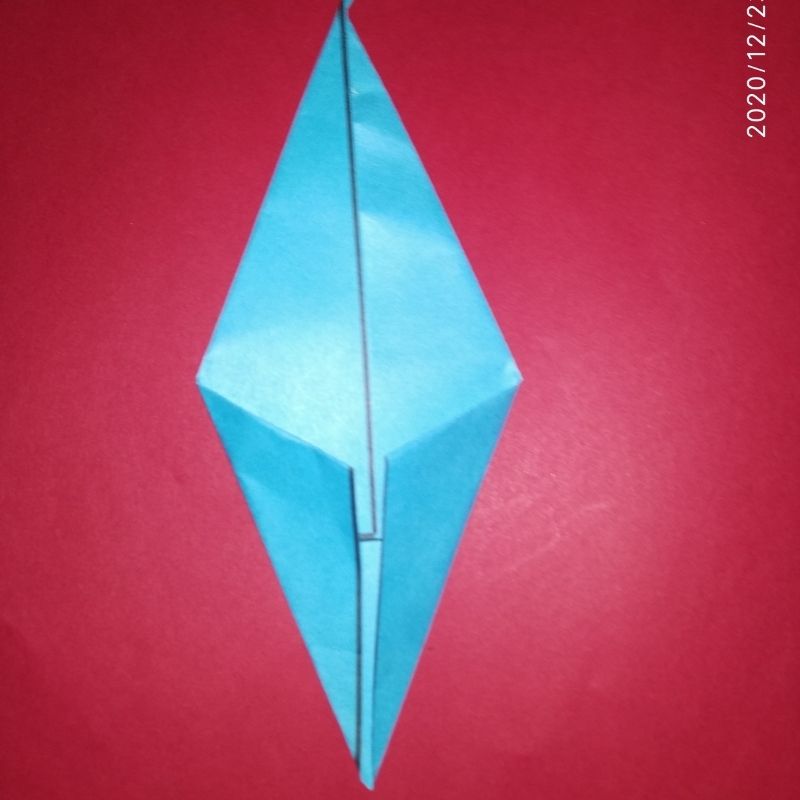
- Next, flip the side and lift the lower end to form a small triangle upwards.
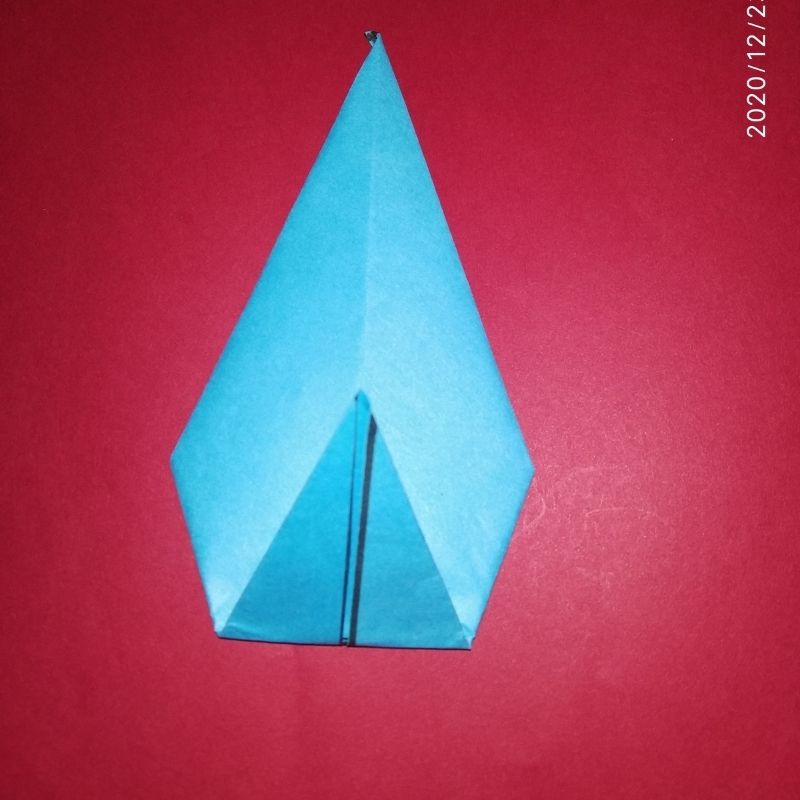
- Now fold this portion into half inwards.
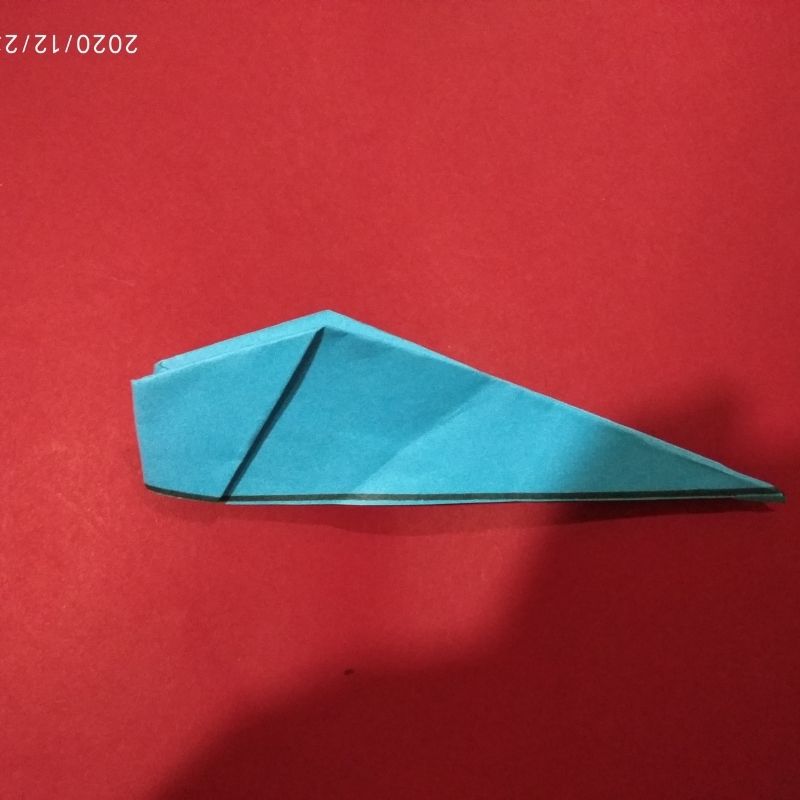
- Next, you will have a tail portion at the back lift and fold it upwards.
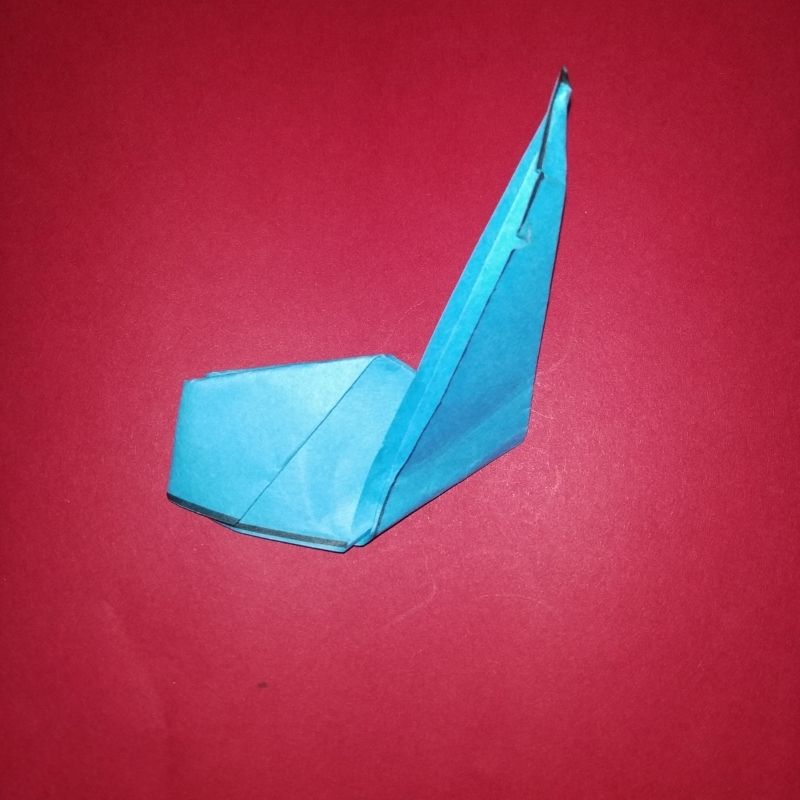
- Now tuck this fold inside and twist the apex of the tail portion.
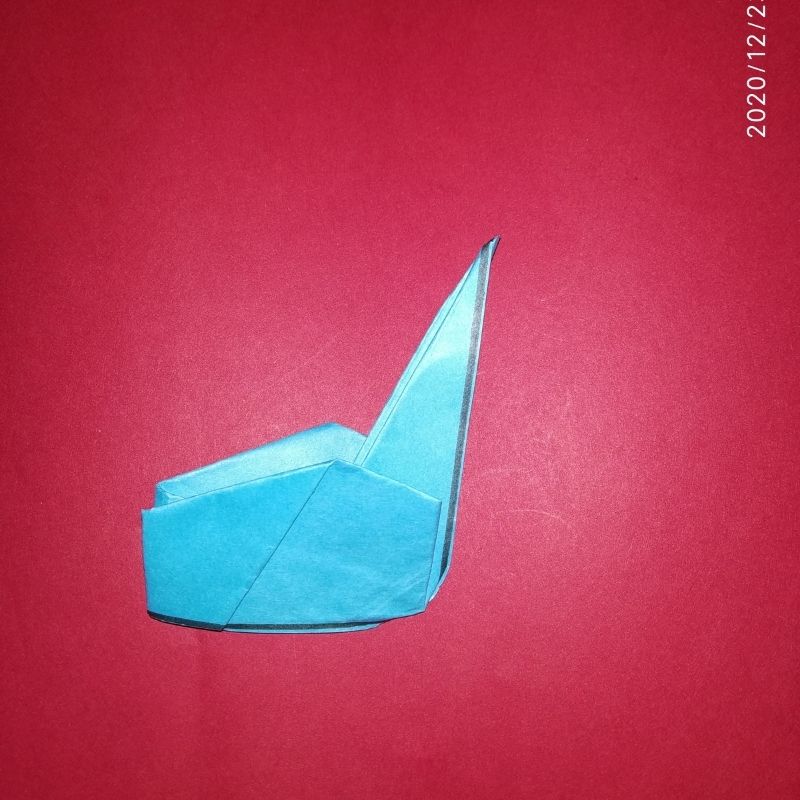
- This is the neck and beak of the peacock
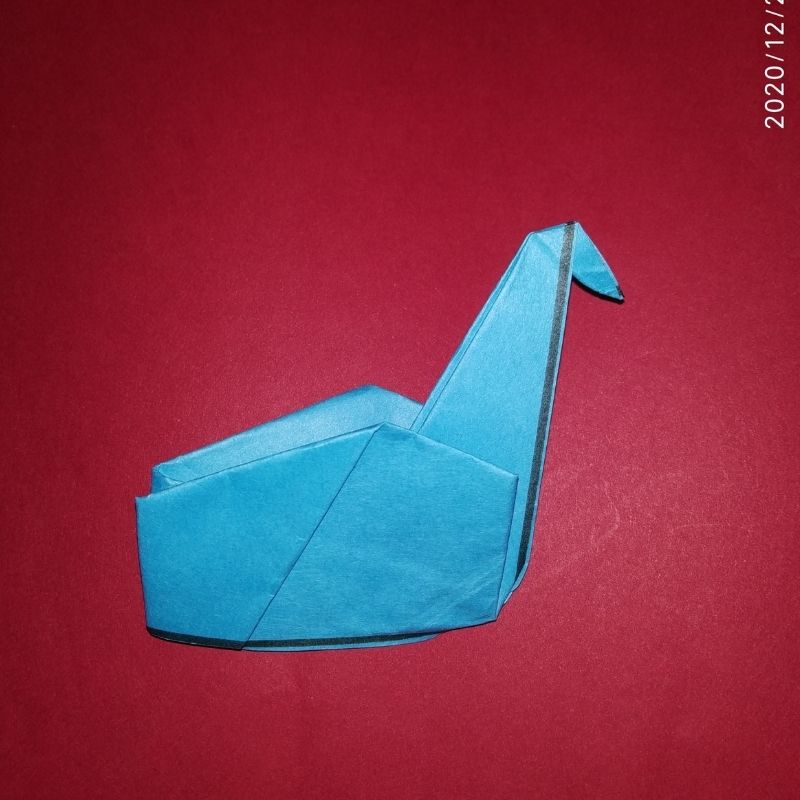
- The body for the peacock is now ready.
- After this take a purple sheet of paper and fold it into accordion fashion.
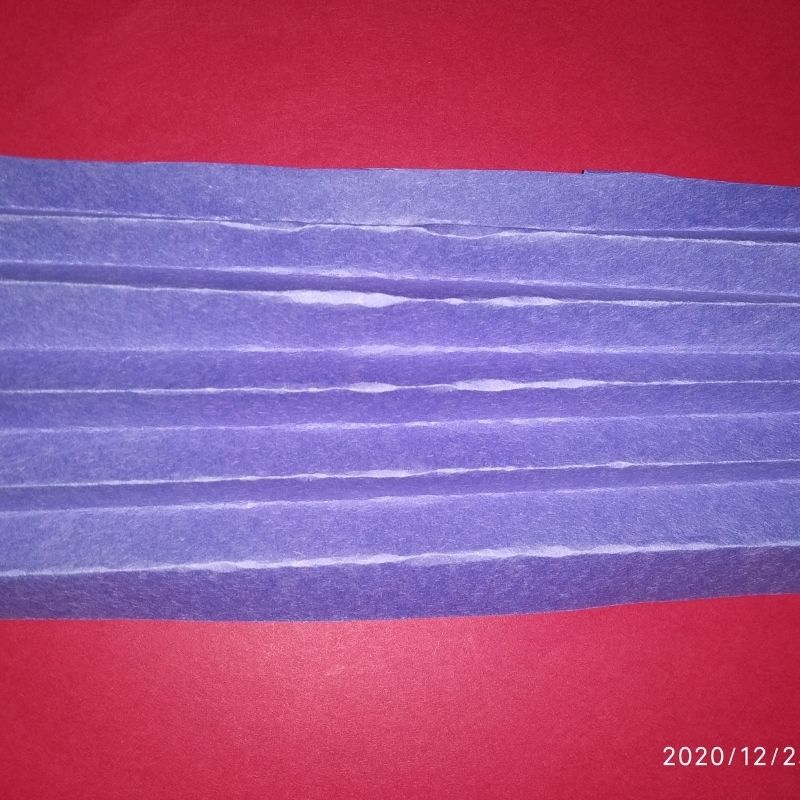
- Next, fold this into half and make a fan.
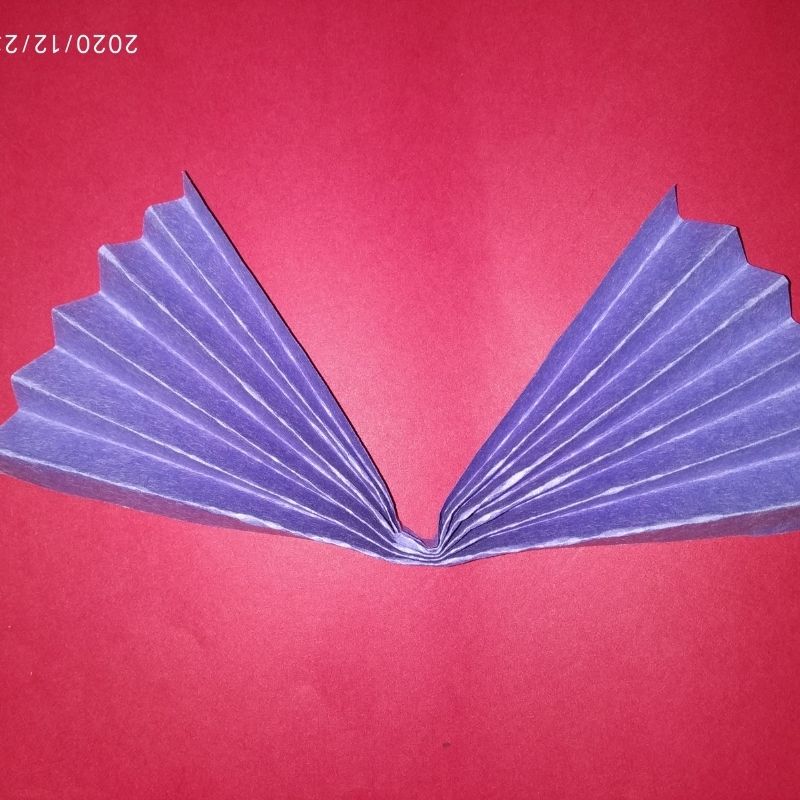
- Draw and cut a small pattern on the upper half of the fan.
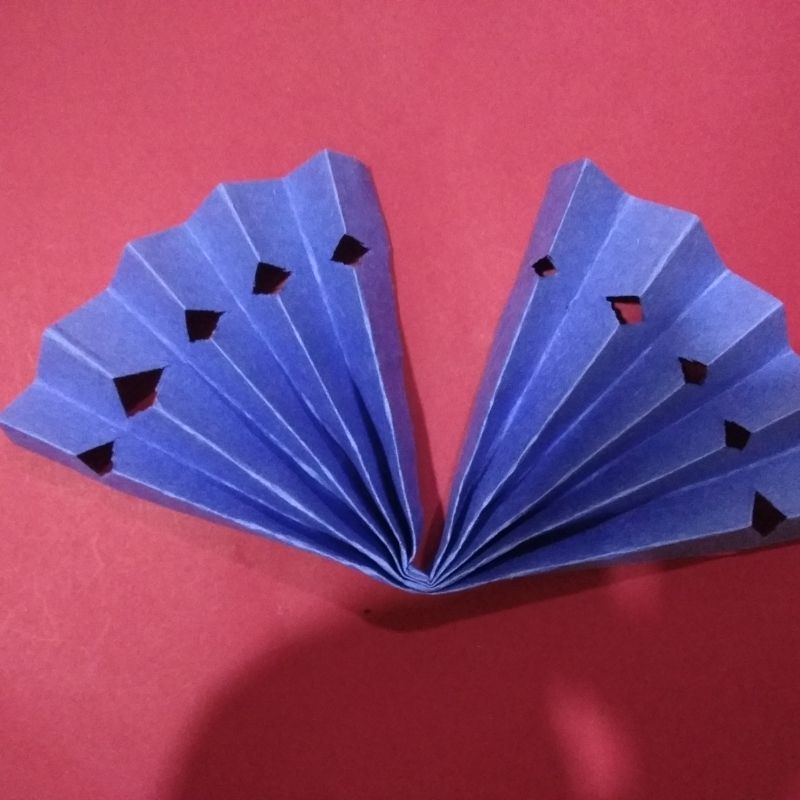
- Spread it and stick it on the body of the peacock.
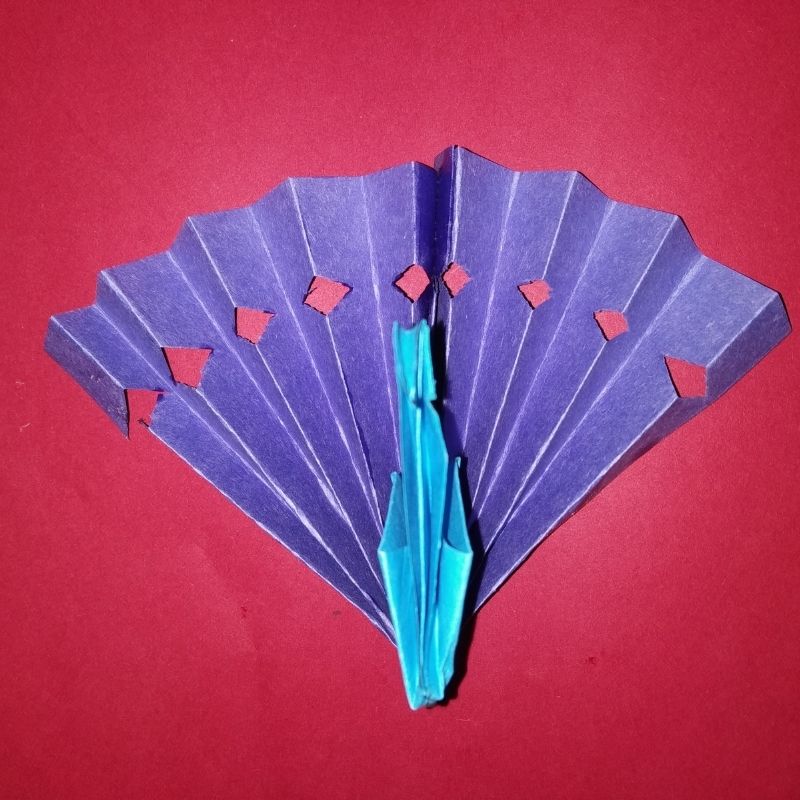
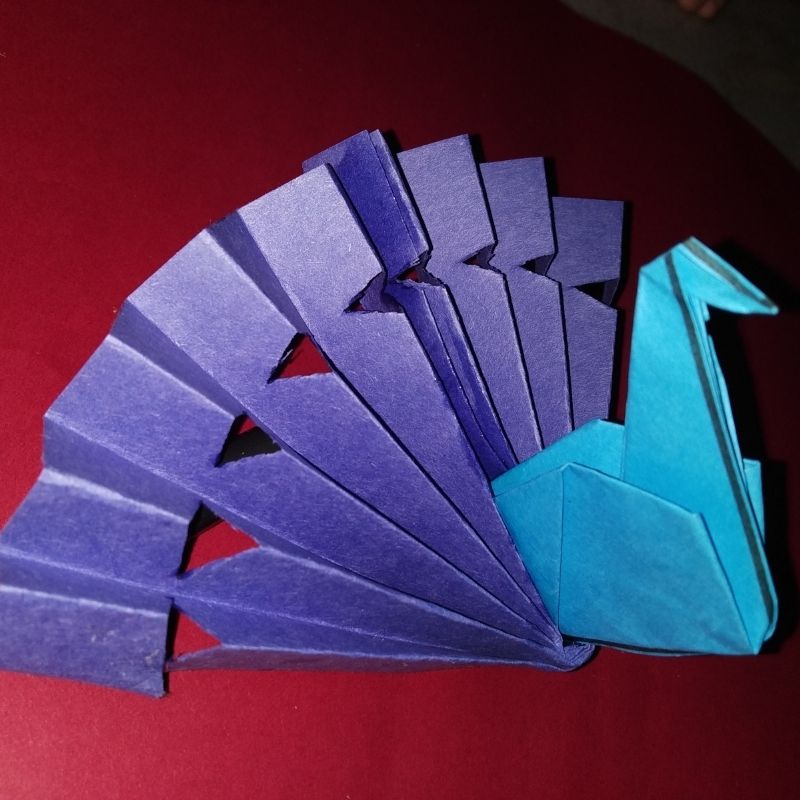
- That’s it, kids! Your beautiful peacock craft is now ready.





Be the first one to comment on this story.