We all know about the hare and the tortoise story. The tortoise is the real hero of the story who wins the race slow and steady. The tortoise lives for more than 100 years and has a bony shell on its back which protects it from its prey. They are vegetarians and often live on land.
So today let’s make a beautiful geometric paper tortoise craft. Surprised? Don’t be; we are going to make use of circles and make a beautiful tortoise craft out of paper.
Follow the instructions to make DIY Paper Tortoise.
Materials Required to Make DIY Paper Tortoise
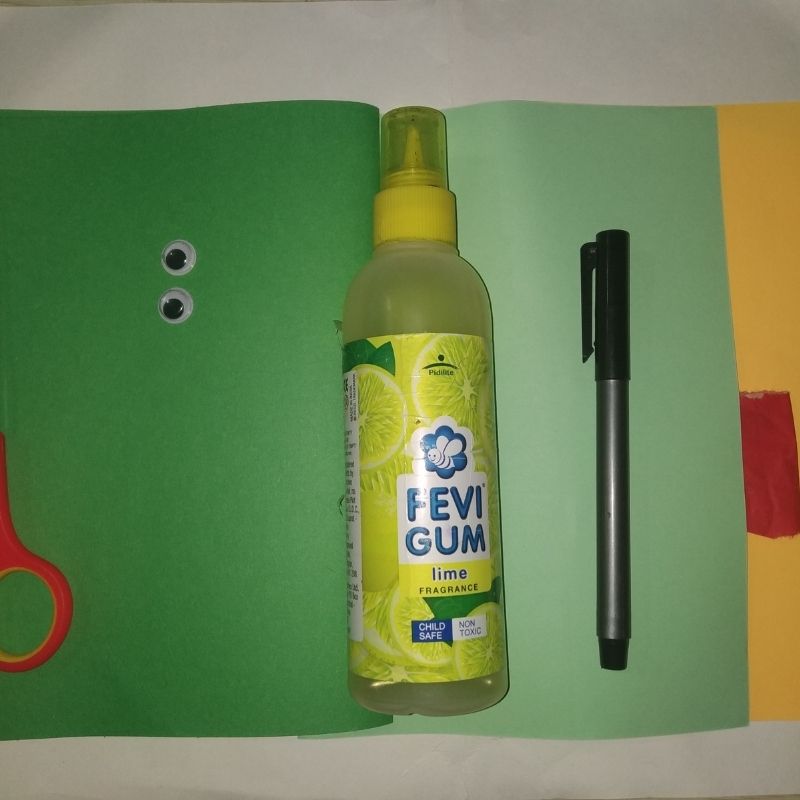
- Green paper
- Light green paper
- Yellow paper
- Red paper
- Googly eyes
- Sketch pens
- Scissors
- Glue
How to Make DIY Paper Tortoise Step by Step
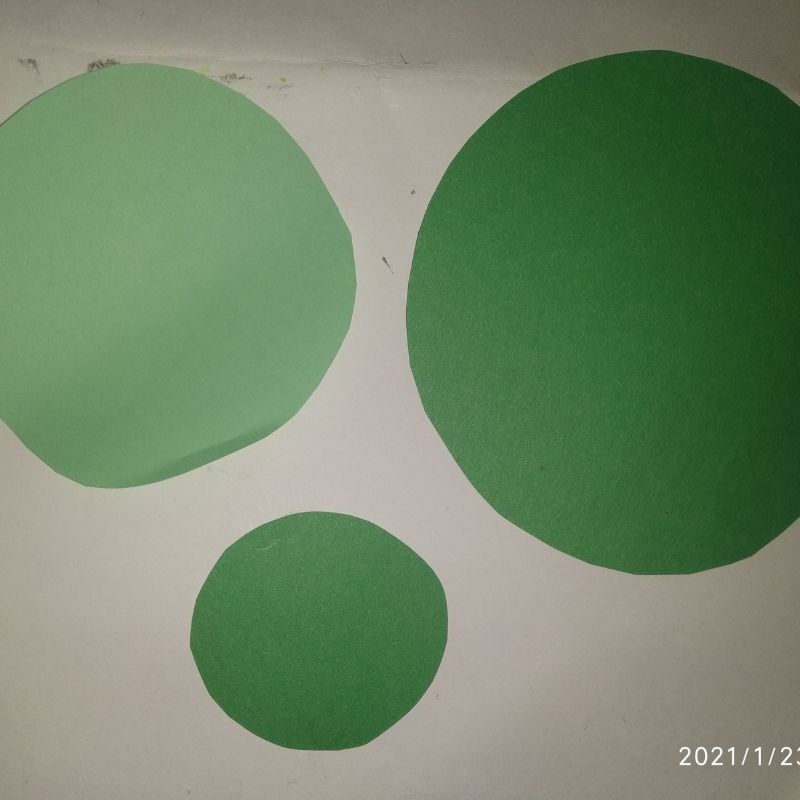
- First, we would start with the body of the tortoise.
- So we need a green sheet of paper, cut a circle of around 12 cms from the paper and keep aside.
- Next, take a light green sheet of paper and cut a circle of around 10cms from it and keep aside.
- Now, again cut a circle of around 8cms from the green sheet and cut it and keep aside.
- Now stick the light green circle on top of the bigger green circle.
- Finally, stick the smaller green circle on top of the light green circle.
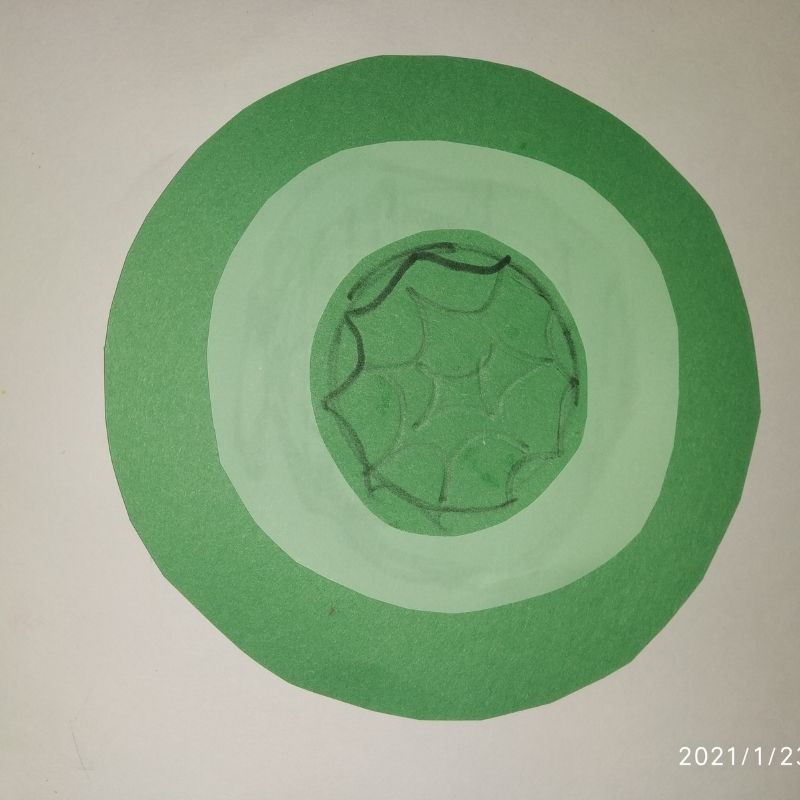
- Now we have the bony case of the tortoise ready
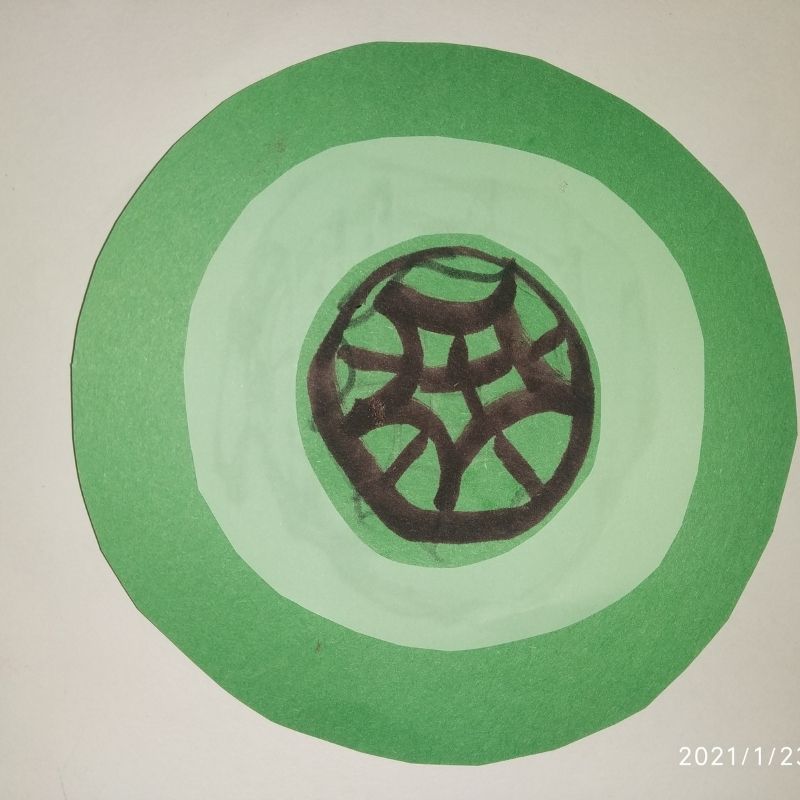
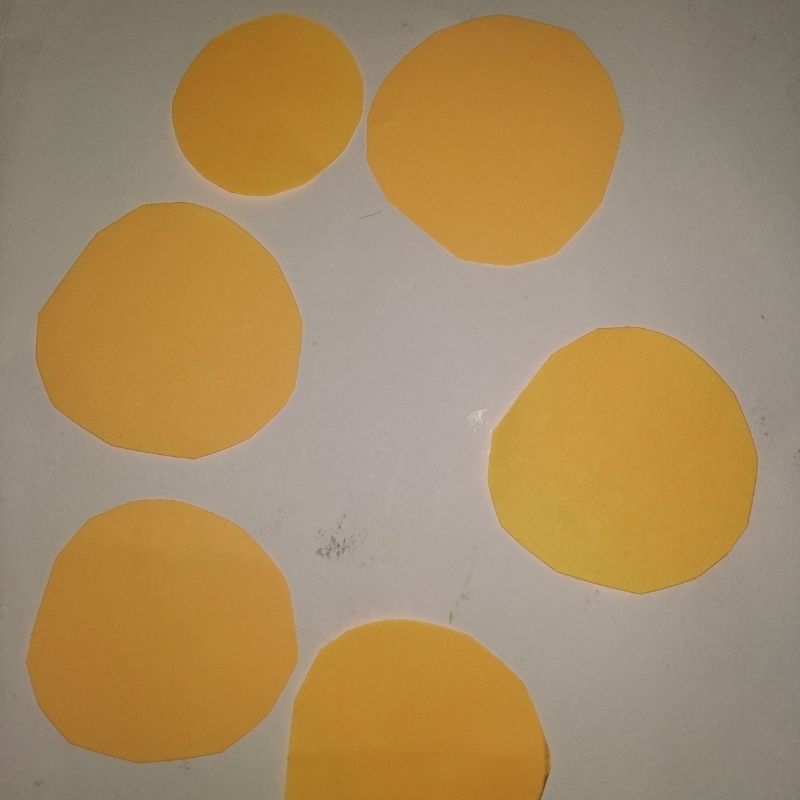
- Next, we need the yellow sheet of paper for the face, legs and the tail.
- Draw and cut 5 circles of around 4cms. One for the face and 4 for the legs.
- Next, draw and cut a circle of around 2cms for the tail.
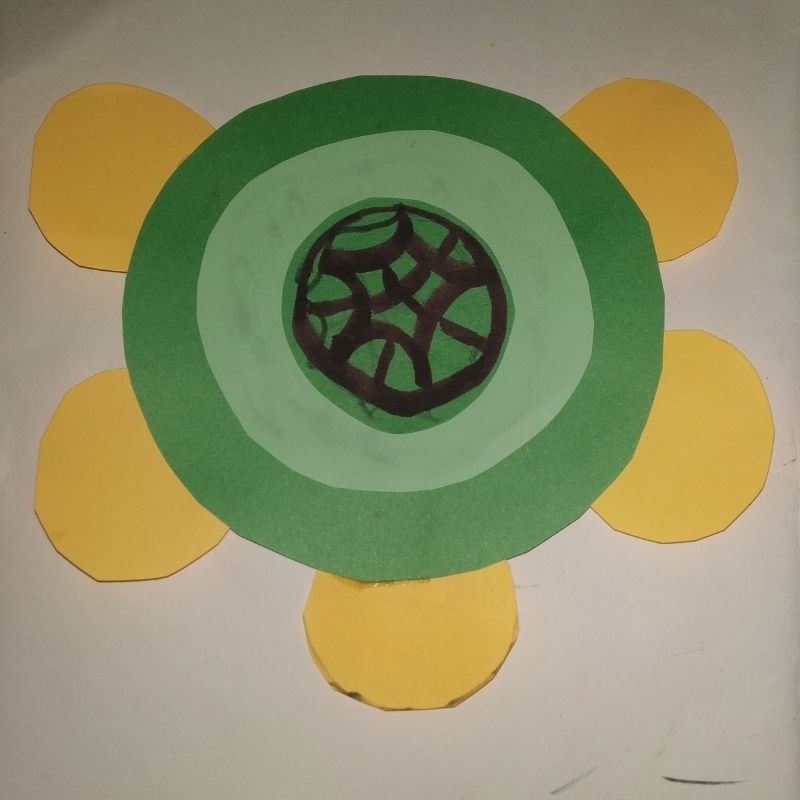
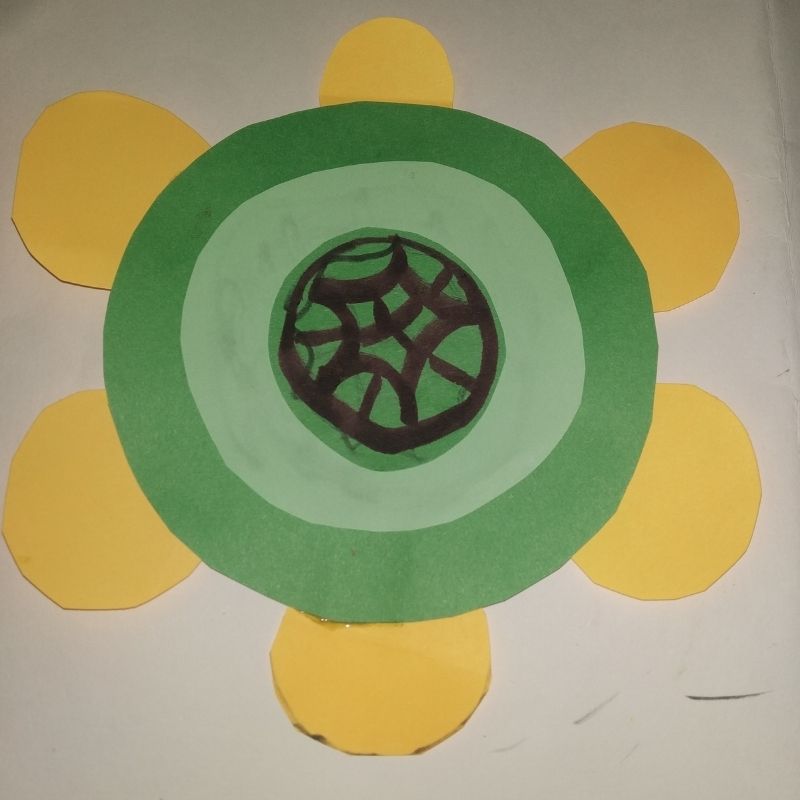
- Now assemble the circles along with the bony case as legs, face and the tail. Stick them in place
- Next, stick googly eyes on the face and add details to the legs and the face using a black sketch pen
- Take a red sheet of paper and draw and cut the mouth. Stick it on the face.
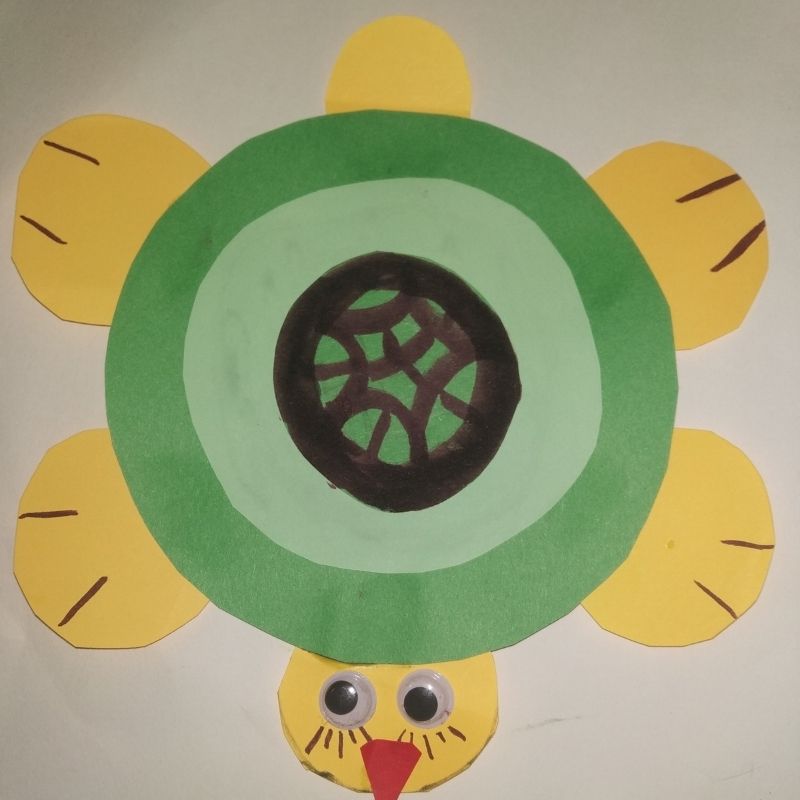
- Your beautiful geometric paper tortoise craft is now ready.
