Hi kids! Roses are red is a cliché…roses can be pink, blue, purple, orange, yellow, white and much more colourful.
Let’s know how to make our own rolled paper roses which would last longer than the natural one’s and at the same time adore our vases or walls in the form of a beautiful bouquet or wall hangings.
Let’s follow these simple steps and start creating our version of beautiful simple yet rolled paper roses. These DIY rolled paper flowers are just perfect for kids to decorate anything.
Materials Required to make Rolled Paper Roses
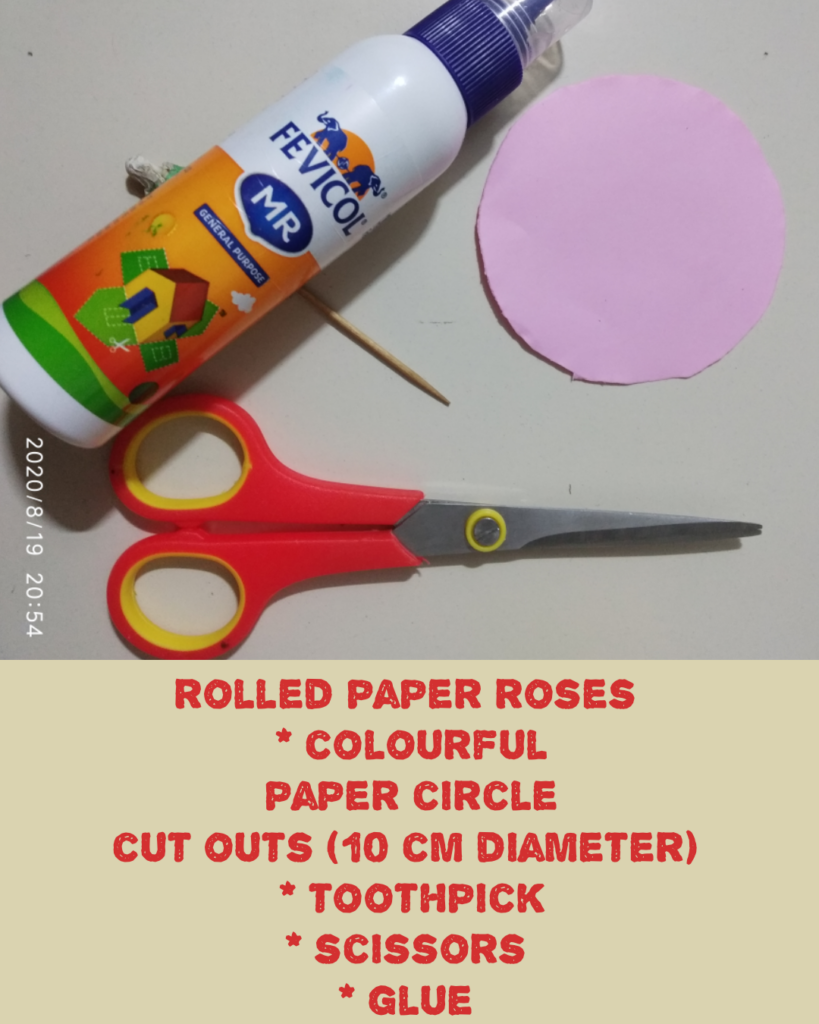
- Coloured paper circle cut-outs (10cm diameter)
- Toothpick
- Scissors
- Glue
Step by step procedure to make Rolled Paper Roses
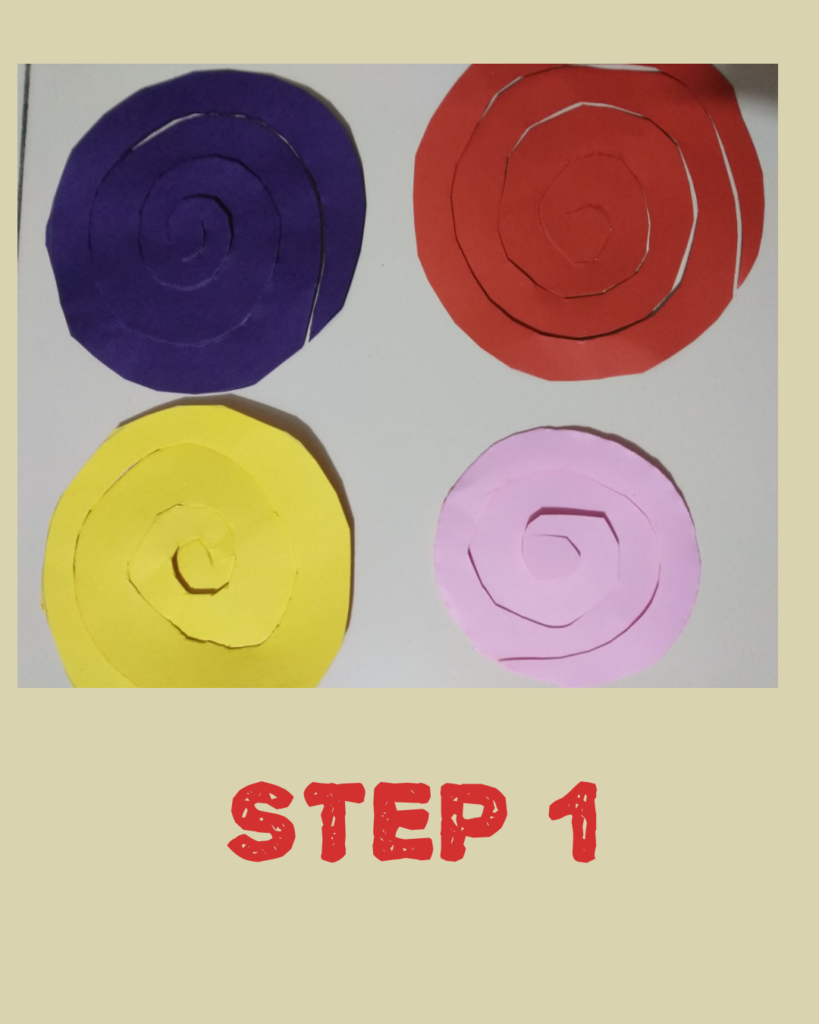
- Take a circle cut out and cut into a spiral starting from the periphery of the circle.
- Start cutting along the entire circumference of the circle from outside to inside.
- Once you do this you get a spiral or a coil form of this circle cut out.
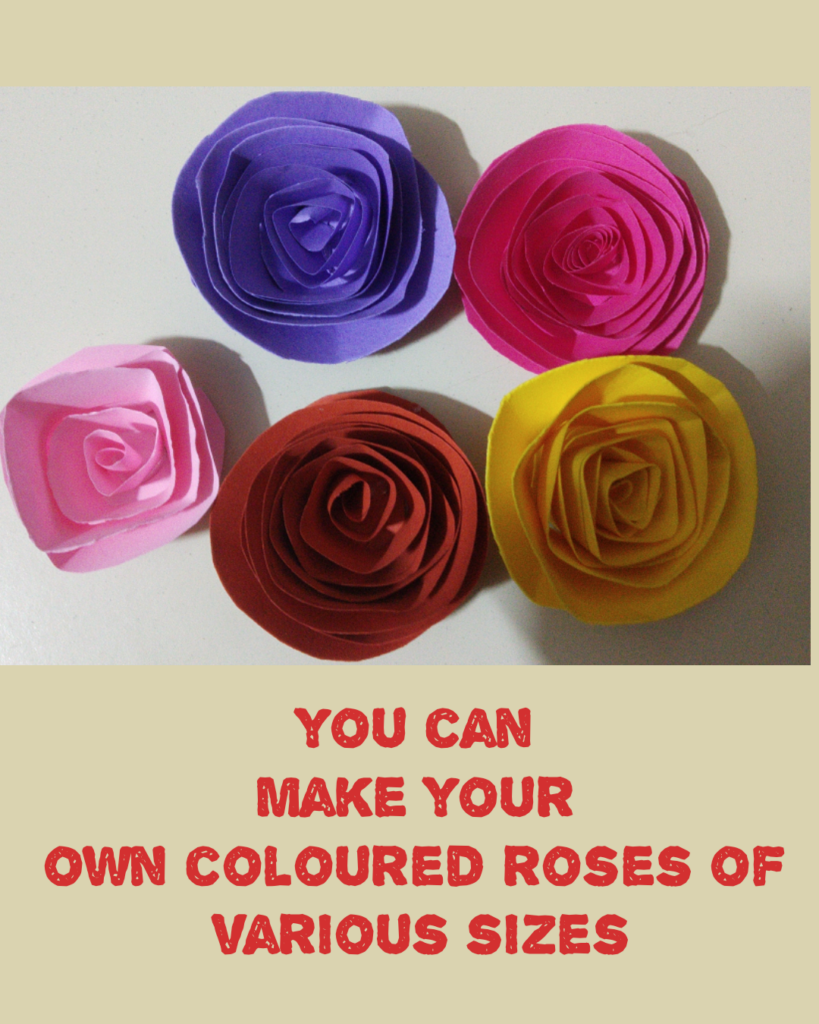
- You can have a variety of coloured circles and cut them in a coil fashion for making a colourful bunch of roses.
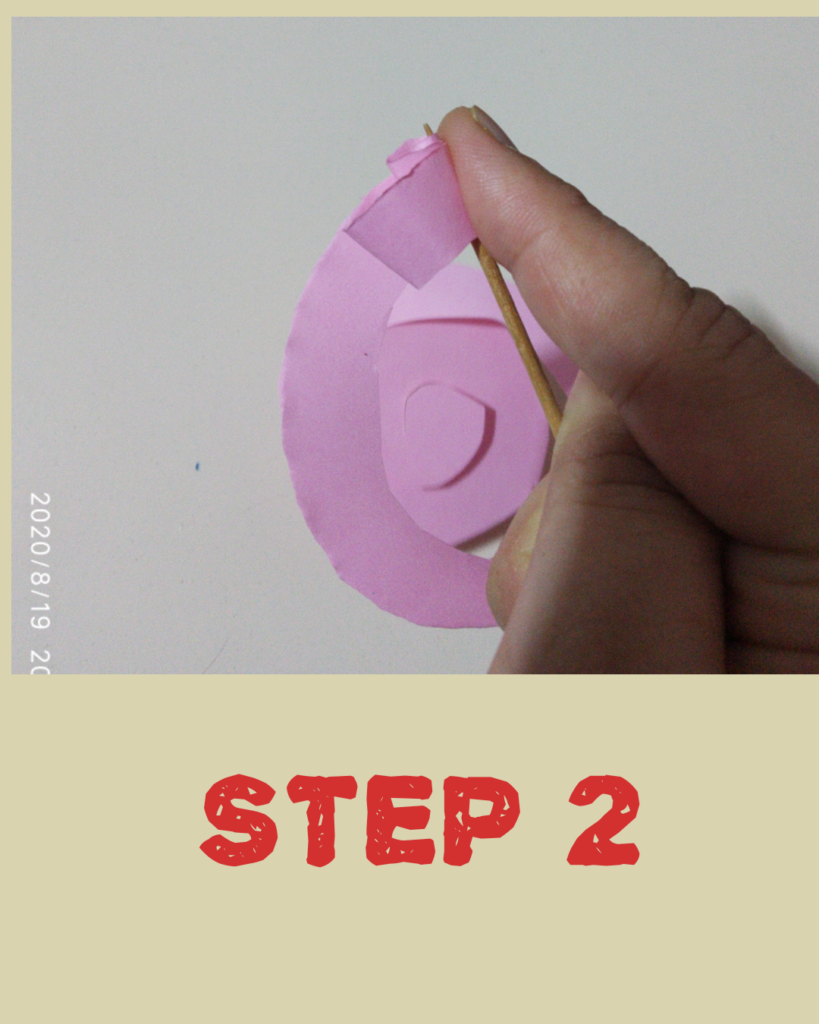
- Take one coiled circle and slowly from the outer end start rolling it over a toothpick till the centre.
- Do it slowly and gradually making sure it is rolled properly over the toothpick.
- Once done you will get a rolled circular form of the circle.
- This is the base of your rose.
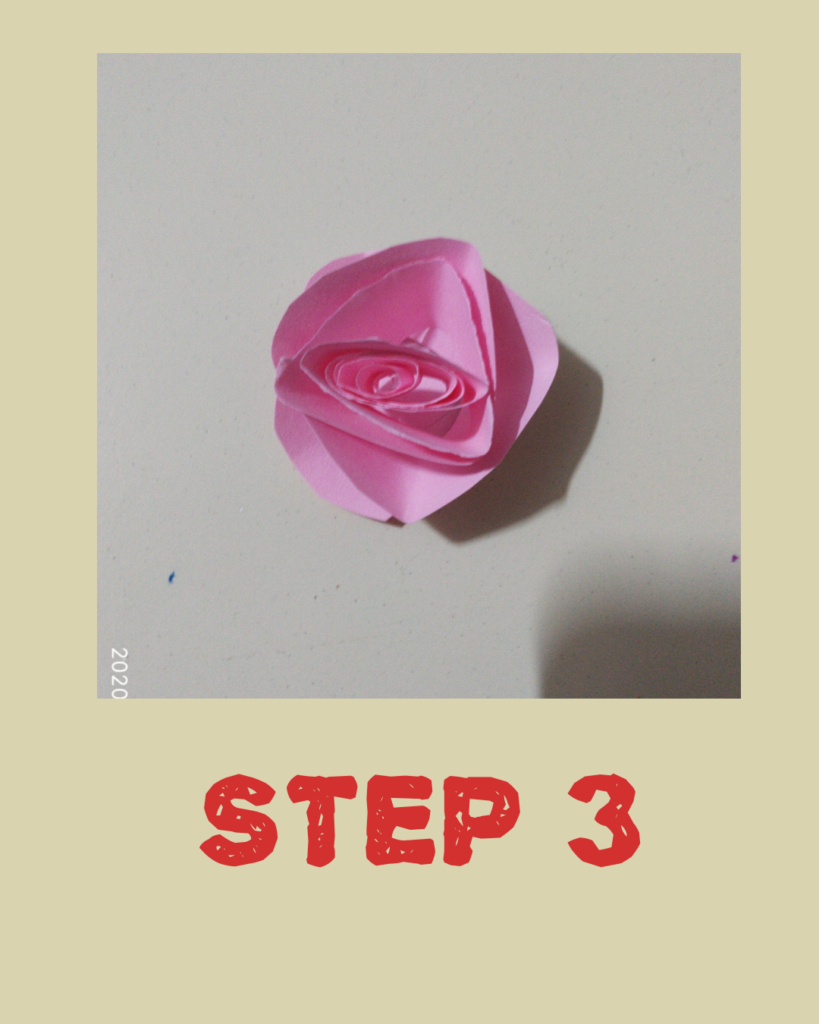
- Now with your fingers slowly open the rolled coils and spread it with the fingers to attain the shape of rose petals.
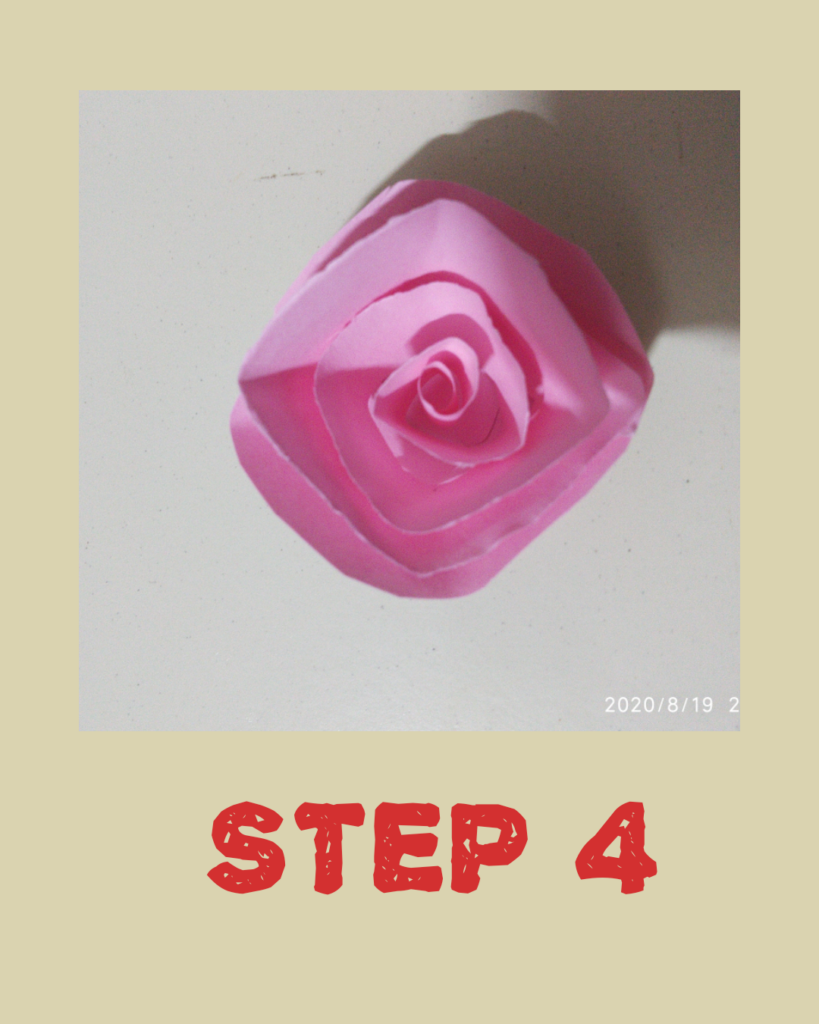
- Continue the same with all other colours.
- You can make a range of coloured roses big and small with different coloured paper circles.
- For the added effect of a rose bunch or a bouquet cut small leaves using green paper and attach to the roses.
- That’s it, kids! Your rolled paper roses are ready. You can spray some perfume over these roses to give them a nice fragrance too.




Be the first one to comment on this story.