Ho ho ho! It’s the Christmas season and all of us want dear Santa to visit us with exciting gifts! Well yes, who doesn’t love gifts? So let’s celebrate Christmas with our beautiful creations! We can make our very own paper Santa Claus décor. Let’s get started with simple at-home art and craft supplies.
Today we will make a beautiful spring paper Santa Claus which you can hang on your doors and windows and welcome dear Santa at our home.
Follow the instructions to know how to make paper Santa.
Materials Required to Make Paper Santa
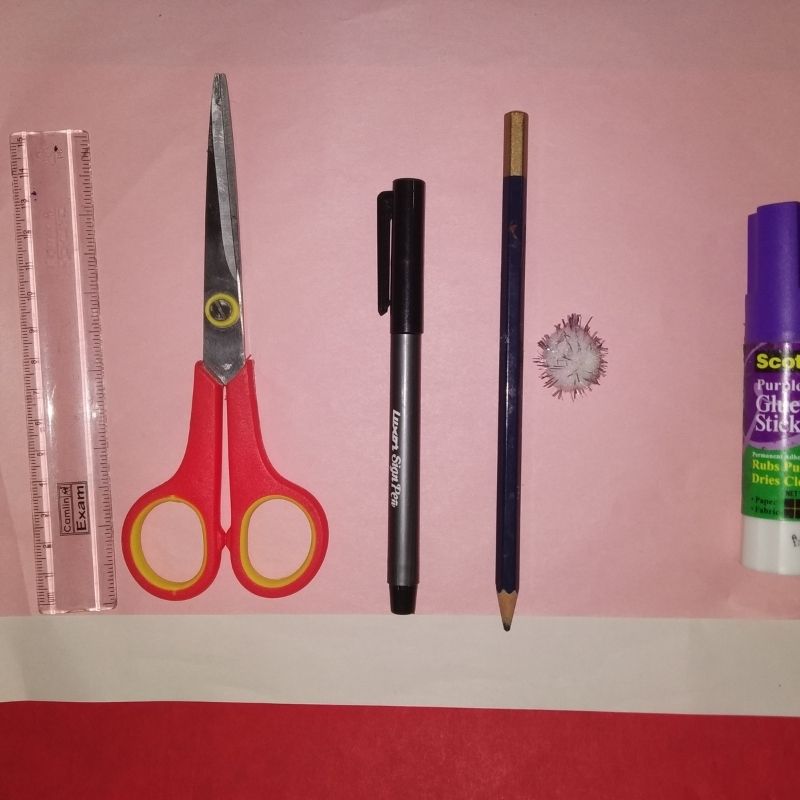
- Red paper
- Pink or light orange paper
- Small sized white or any bright coloured Pom pom ball
- White paper
- Sketch pens
- Pencil
- Scissors
- Glue
How to Make Paper Santa Step by Step
- Take a red sheet of paper and cut around 8-10 strips of around 2cm by 15cm.
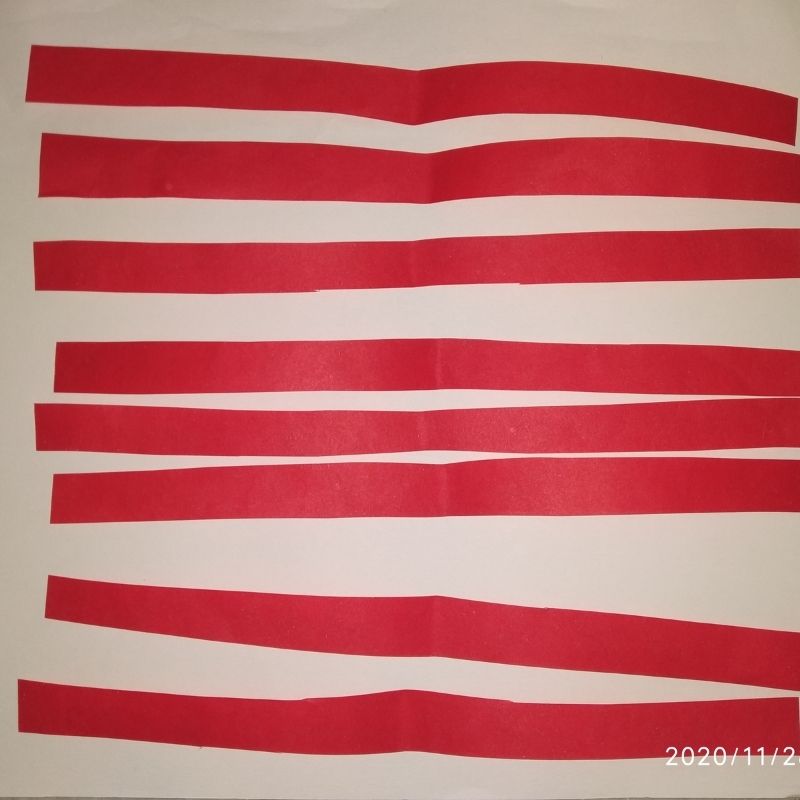
- Take another red sheet and cut around 8 strips of 1cm by 10 cms.
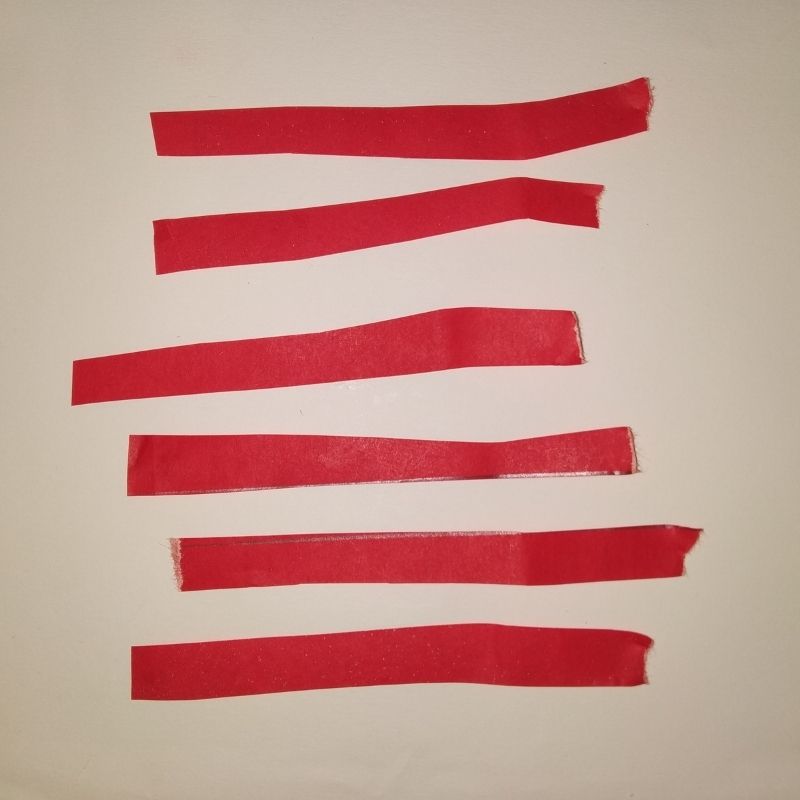
- Now start with the bigger strips and arrange them in a criss-cross fashion.
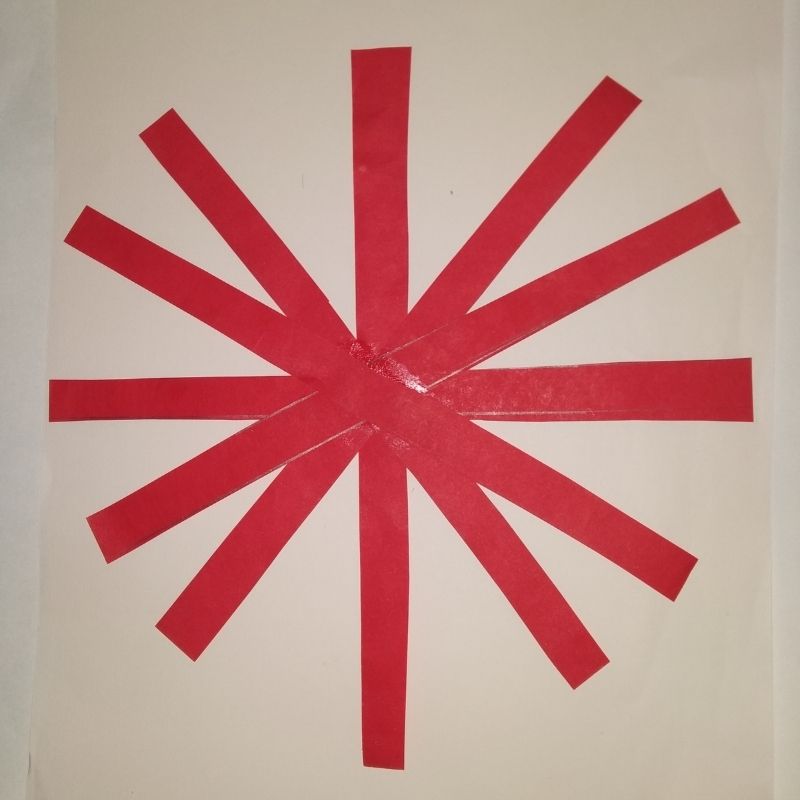
- Stick the strips in the centre portion and keep the ends free.
- Now join the ends to form a paper ball.
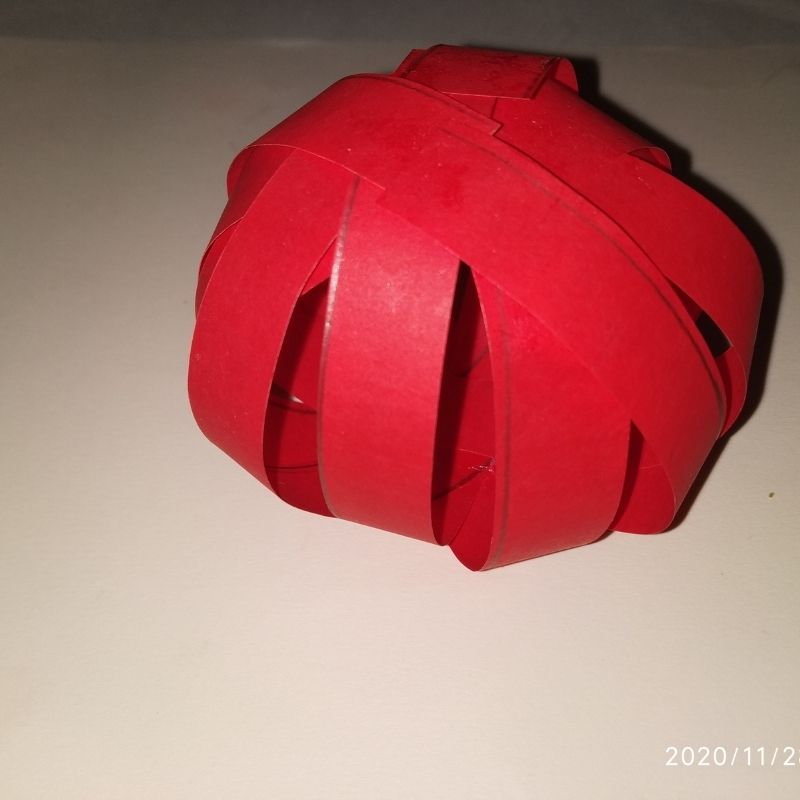
- Keep this paper ball aside.
- Follow the same steps with smaller strips and make a smaller sized paler ball with those strips.
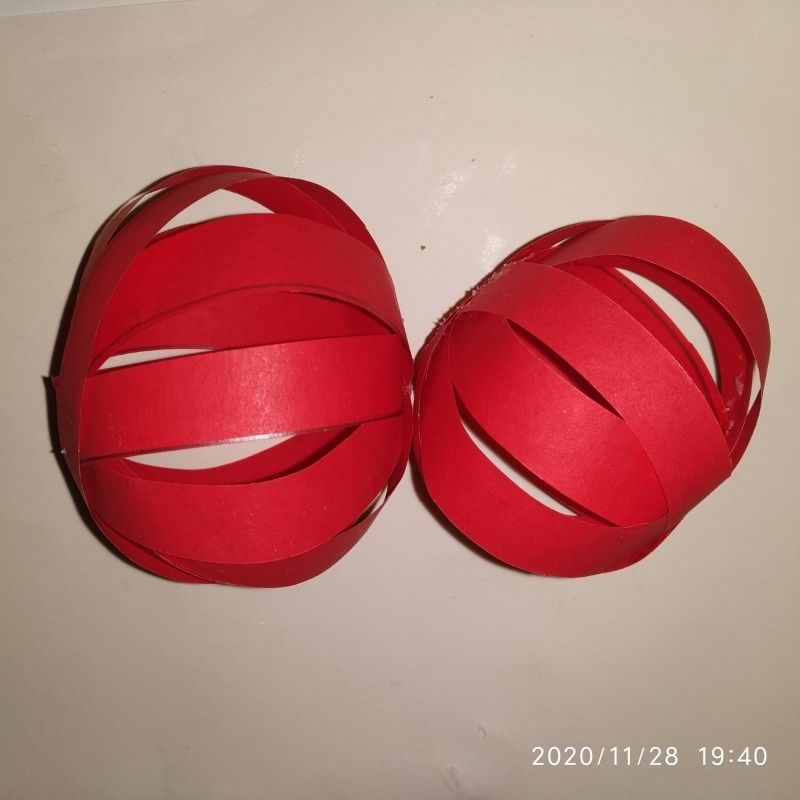
- Now stick the smaller paper ball over the bigger paper ball.
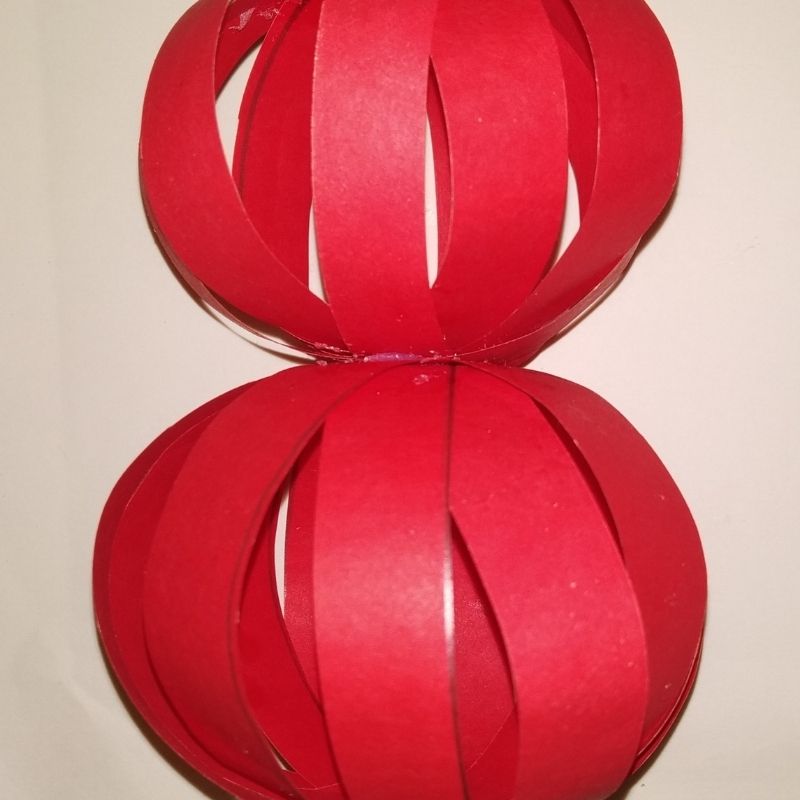
- This is the framework of our Santa Claus.
- Next, take a white sheet of paper and draw the face and beard of the Santa using this paler.
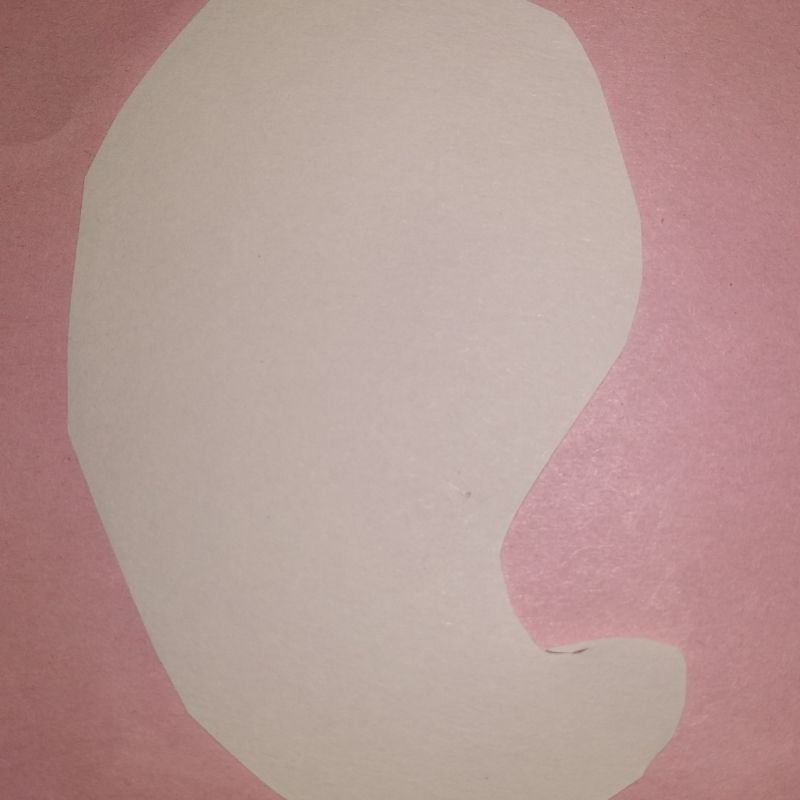
- Cut it and stick it on the front surface of the smaller paper ball.
- Cut a small circle using a pink or a light orange sheet and stick it on this white portion to make the face of the Santa Claus.
- Next, draw and cut the moustache of Santa with the nose using a white paper.
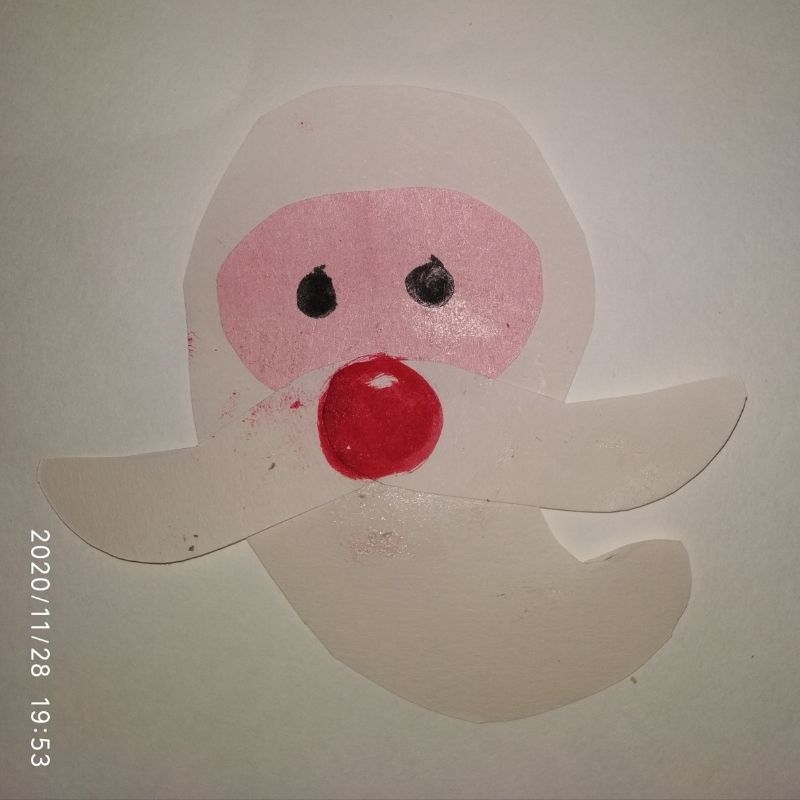
- Colour the more using red colour
- Stick the moustache just beneath the face in the centre.
- Finally, add details like eyes to the face using a black sketch pen.
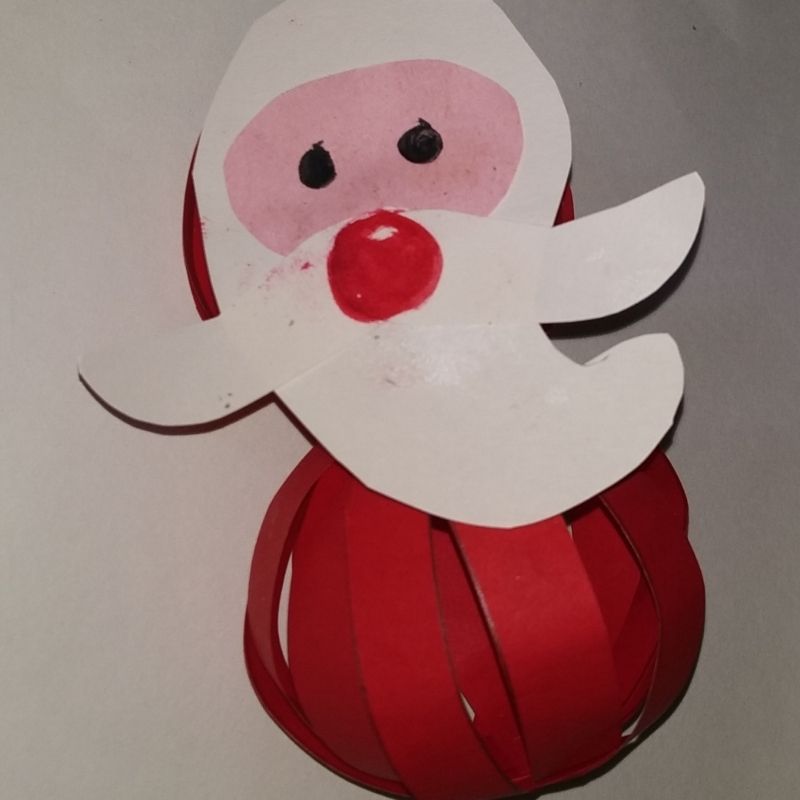
- Next, stick a white or any bright coloured pom-pom ball on top of the smaller red ball. This would serve as the pom-pom on the Cap
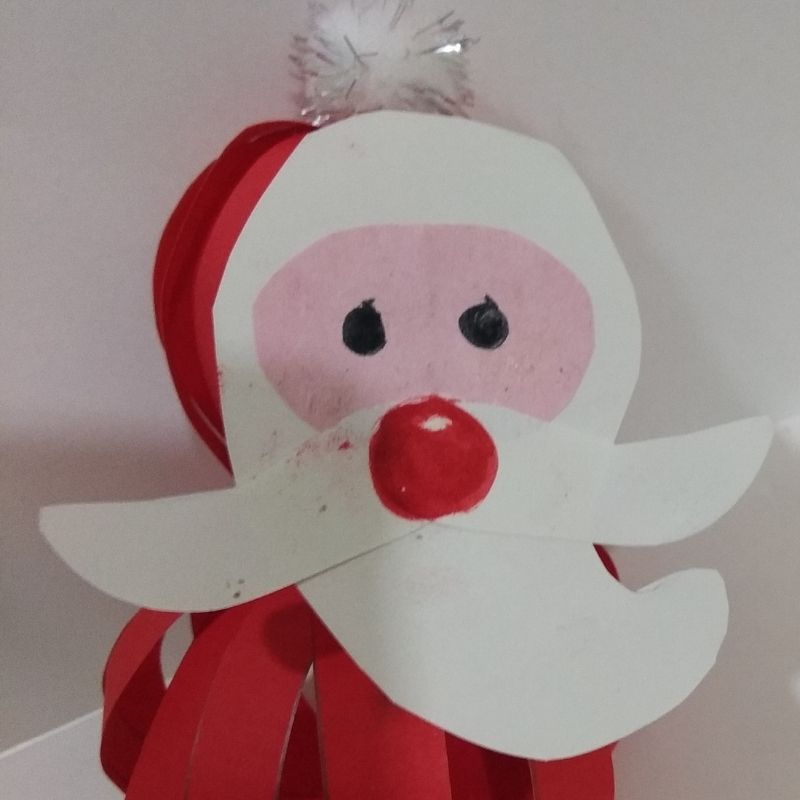
- That’s it, kids! Your spring paper Santa Claus is all ready for Christmas!


