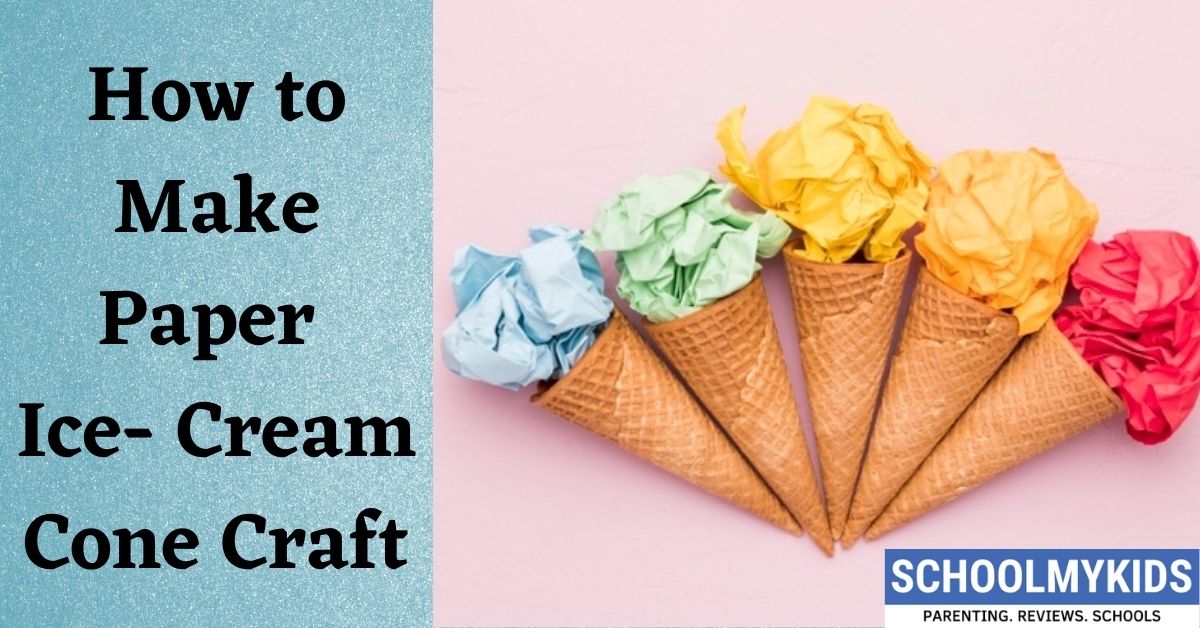
Hello, kids today we are going to make the favourite dessert of all children. Any guesses? Yes, ice cream…
Just a few basic craft and art supplies to create your own ice-cream cone.
Let’s do it, kids!
Paper Ice-Cream Cone Crafts for Kids
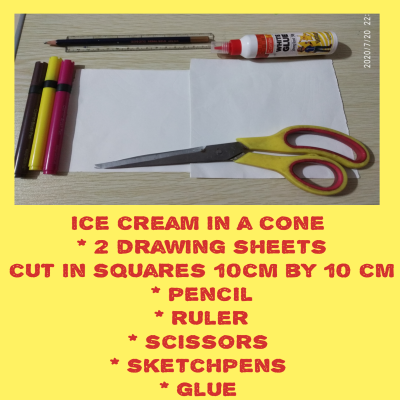
Materials Required:-
- 2 square drawing sheets 10×10 cm
- Sketch pens
- Pencil
- Ruler
- Scissors
- Glue
How to make Paper Ice Cream Cone step by step:-
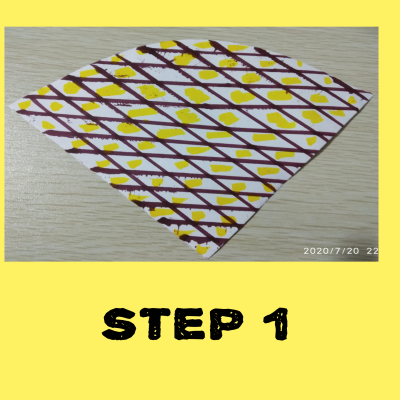
1.Take a square sheet and cut into a cone. Colour it in a crisscross fashion resembling a waffle cone.
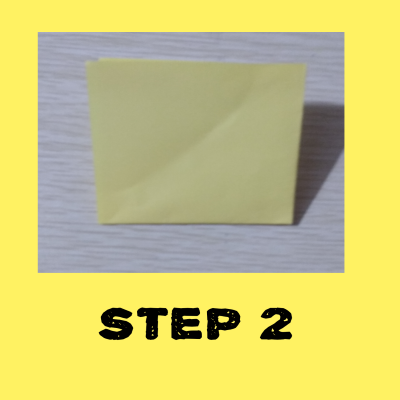
2.Take another square sheet and colour it yellow. Fold into half and further into a square. Now fold this smaller square into a triangle.
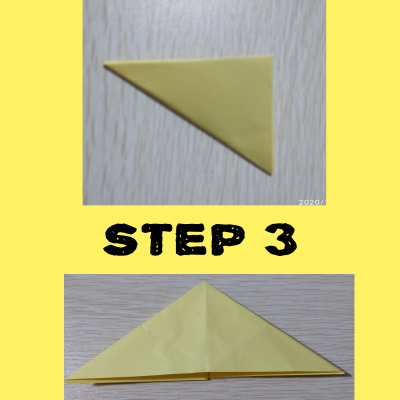
3.Now open this paper to observe all the folds. Fold on the horizontal fold line inwards to form small triangles on the sides. This would form a bigger triangle now.
4.Colour this triangle from all sides in horizontal patterns to form the swirl of the ice cream.
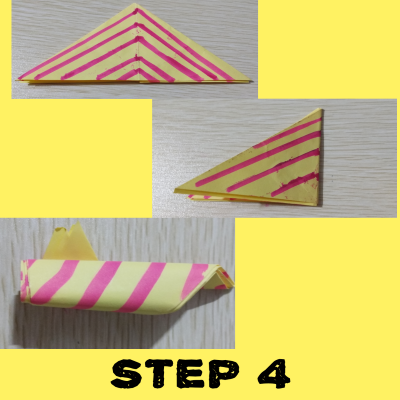
5.Again fold this triangle into half to form a smaller triangle. Now roll this smaller triangle. Open the roll. You will have four swirls of ice cream now.
6.Now take the first coloured square sheet and fold to form an ice cream cone. Just stick the ends with the glue for this.
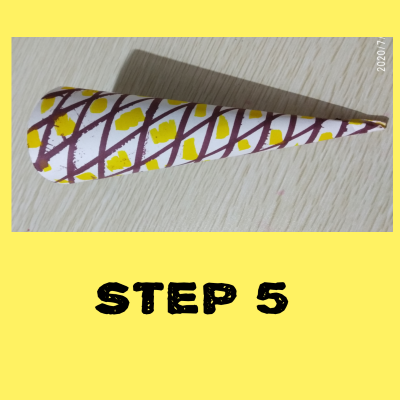
7.On the top portion of the cone, stick the four ends of the triangular swirls.
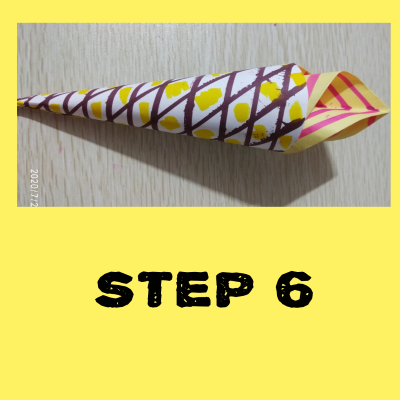
8.Your ice cream cone is ready.
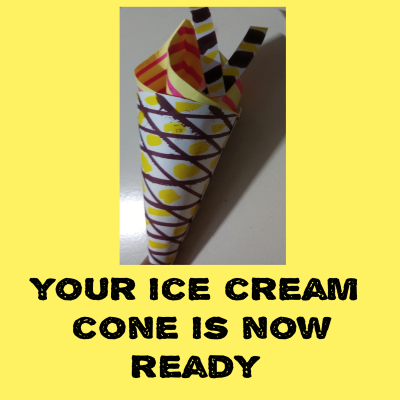
9.You can even add choco sticks or any favourite fruit coloured, cut and pasted over the swirl as a topping.
Happy ice cream making kids.





Be the first one to comment on this story.