Hello dear kids! It’s the christmas season and all of us love to decorate our homes on Christmas. When it’s Christmas, there comes the xmas tree, snowman, Santa Claus and so many Christmas ornaments. One such ornament is the Christmas bell which all of us love to hang on our Christmas trees. Don’t we? Yes, so let’s get going and make one beautiful pair of Christmas bell décor.
Follow the instructions to know how to make amazing paper Christmas bells.
Materials Required to Make Paper Christmas bells
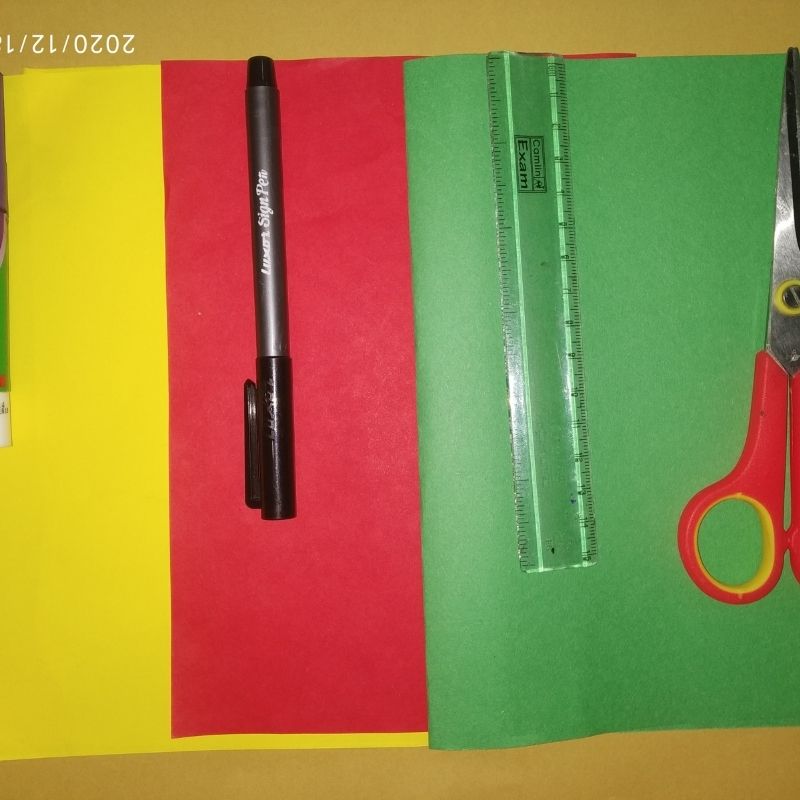
- Yellow paper
- Red paper
- Green paper
- Colourful paper polka dots
- Sketch pens
- Pencil
- Scissors
- Glue
How to Make Paper Christmas Bells Step by Step
- First, we need an A4 sized yellow sheet of paper.
- This is the base of our bells.
- Draw a big circle of around 20cms diameter on this paper and cut it
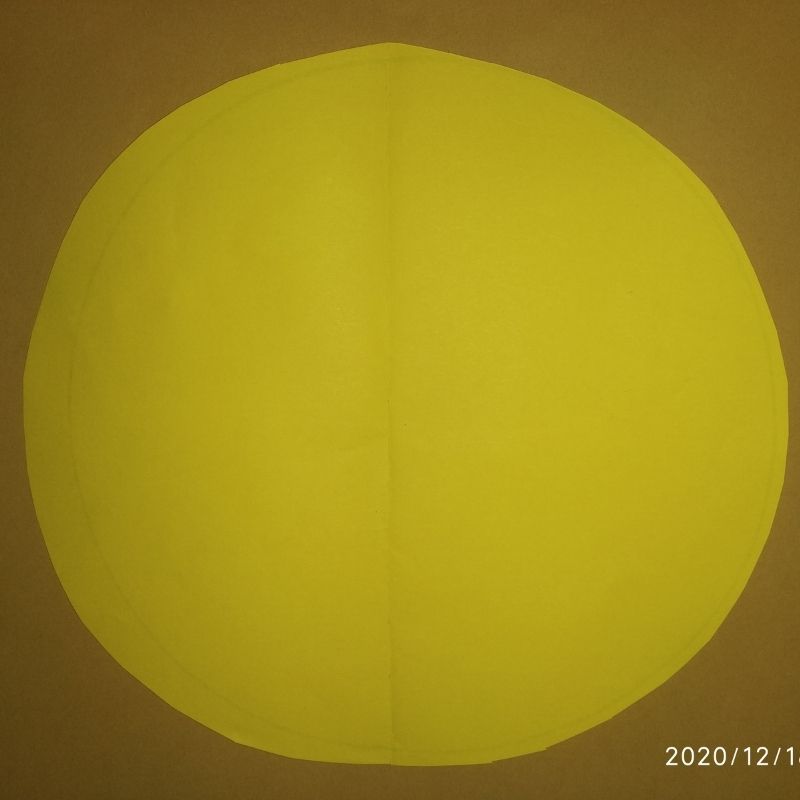
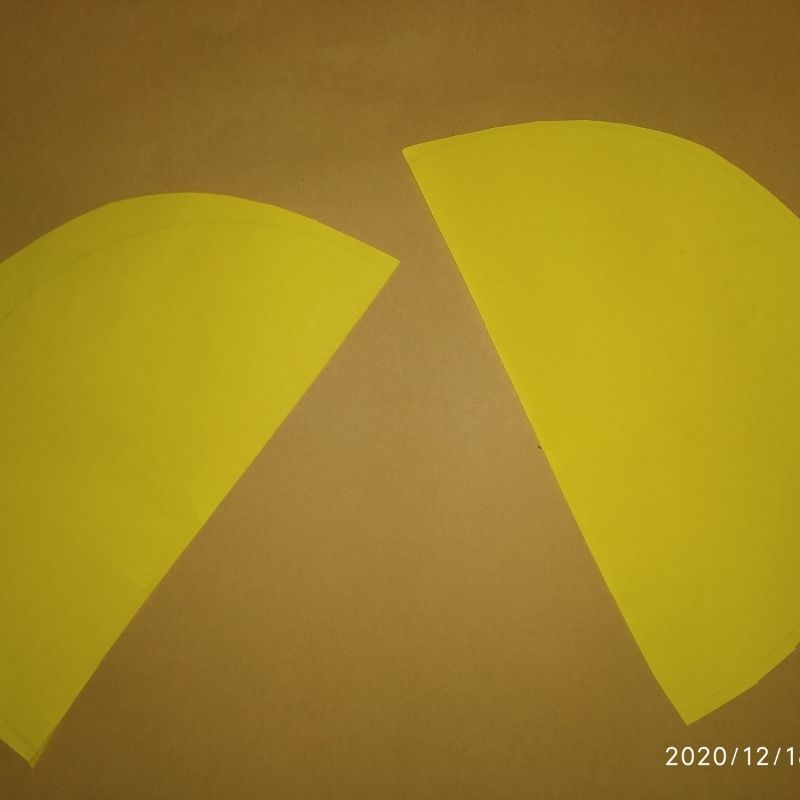
- Now fold it into half and bit two semicircle
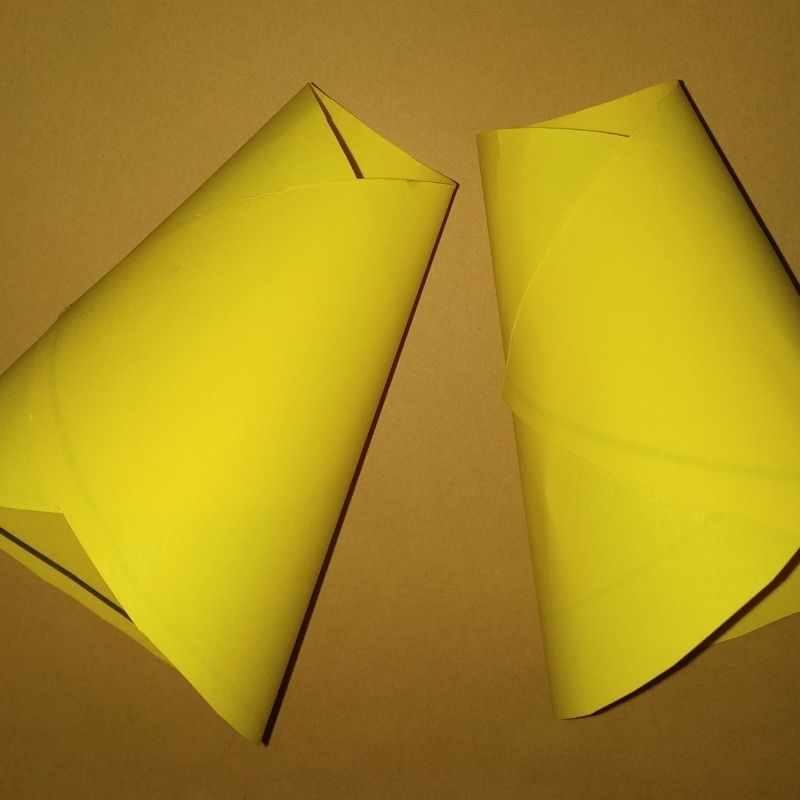
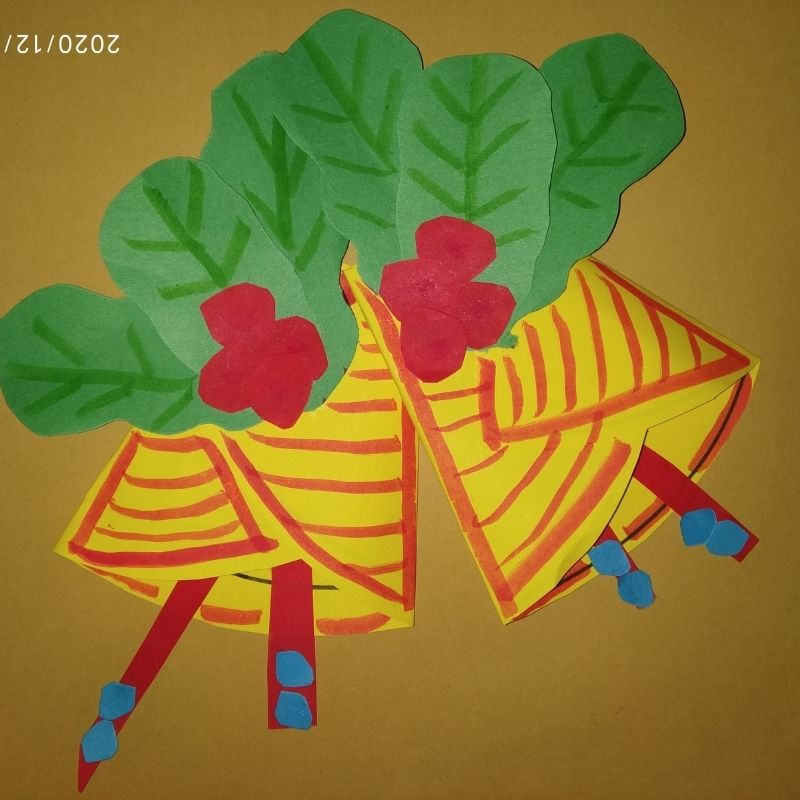
- Next, take one semicircle and encircle it to form a bell. Stick the two sides and keep aside. One bell is ready.
- Follow the same steps with the other semicircle as well.
- Next, take a green sheet of paper and draw holly leaves on it. Cut around 6 leaves.
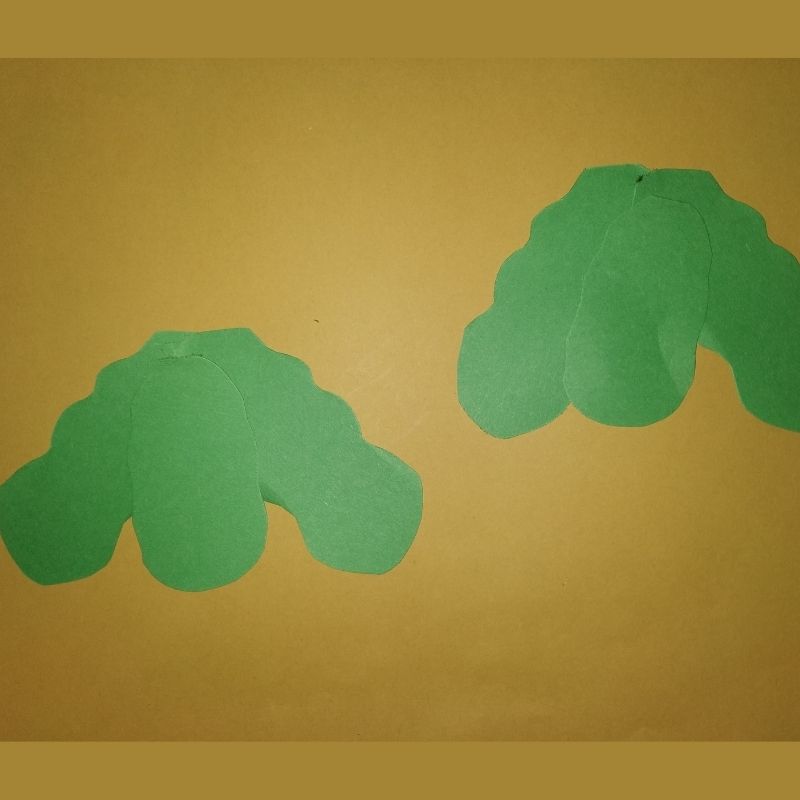
- Stick three leaves on top of one bell and three on another bell.
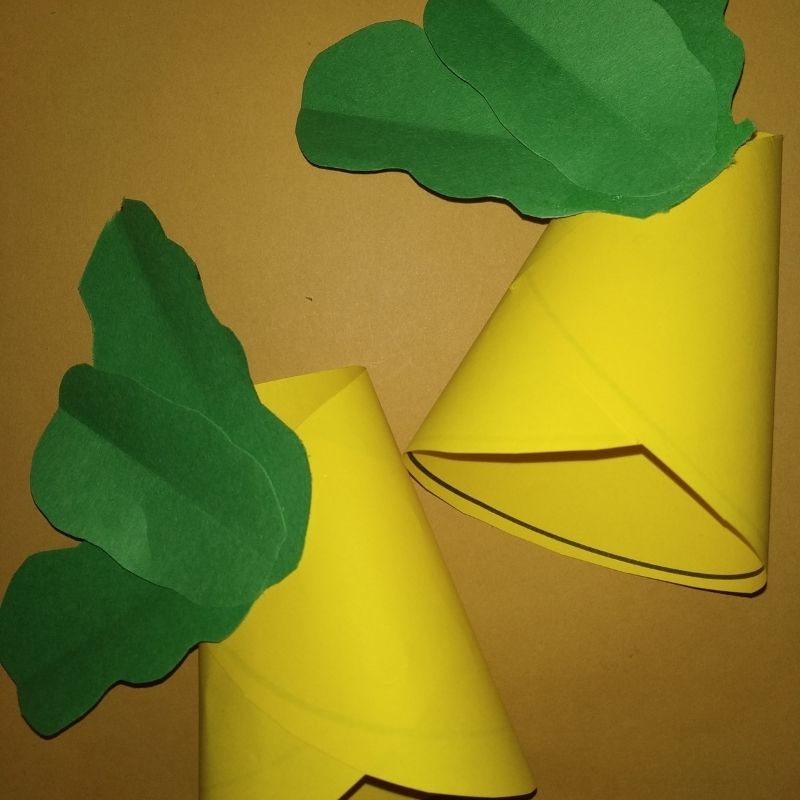
- After this, take a red sheet of paper and draw berries on it. You need 6 berries.
- Cut the berries and stick three on one bell and three on another bell.
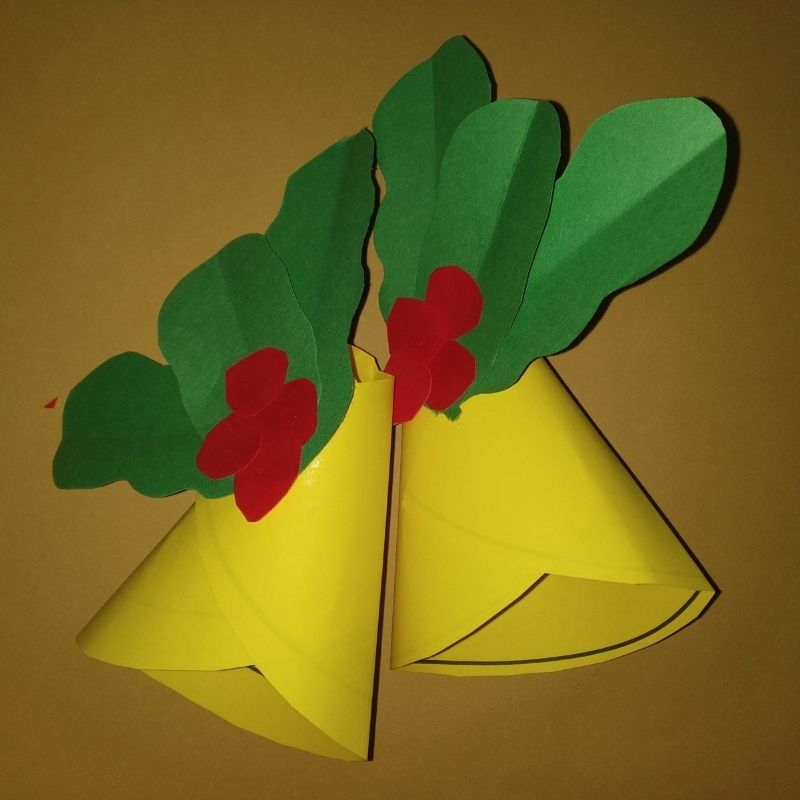
- Your Christmas bell is almost ready.
- To add a final touch for the bell take a red sheet of paper and cut small strips around the length of the bell. Cut two such strips and stick it inside the bell.
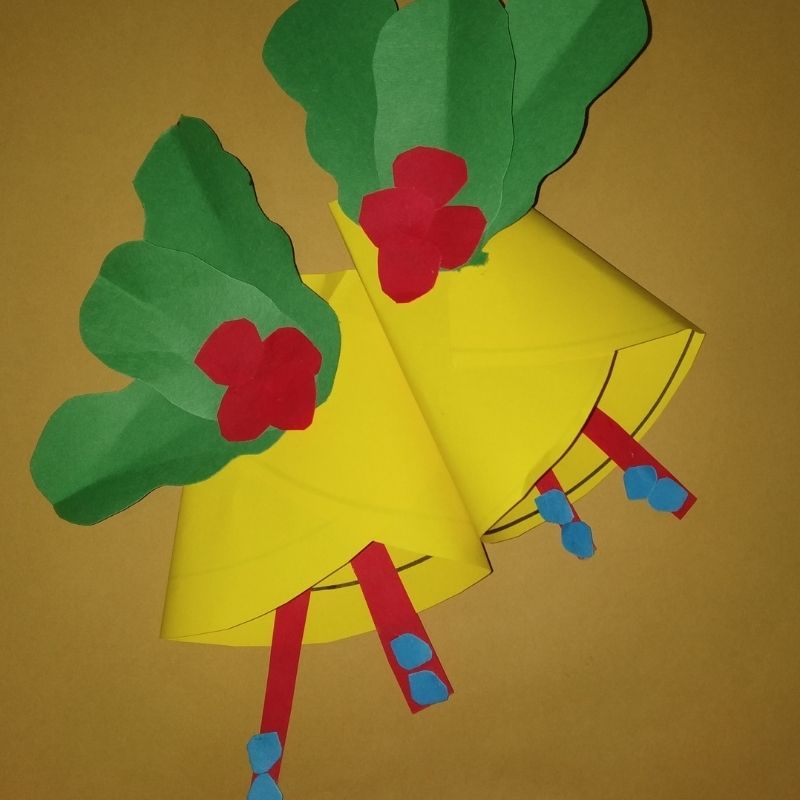
- Decorate the end of the strip with colourful polka dots. Stick these dots on the end of the strips. Follow the same steps for the other bell as well.
- That’s it, kids! Your colourful paper Christmas bells are ready!
- Enjoy and try for yourself!






Be the first one to comment on this story.