A photograph speaks a thousand words. What better than a photo frame to cherish sweet memories and get back to good old days. It’s indeed a warm feeling to flip through photo albums. We all have that one photo with our family or friends which stands out in the photo frame. So today’s we will make one beautiful pair of photo frame using basic craft supplies and adore our walls with memories all over.
Follow these simple steps to know how to make origami photo frame
Materials Required to make Origami Photo Frame
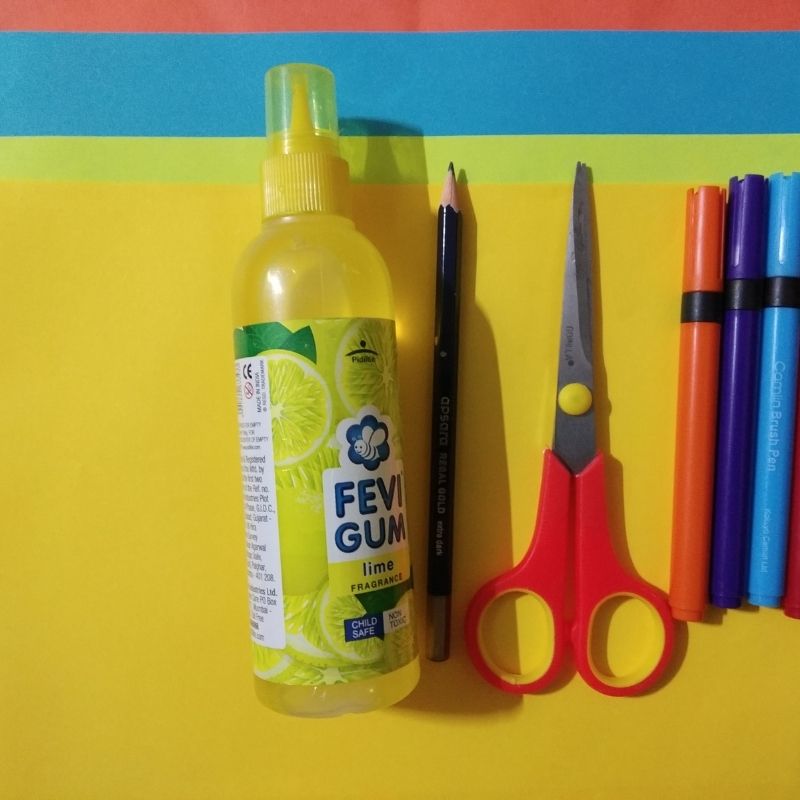
- Colourful papers
- Pencil
- Sketch pens
- Scissors
- Glue
How to make Origami Photo Frame Step by Step
- Take a colourful square sheet.
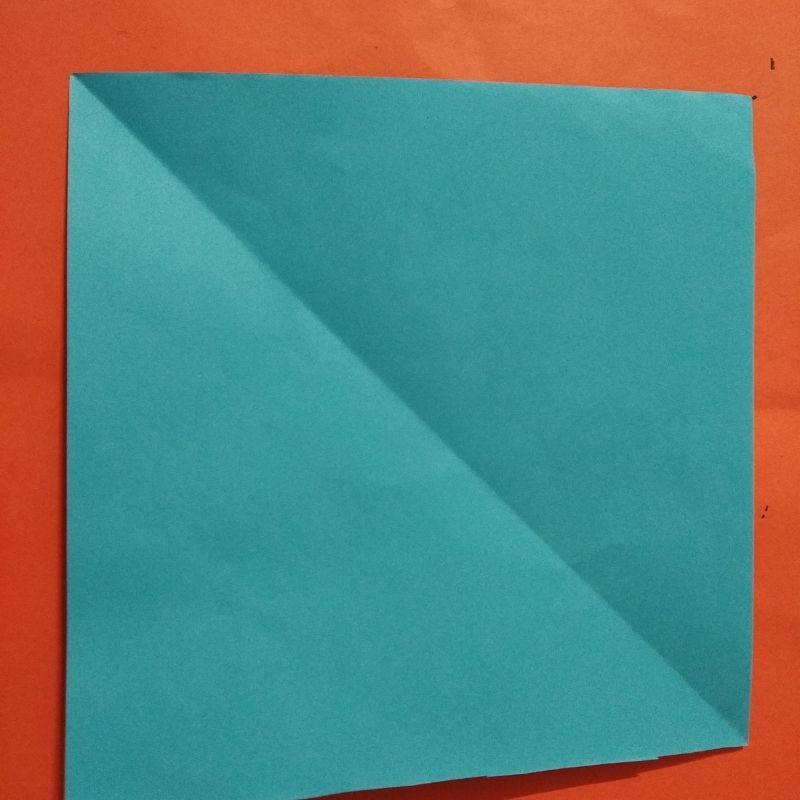
- Next, fold it into a triangle.
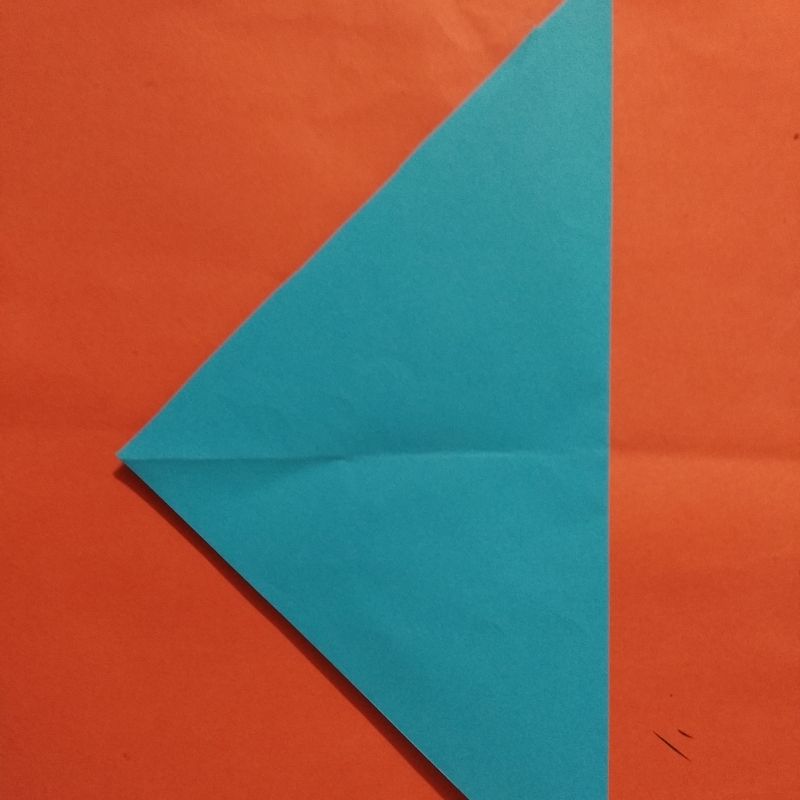
- Open this fold and again fold it into a triangle from another side.
- After you open this fold you will get two midlines one horizontal and one vertical.
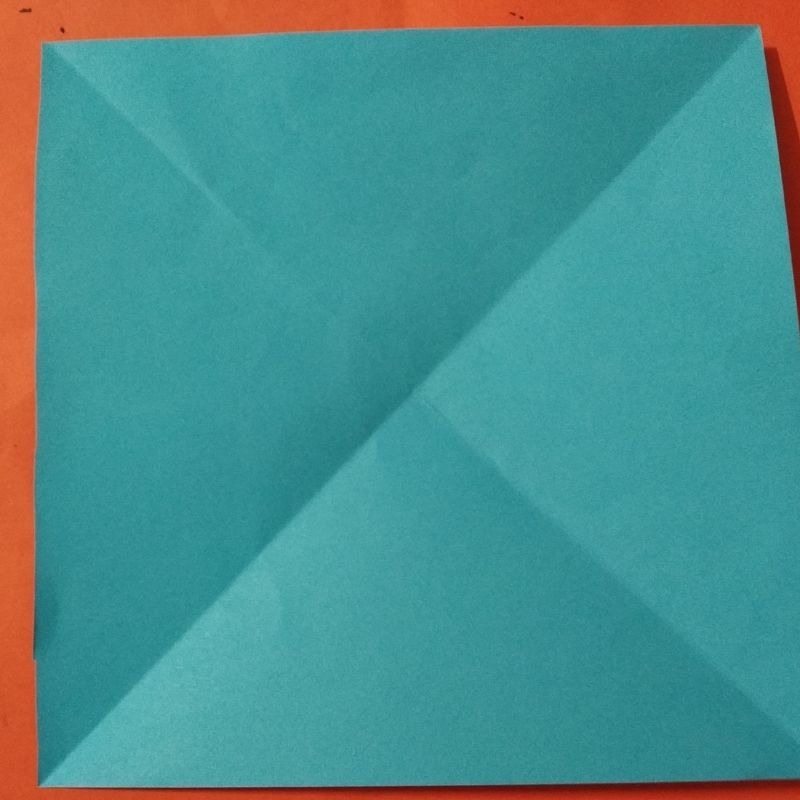
- Now fold the sheet into small triangles on all four sides meeting at the midpoint of this midline.
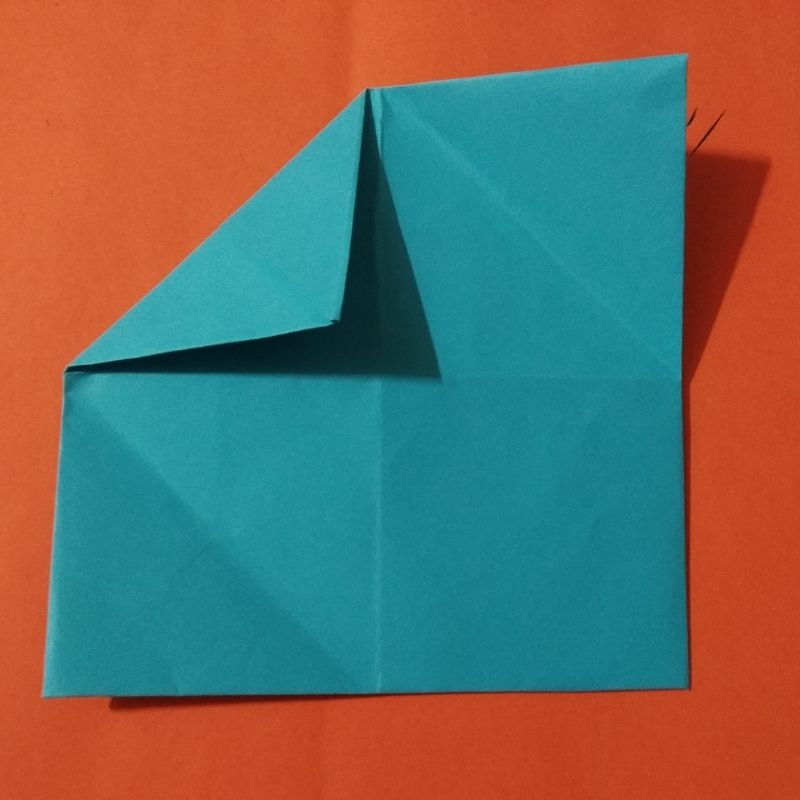
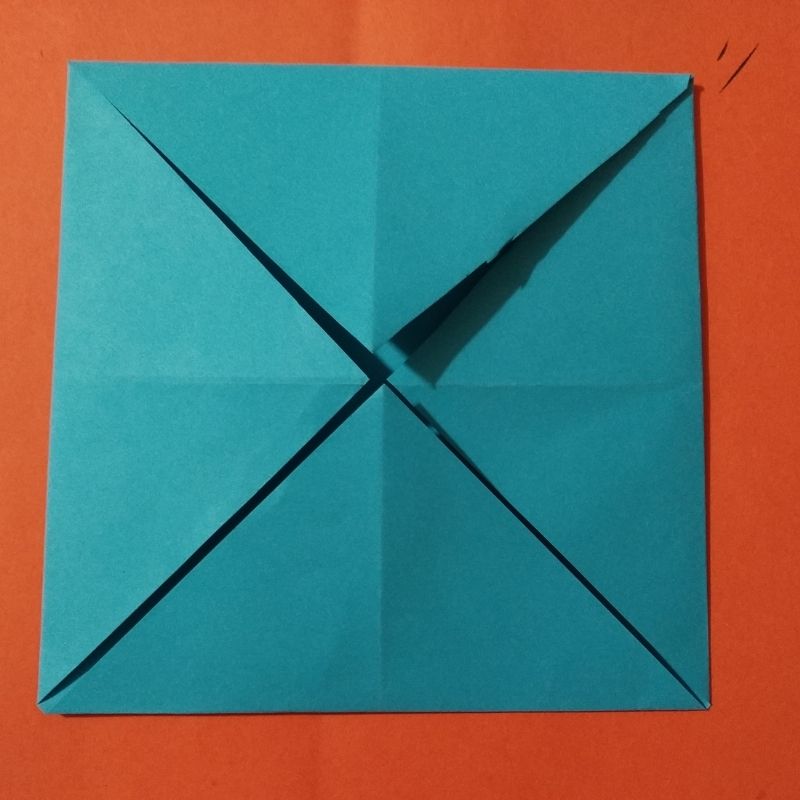
- Now open these triangles and fold the apex of these triangles upwards to form a horizontal crease line.
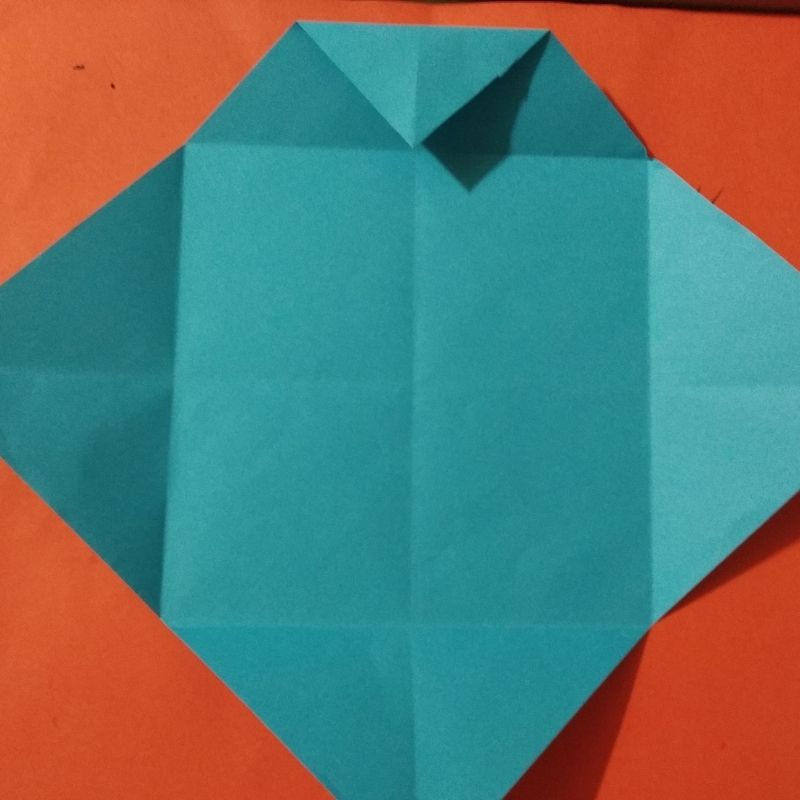
- Further, fold this crease line upwards horizontally across the base of the folded triangle.
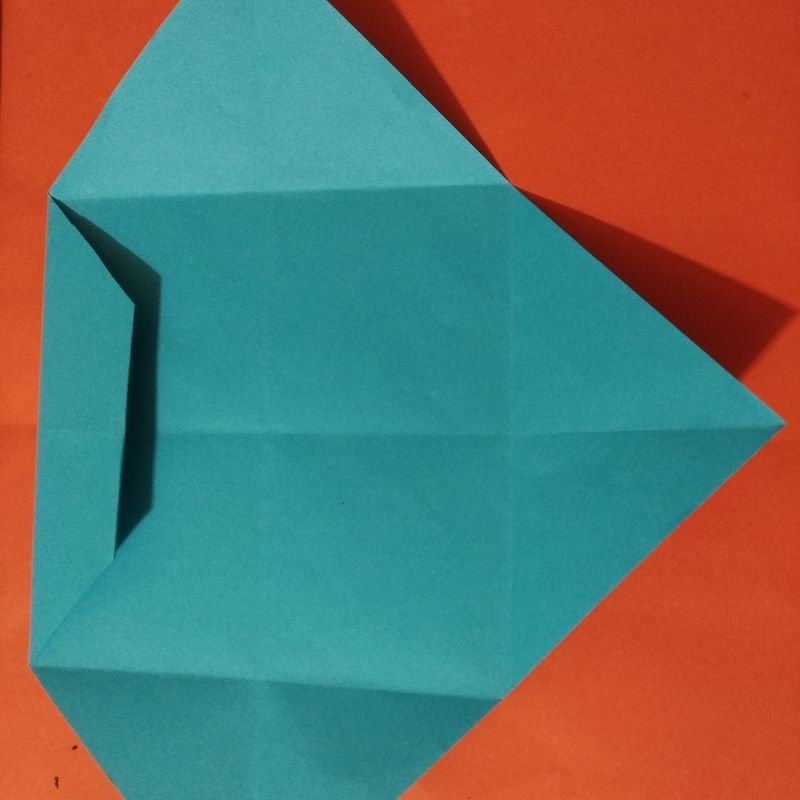
- Do this on remaining sides.
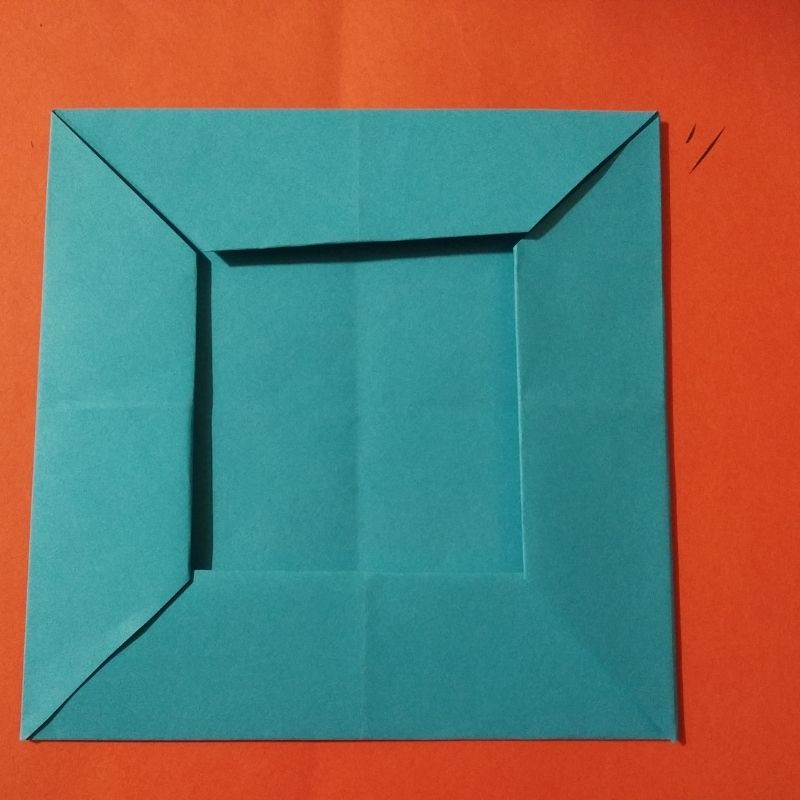
- After this step, you will get the borders of the photo frame.
- Now flip the side and you will have a plain square.
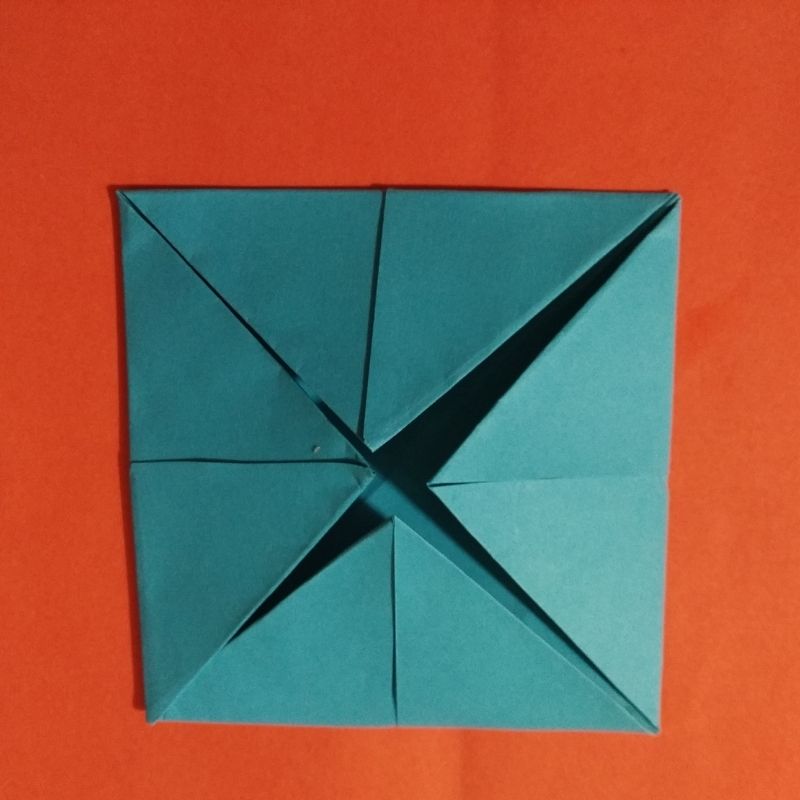
- Now fold this square into four triangles on all four sides meeting at the centre.
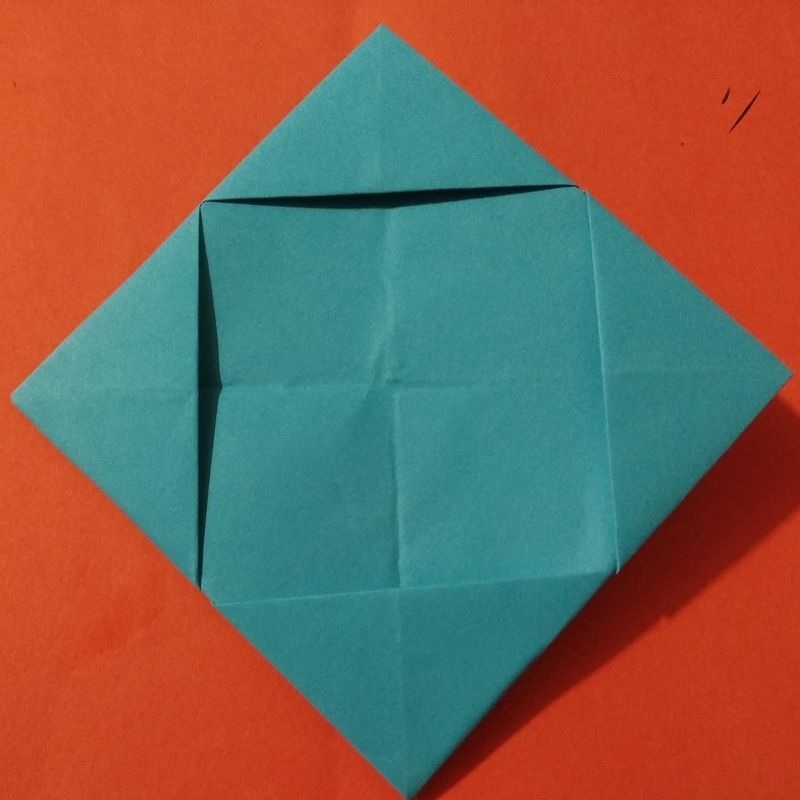
- Again flip it to front, now you will have four neat and tidy borders of the photo frame with a well defined square portion in the centre to hold the photo.
- Next, fold the triangles on the back upwards to be seen in the front on all four sides to give a star appearance of the photo frame on all four sides
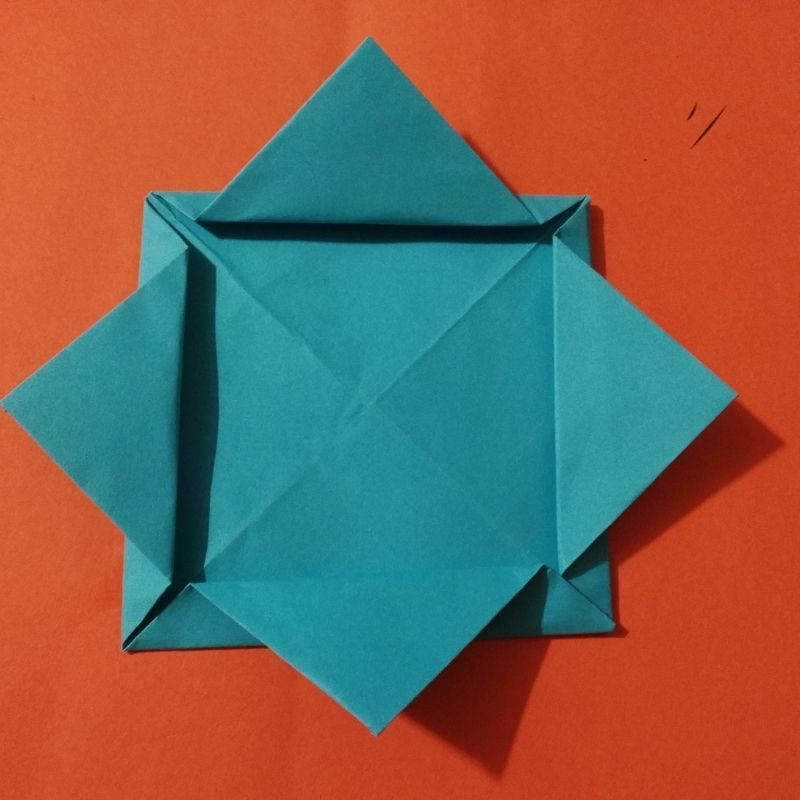
- That’s it children your origami photo frame is now ready.
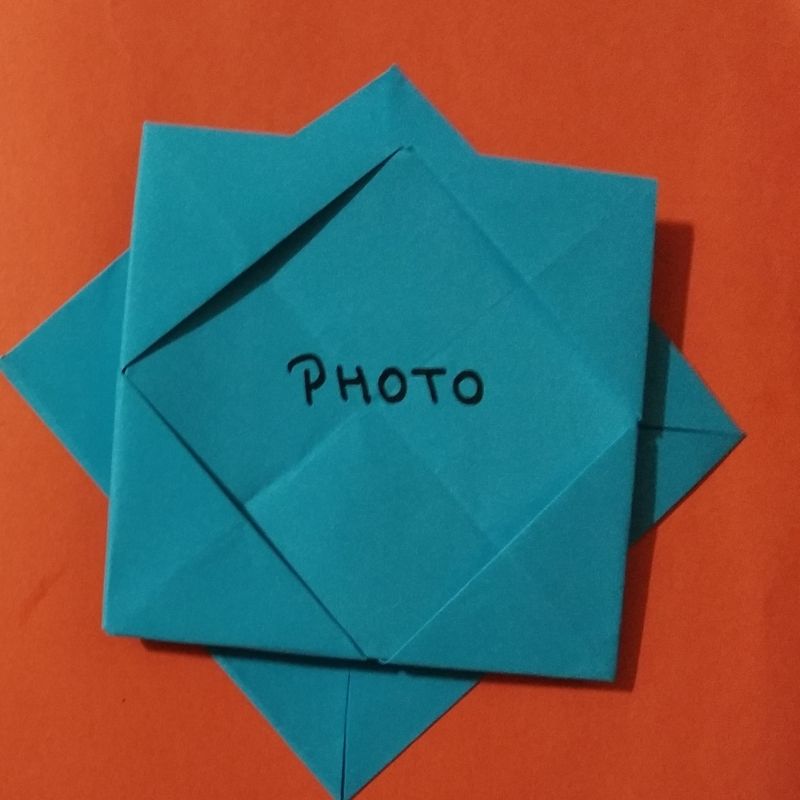
- You can draw and cut some beautiful motifs or colour the frame with sketch pens to make it look more creative.
Enjoy kids.





Be the first one to comment on this story.