Hello kids! We see a thick belt of snow in snow-capped regions in chilly winters. Making a Snowman is one of the most popular kid-friendly sculpting activities loved by kids. Then comes summer and slowly and gradually we see the ice melting and nature bouncing back to its glorious and colourful self. Even the beautiful and creative snowman falls prey to this summer and starts melting.
So let’s make a melting snowman papercraft and cherish our memory of sculpting dear old snowman.
Follow the instructions to make melted snowman paper craft.
Materials Required to Make Melted Snowman Paper Craft
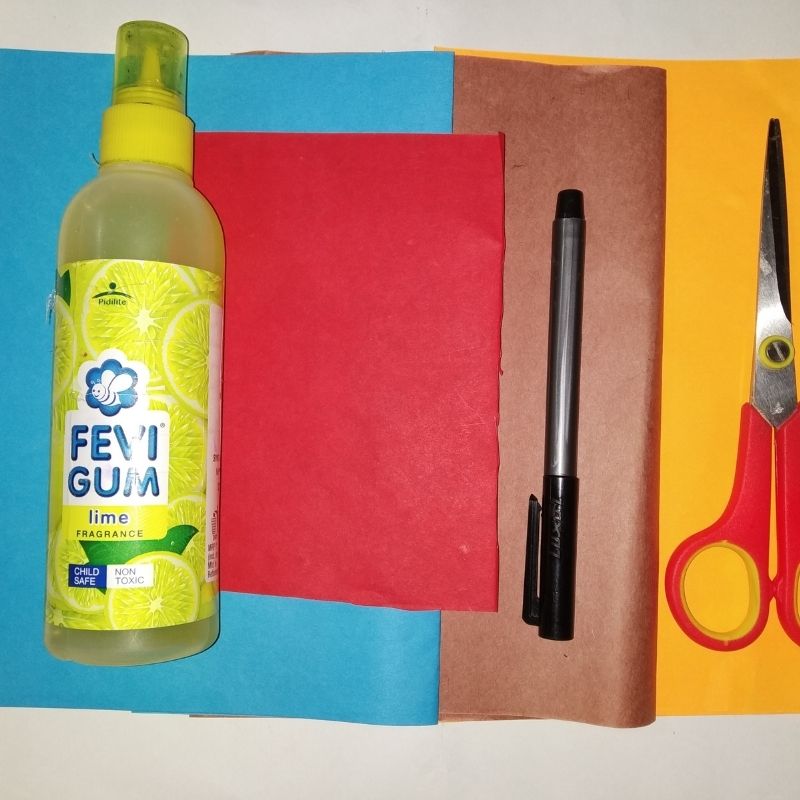
- Blue paper
- White paper
- Red paper
- Brown paper
- Orange paper
- Sketch pen
- Pencil
- Scissors
- Glue
How to Make Melted Snowman Paper Craft Step by Step
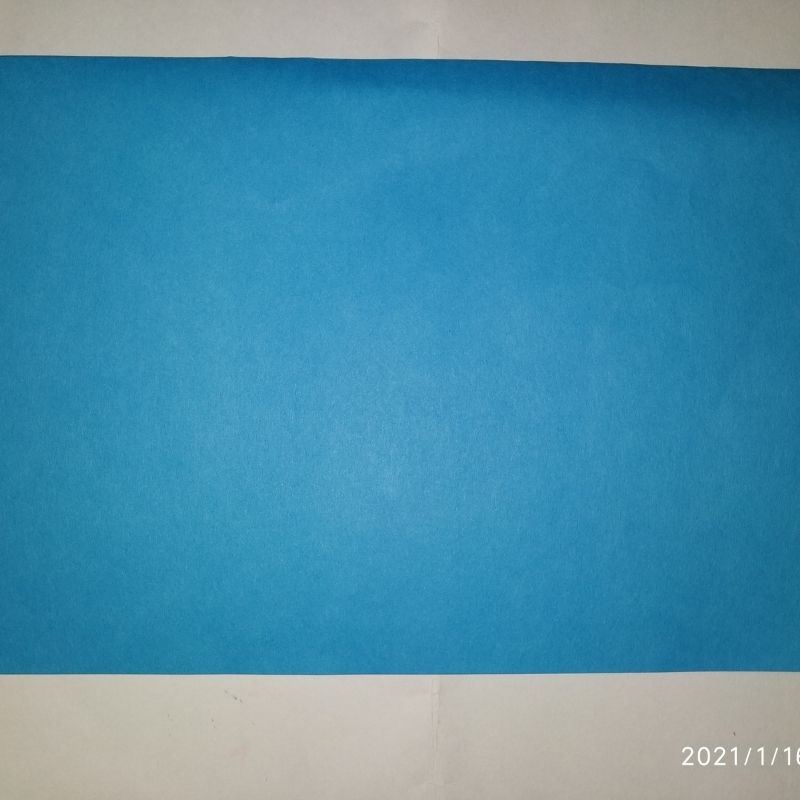
- Let’s start with the blue sheet first.
- We need half the size of an A4 sheet.
- Next, take a white sheet of paper and draw two coils on this paper.
- Make sure the coil is thicker in size and with wavy borders. Cut the coils.
- Keep one coil bigger than the other.
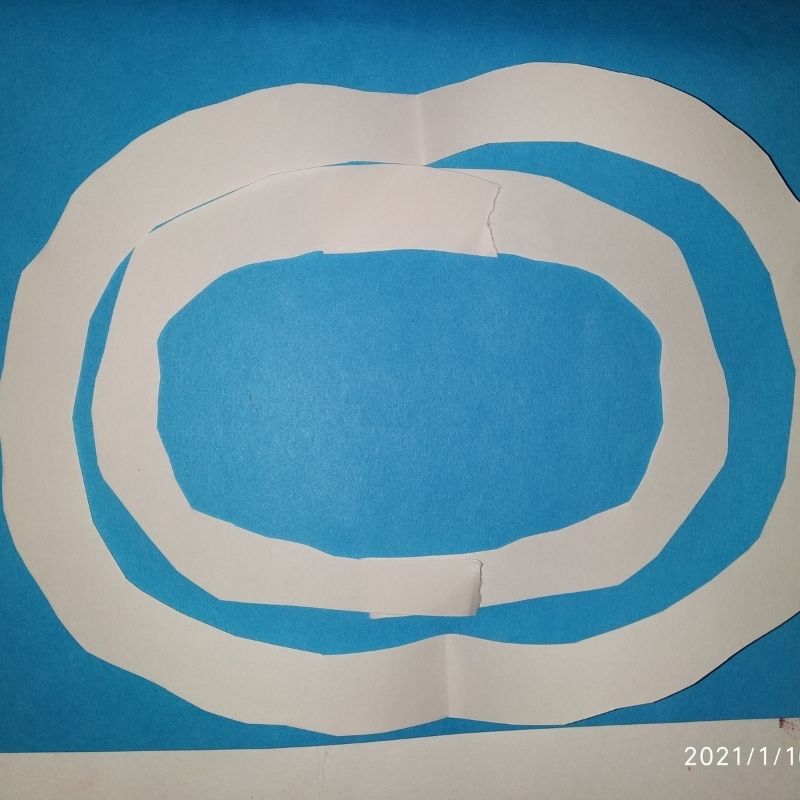
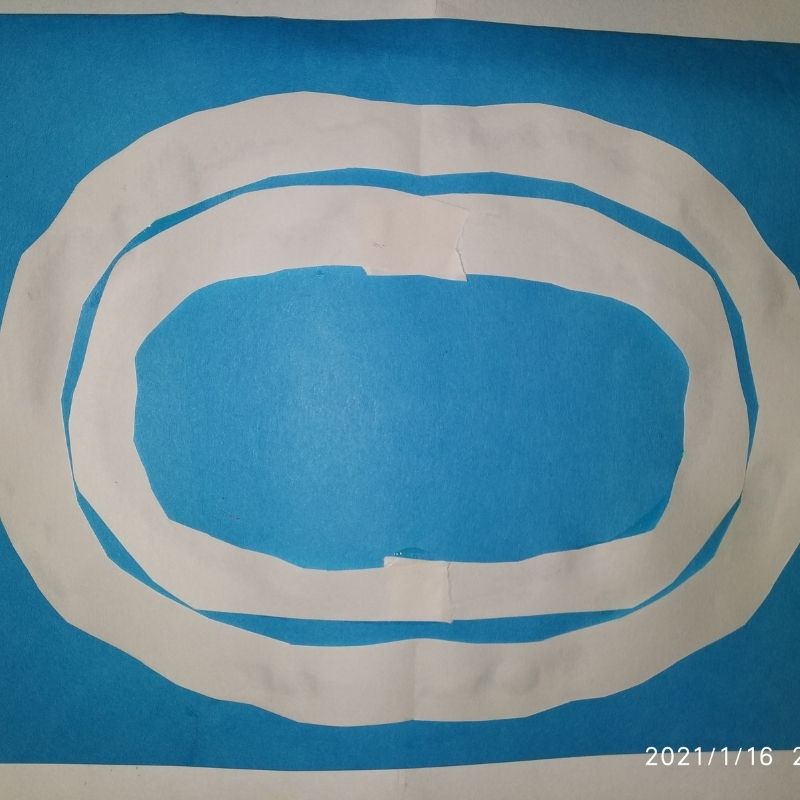
- Next, draw a circle on this white sheet and cut it and stick it in the centre of the blue sheet.
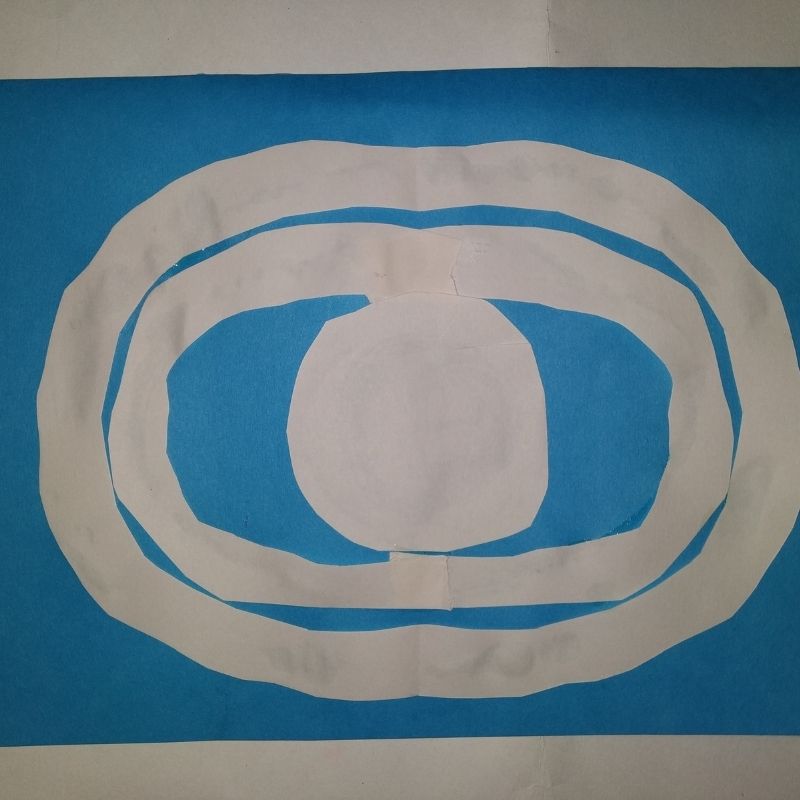
- Stick the coils one after the other around the circle.
- Your melted snowman framework is now ready.
- Now cut the red muffler using a red sheet of paper.
- Cut the nose in the shape of a carrot using the orange sheet.
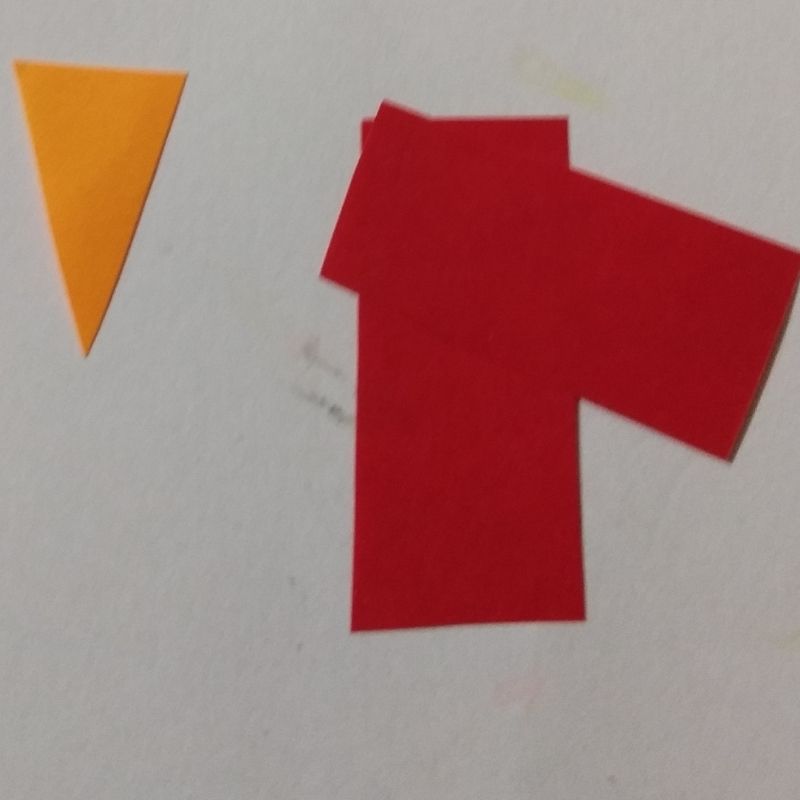
- Stick these elements on the snowman’s body.
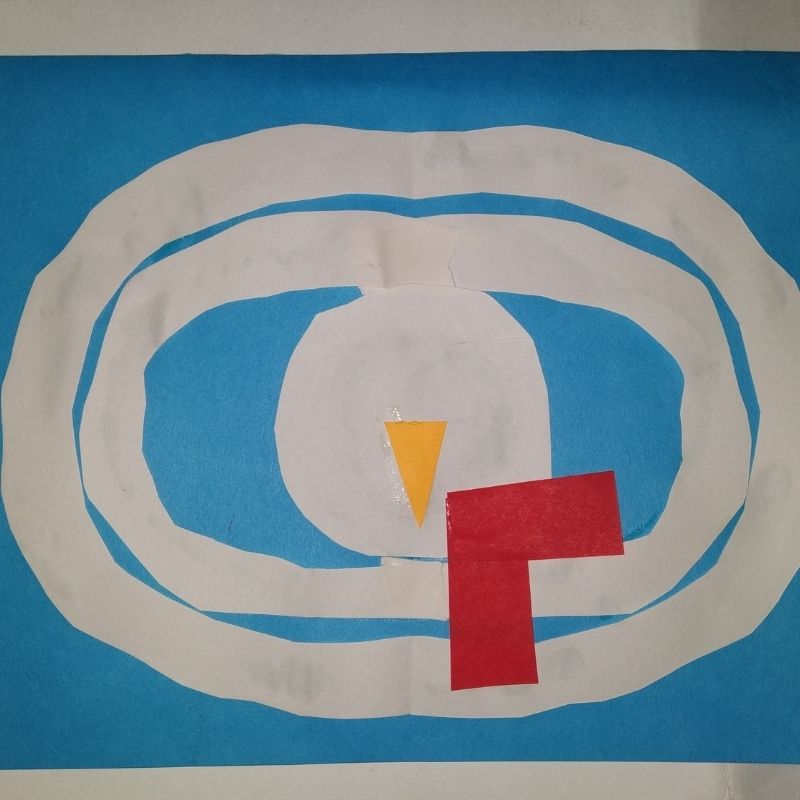
- Next, use a black sketch pen to add details like pebble smile line, eyes and buttons.
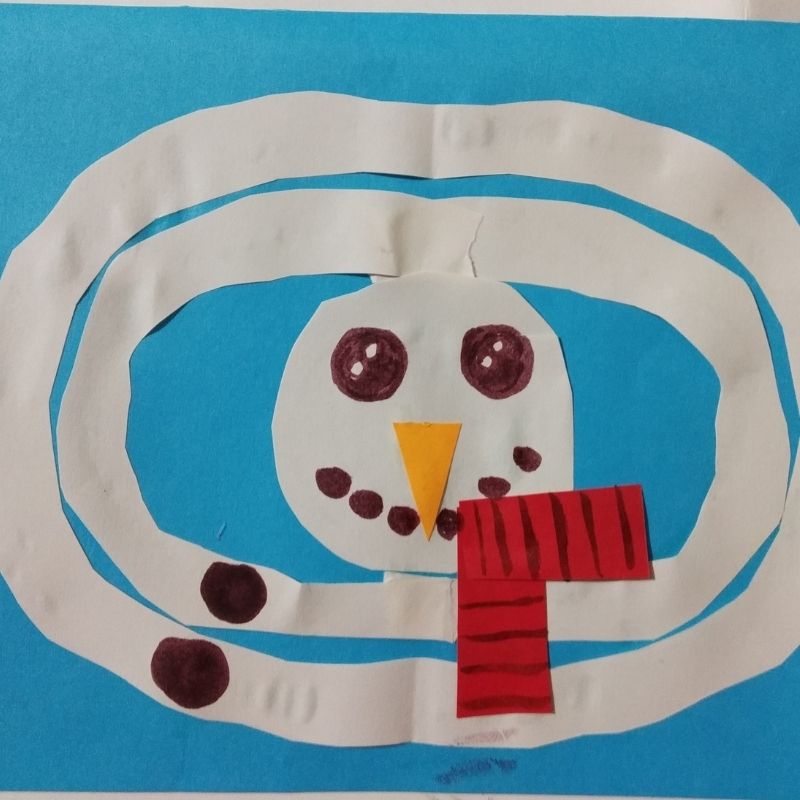
- Use a brown sheet of paper to draw and cut the arms like that of wooden twigs. Stick it on the sides of the last coil of white paper.
- You can add details to any elements if any using sketch pens.
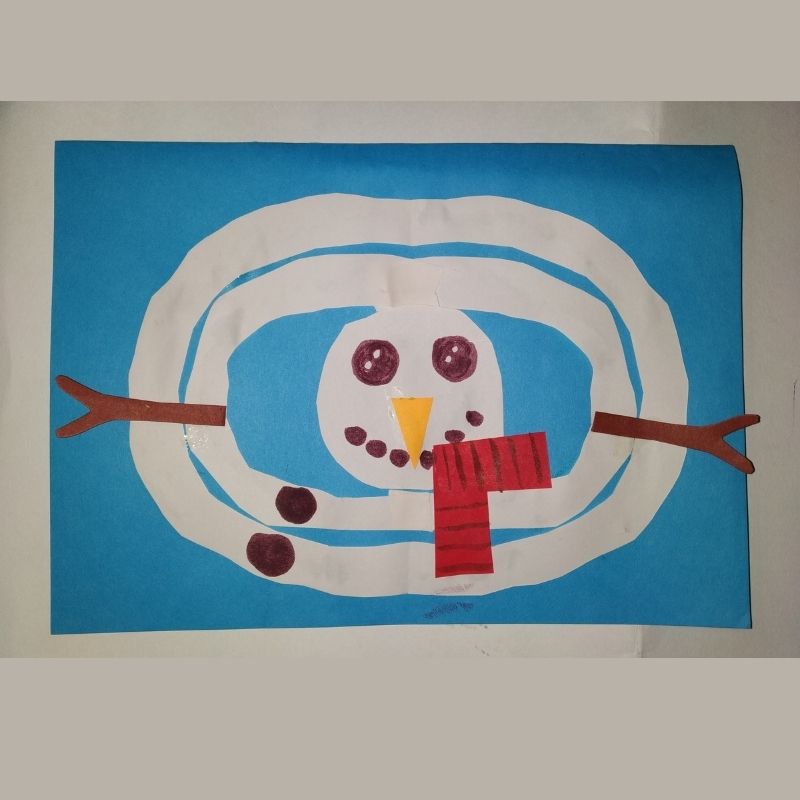
- That’s it! Your melted snowman papercraft is ready!
- Try for yourself!




Be the first one to comment on this story.