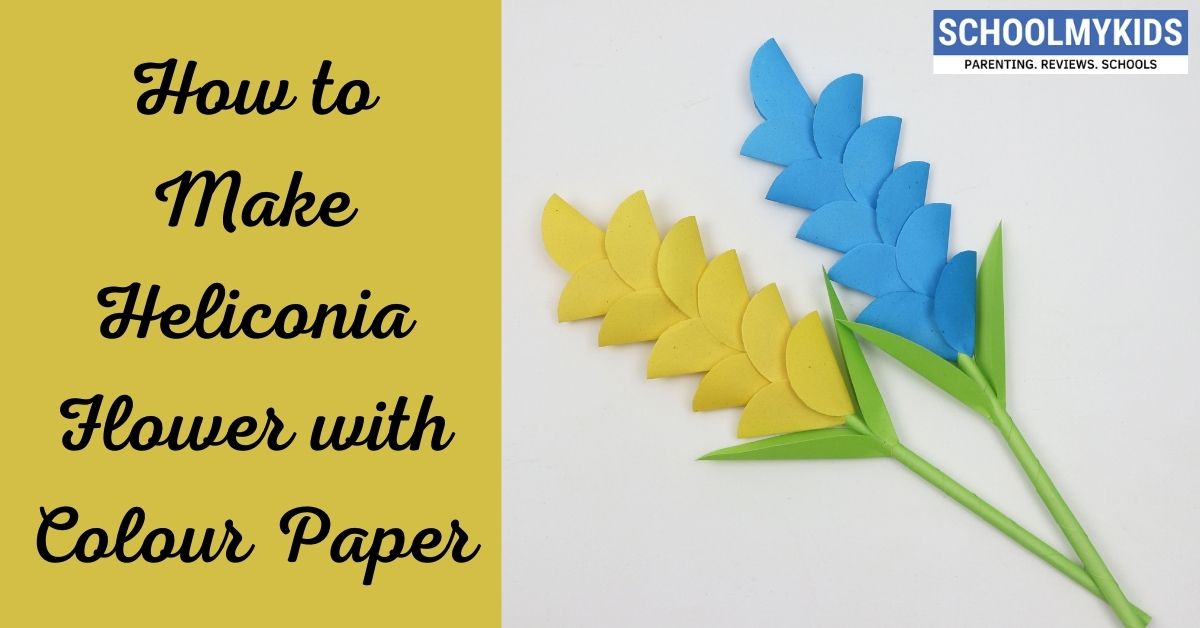
Heliconia flowers adorn our gardens. They are beautiful and one of the widely used decorative flowers seen in the gardens. What if we make a paper heliconia and adorn our flower vases with these paper flowers. They last longer and look beautiful. Most important of all is that they do not wither away! Let’s get started, kids.
Follow these simple steps to know how to make heliconia flower with colour paper.
Materials Required to Make Heliconia Flower
- Yellow paper
- Green paper
- Wooden stick
- Pencil
- Scissors
- Glue
How to Make Heliconia Flower Step by Step
- Take a yellow sheet of paper and cut around 5 big petals in a spoon shape and 4 smaller petals in the same fashion.
- These are our petals for heliconia flower.
- Next, fold these petals into half and keep aside.
- Now take a wooden stick and wrap around a green coloured paper around it.
- Wrap only a single layer. This is the stem of the heliconia.
- Next, arrange the yellow folded petals starting from the top end of the wooden stick.
- Arrange one petal on top in a vertical fashion.
- Next start arranging the petals in a criss-cross pattern one on left and other on right.
- Stick all these petals using glue.
- Start with the bigger petals on top eventually ending up with the smaller ones.
- Next, take a green sheet of paper and cut the leaves of the flower.
- Fold these into half.
- Now arrange them on between the petals and below the last petal in a bunch.
- Stick the leaves using glue.
- That’s it, kids! Your paper heliconia flower is now ready.
- You can also use a red or orange coloured paper to make these flowers.
- Enjoy kids!


Be the first one to comment on this story.