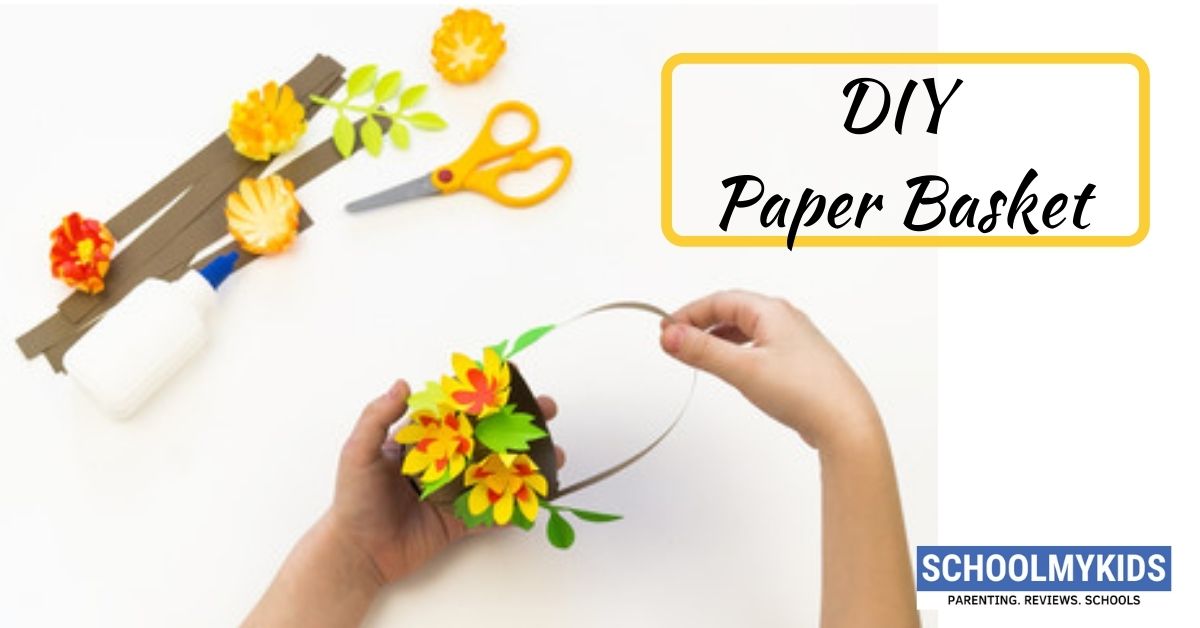
A paper basket or a paper bag is economical and can be reused too! It’s safe for mother nature as well. We can use it as a replacement for plastic bags. Nowadays we get various attractive and colourful recycled paper bags as well.
So today let’s make a beautiful paper basket and use it as an organizer for small petty things and keep our desk neat and tidy.
Materials Required to Make Paper Basket
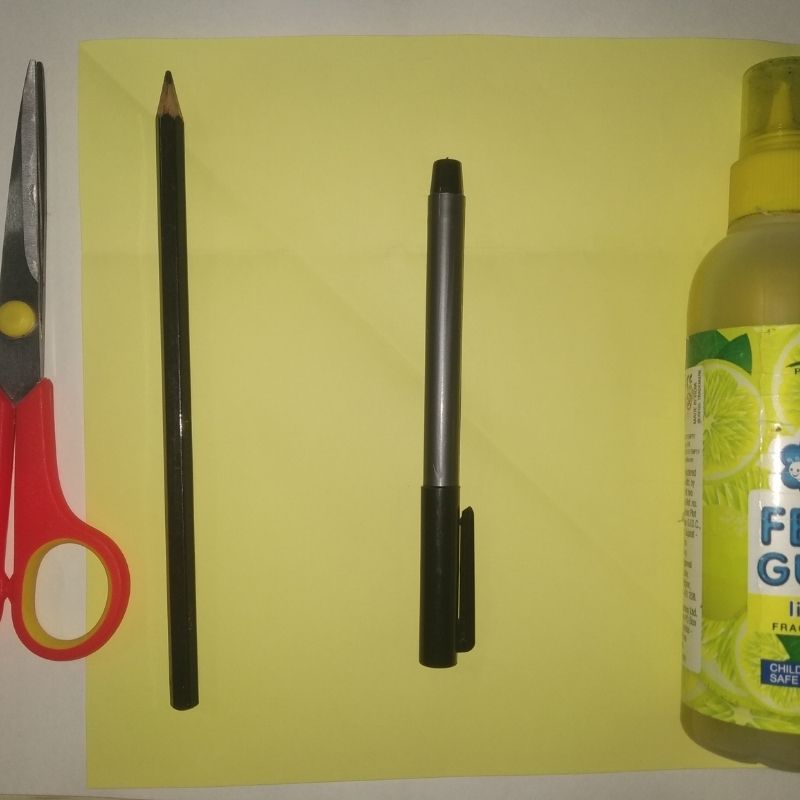
- Yellow paper
- Pencil
- Scissors
- Glue
How to Make Paper Basket Step by Step
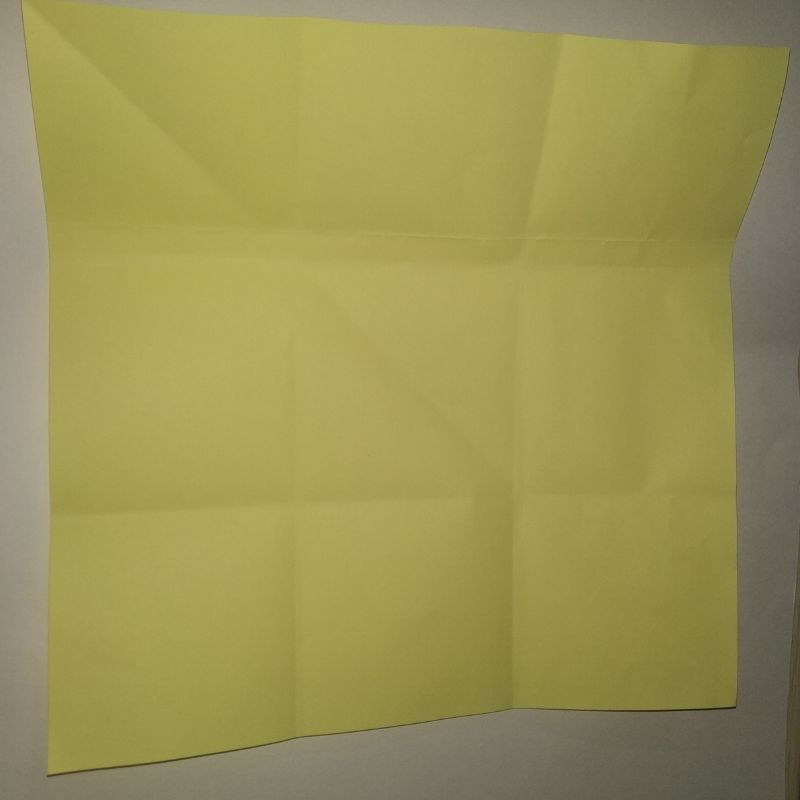
- First, we need a yellow sheet of paper. Cut a square using this sheet of paper.
- We need a square of around 21cms.
- Now divide the square sheet into 9 equal portions horizontally and vertically.
- For this, you need to fold the square sheet into 3 portions horizontally and 3 portions vertically.
- Now you will see 9 square portions on the square.
- Now cut the middle portion on the first and the last horizontal row each.
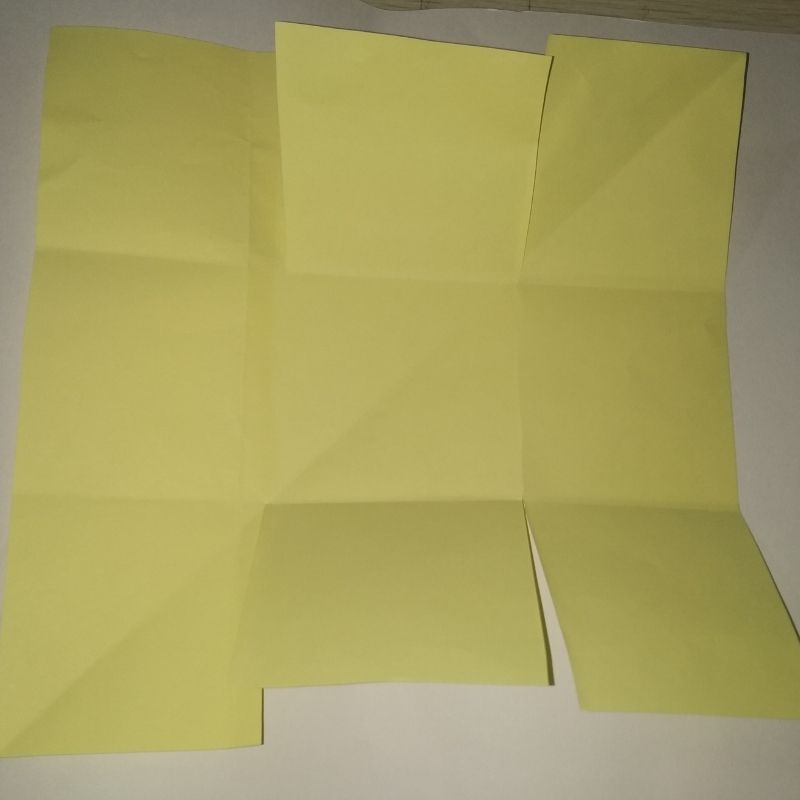
- Keep the middle portion intact.
- Next, lift the middle portion and stick the two sides on the middle cut portion.
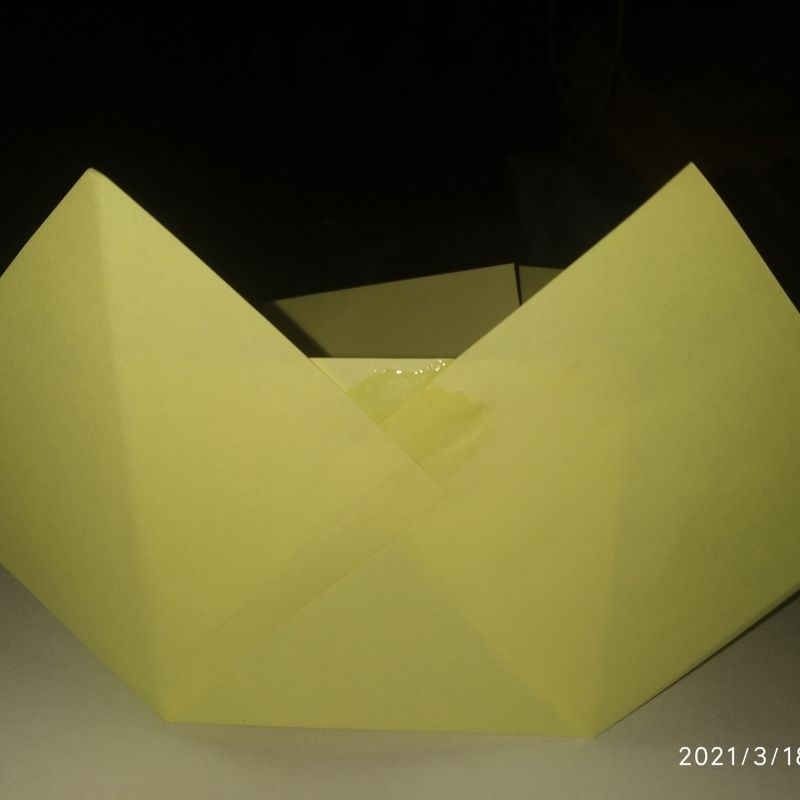
- Repeat the same step on the opposite side.
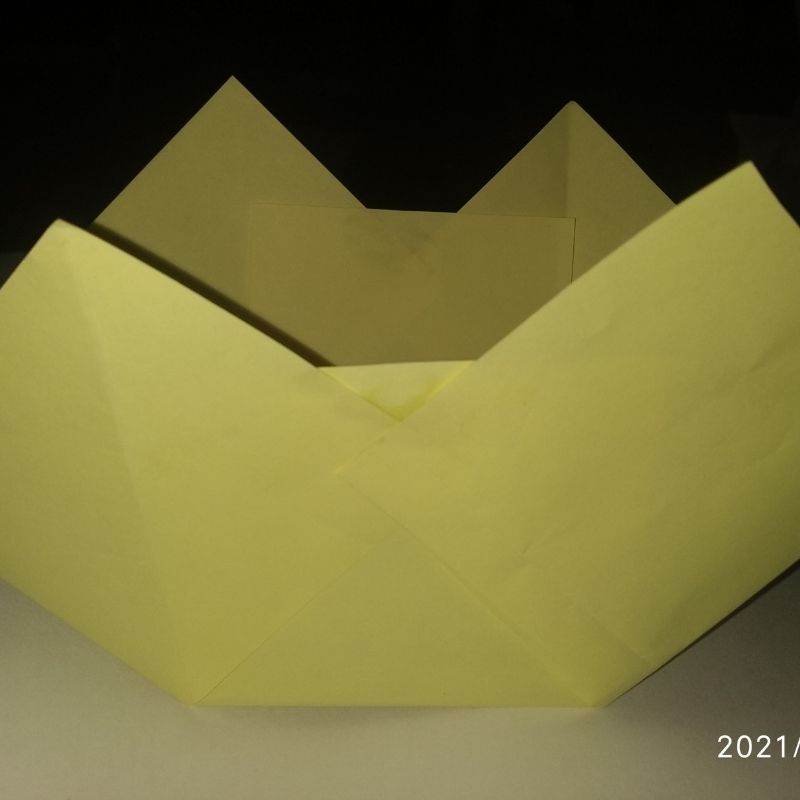
- That’s it now your basket is ready!
- Now take a yellow strip of paper around 2cms by 10cms and stick it along the two ends vertically.
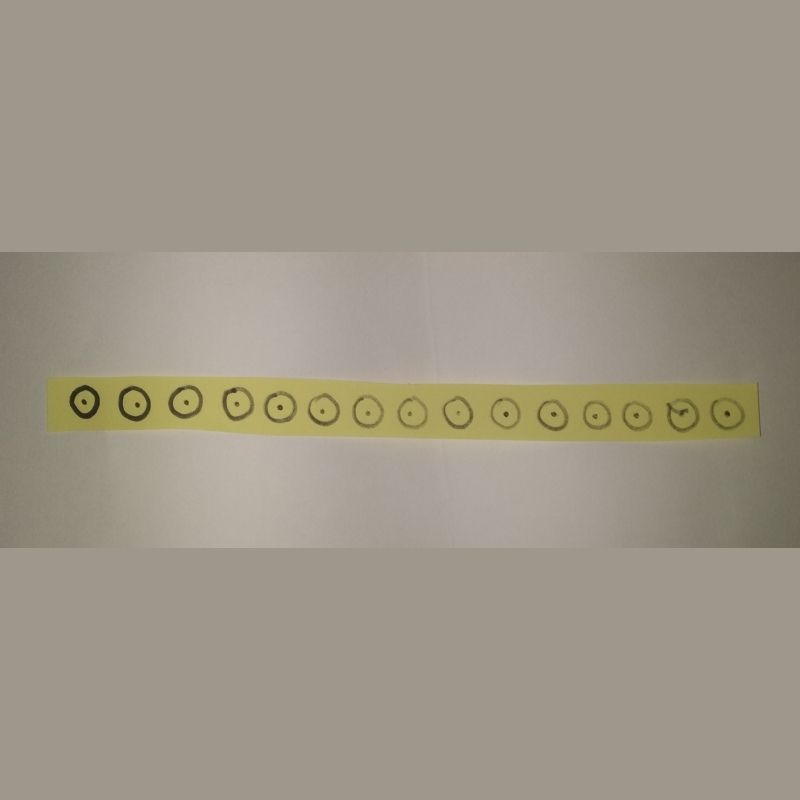
- This is the handle of the basket.
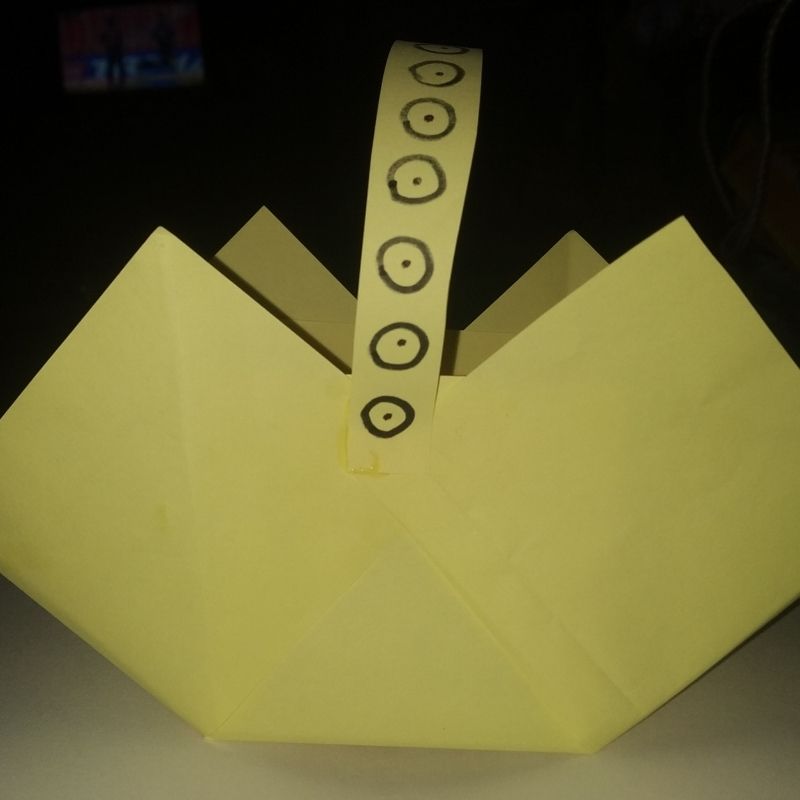
- You can make even bigger or smaller sized baskets using the same technique.
- Try for yourself using different colours.
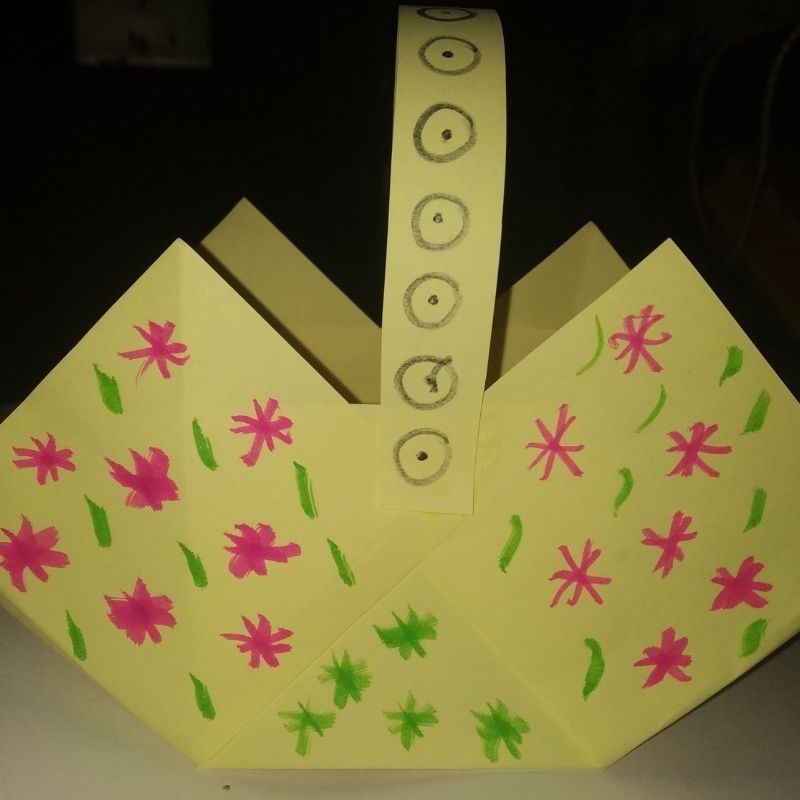
Enjoy!




Be the first one to comment on this story.