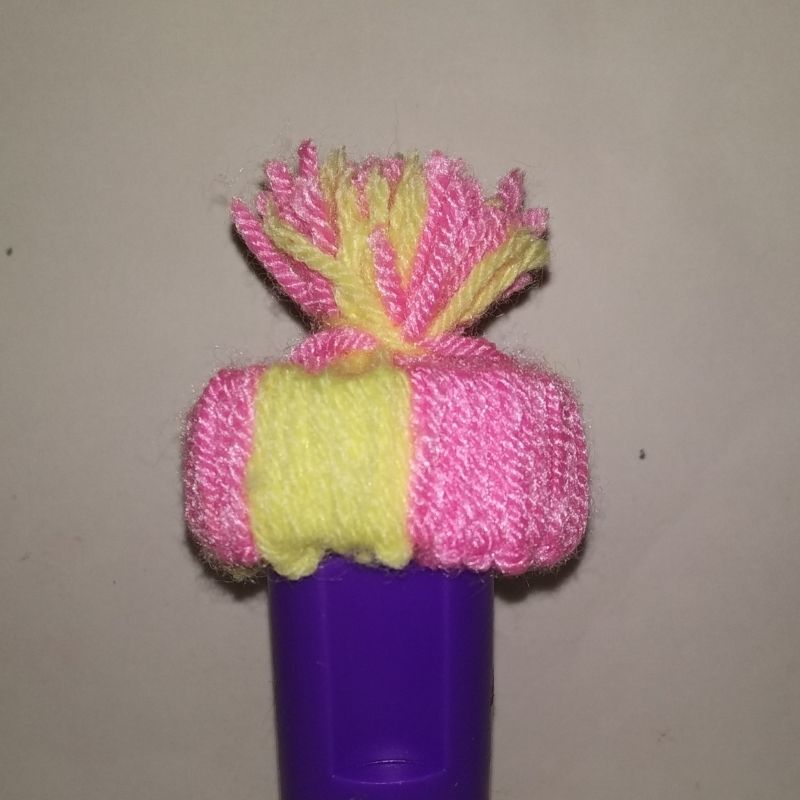
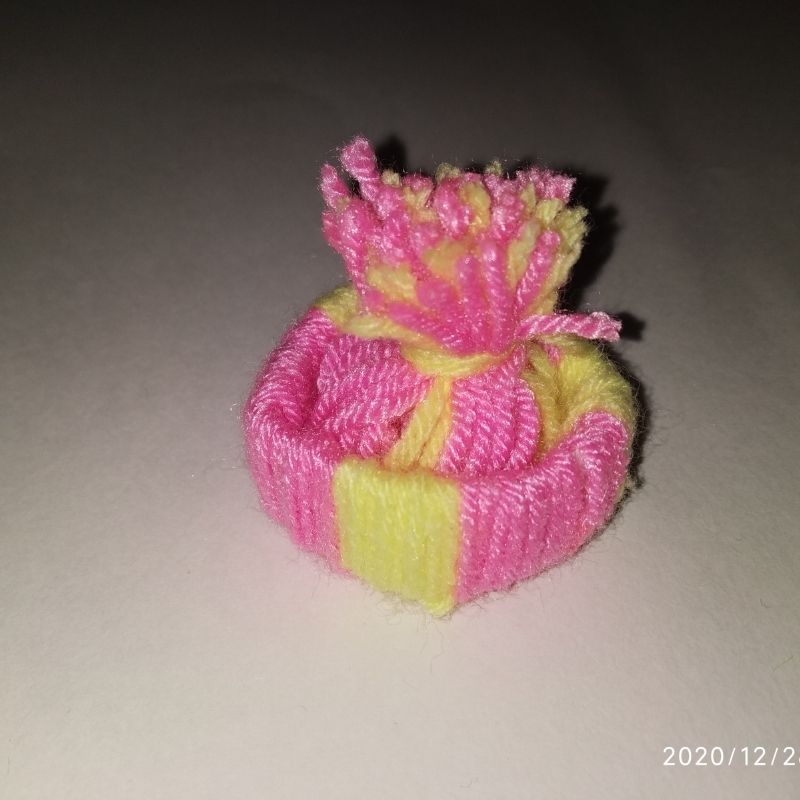
Hello kids! It’s wintertime. All of us wear jackets, mufflers, head caps and sweaters. Don’t we? Yes indeed! So today let’s make one of these winter wears using colourful woollen yarn. A miniature version of a beautiful woollen head cap is what we would be making today! You can use it as an attachment for your keychain or use it as a hairpin with a hairpin attached to it or even use it as a pencil topper. A whole lot of uses! So let’s make one kid.
Follow the instructions to make DIY Mini Woollen Cap.
Materials Required to Make DIY Mini Woollen Cap
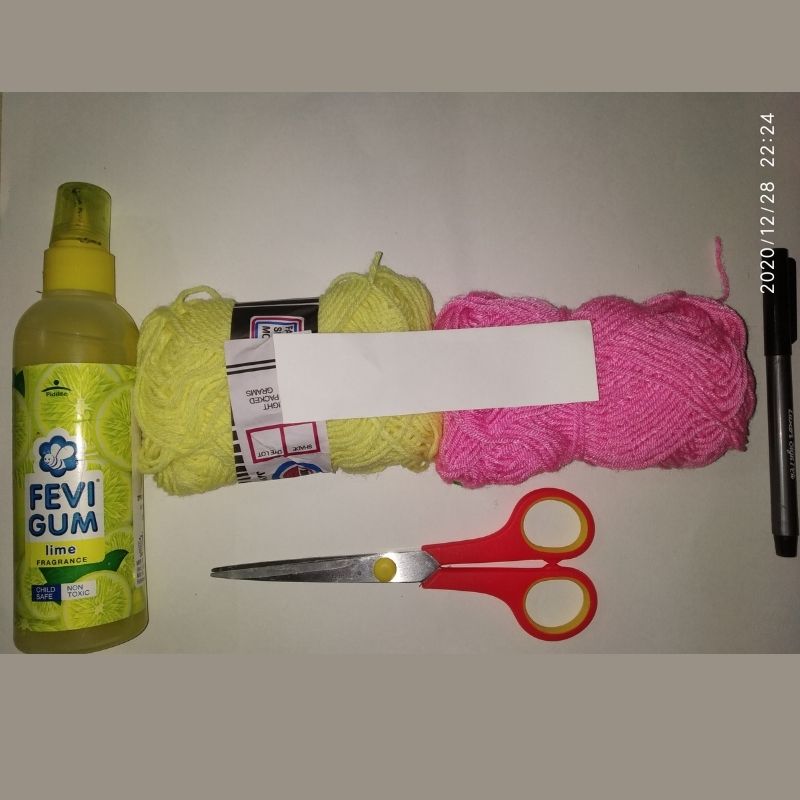
- Different coloured woollen yarn (pink, yellow)
- White paper strip 10cm by 3cm.
- Pencil
- Scissors
- Glue
How to Make DIY Mini Woollen Cap Step by Step
- Start with the white paper strip first.
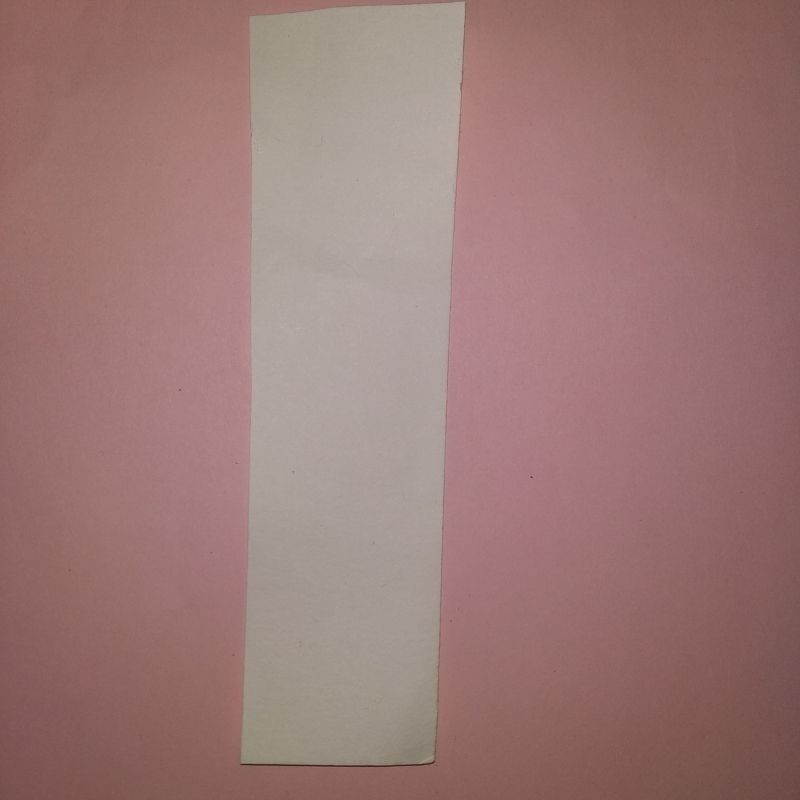
- Stick the two ends of the strip to form a circle.
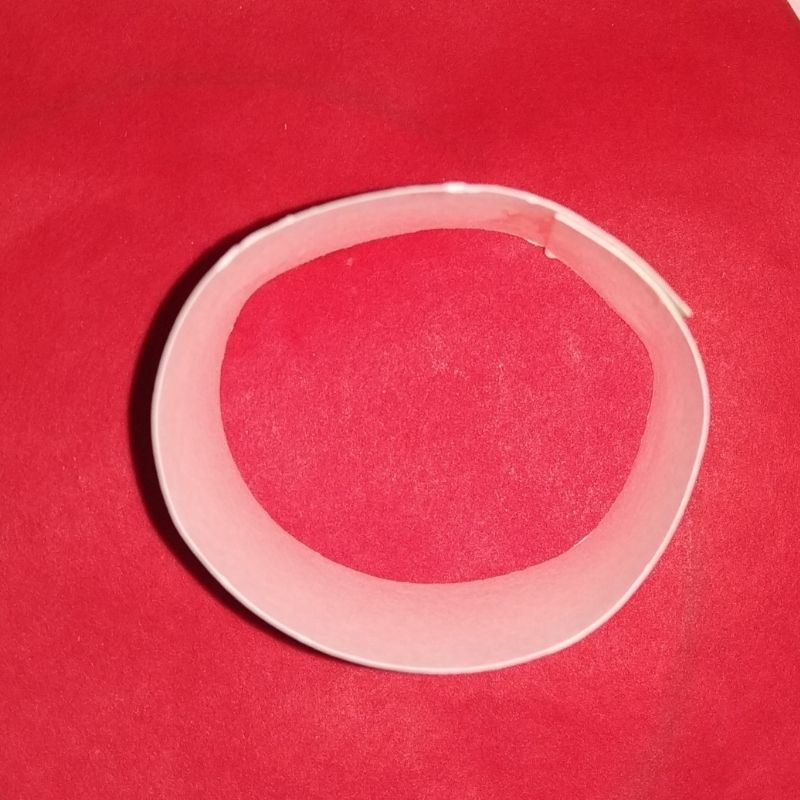
- Now this circle or the ring is the base of our woollen cap.
- Next, take long threads of woollen yarn and fold it into half.
- The length of the woollen yarn should be around 15cms.
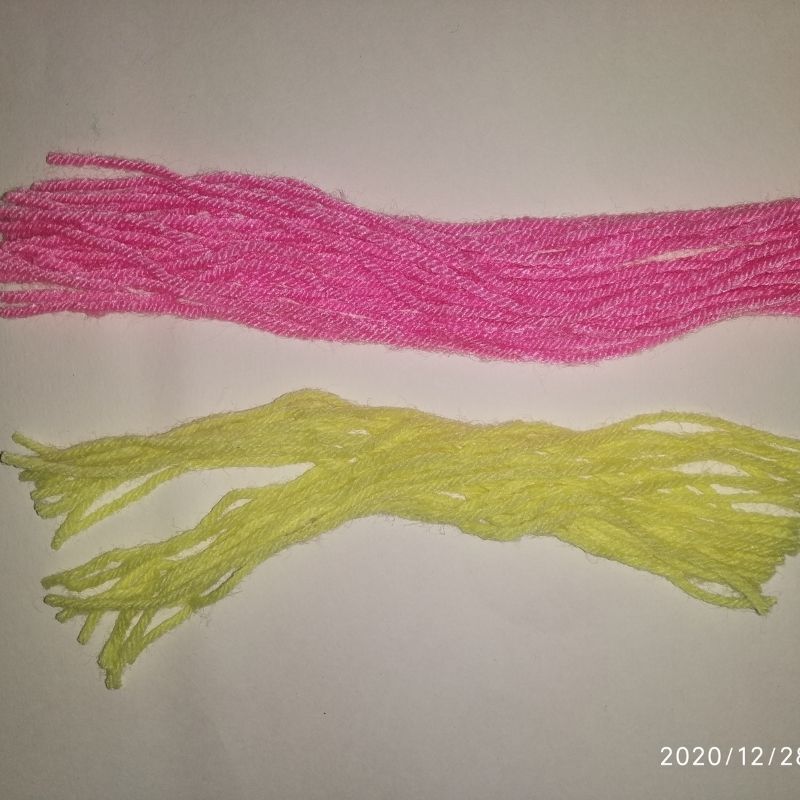
- Now engage the folded portion of the woollen yarn on top of the ring and let the free end fall.
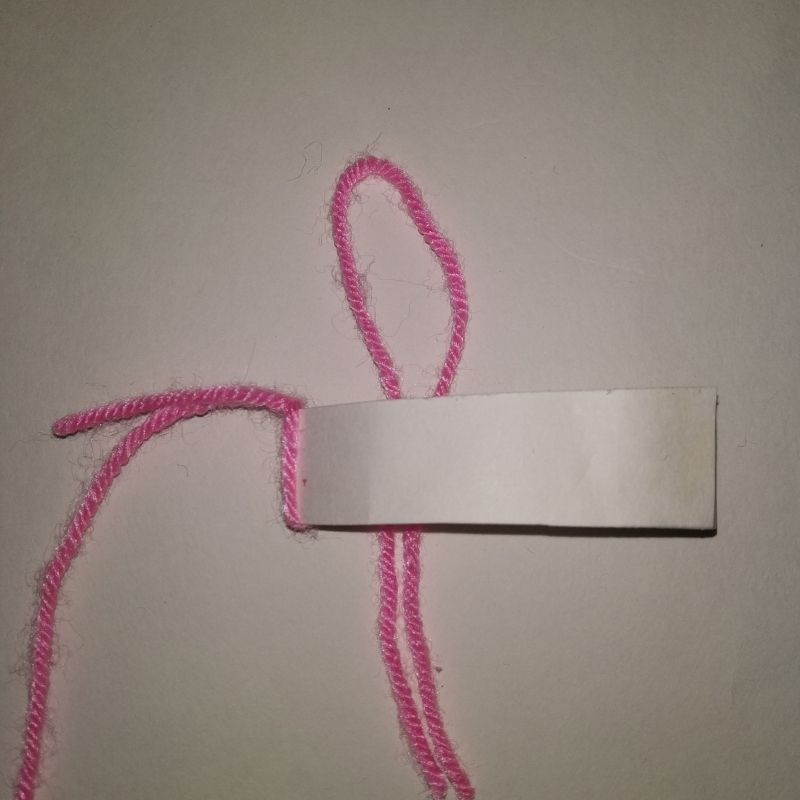
- Now lift the free end and pass through the folded end to form a knot.
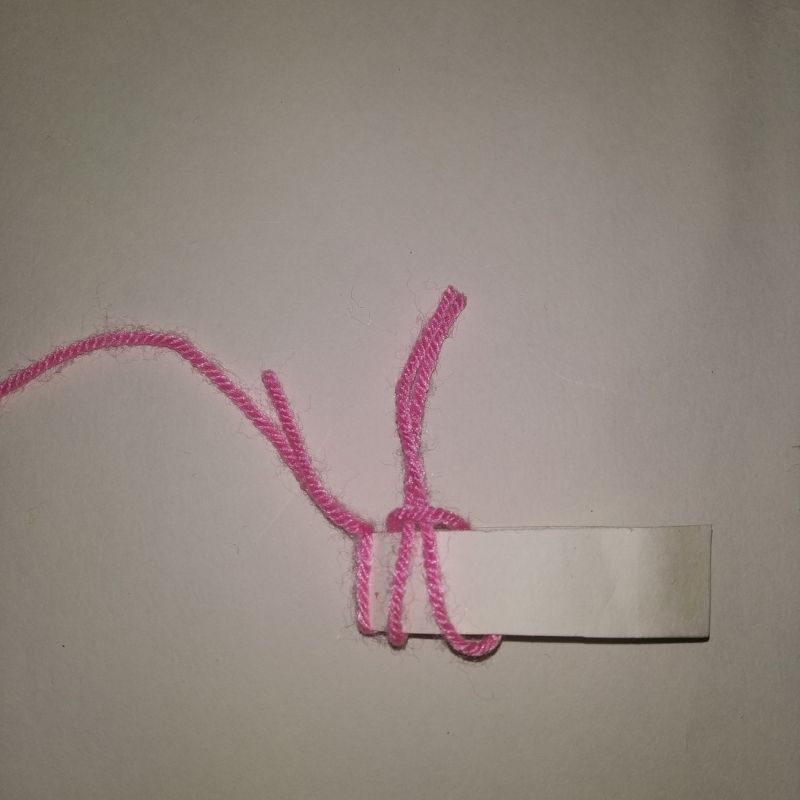
- This would also cover the ring at the same time.
- You can use two colours in a pattern.
- Finish the entire ring in a similar fashion
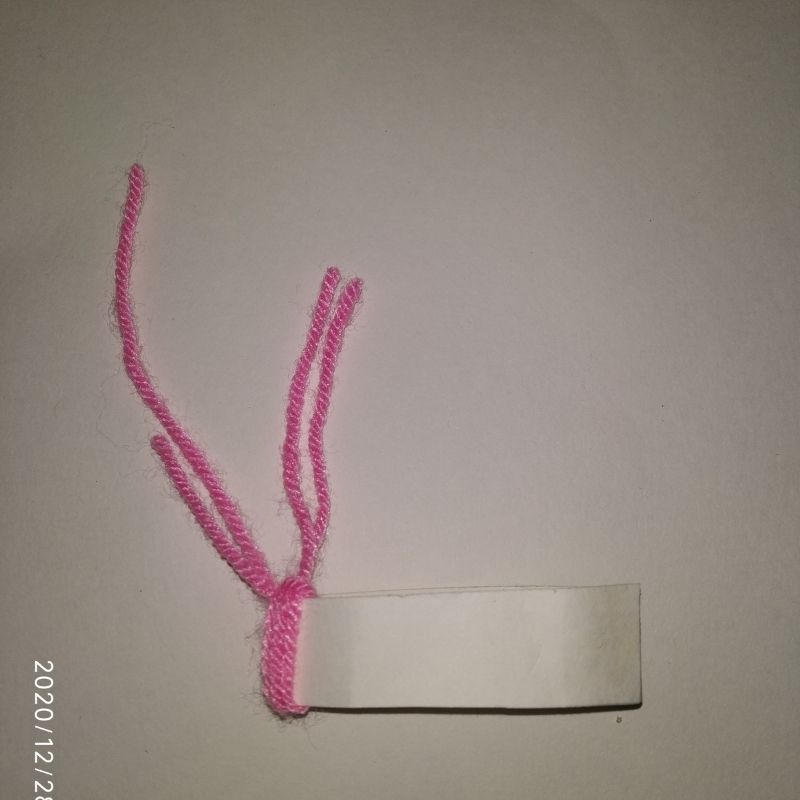
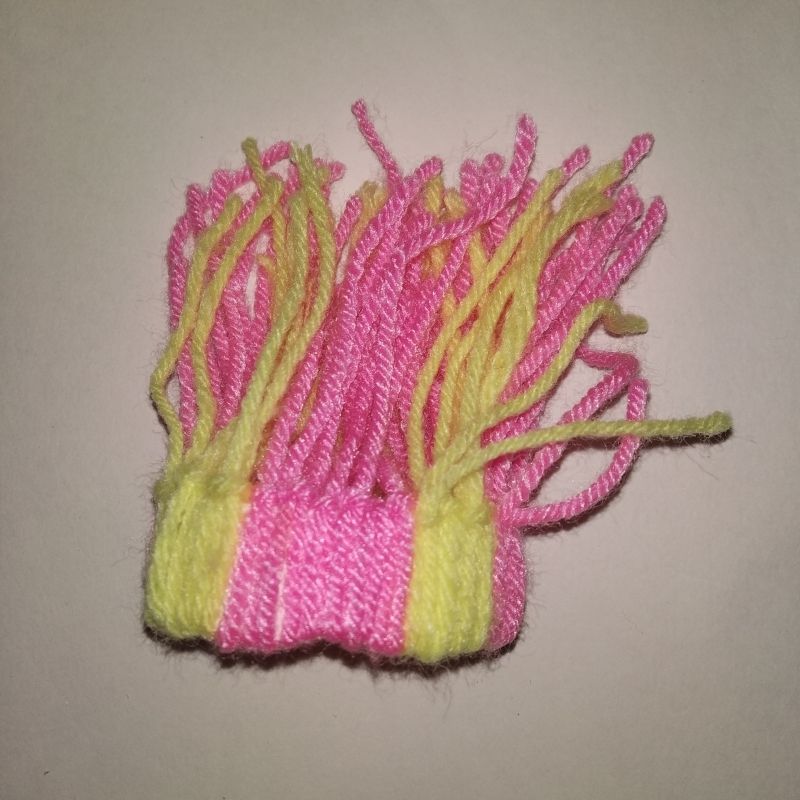
- Once you are done with the complete ring just tuck in the free ends of the woollen yarn inside the ring.
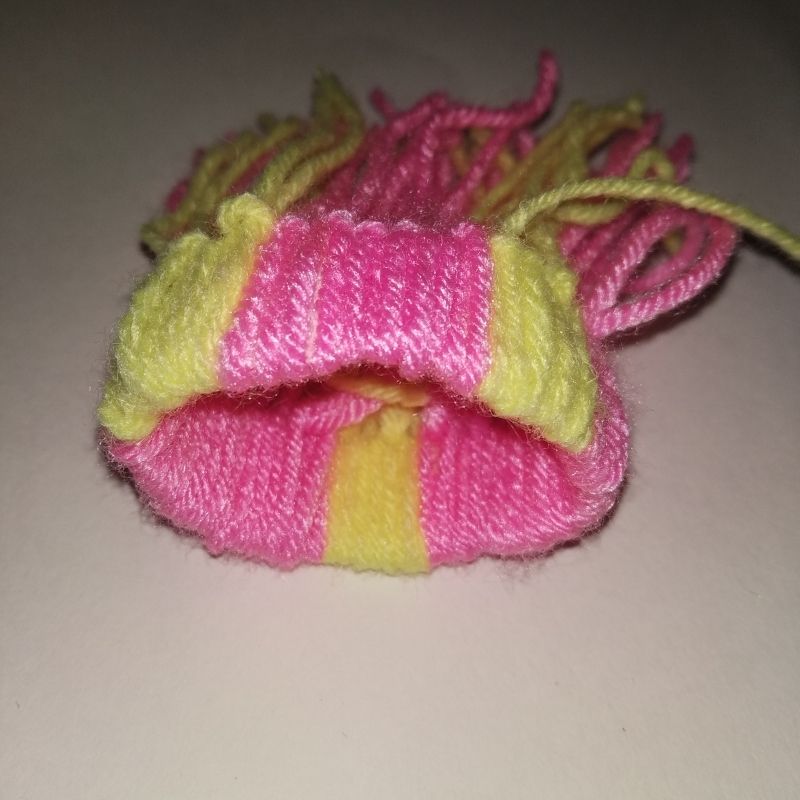
- Next loft the free ends and tie a knot with another strand of pink or yellow woollen yarn a but higher than that of the top end of the ring.
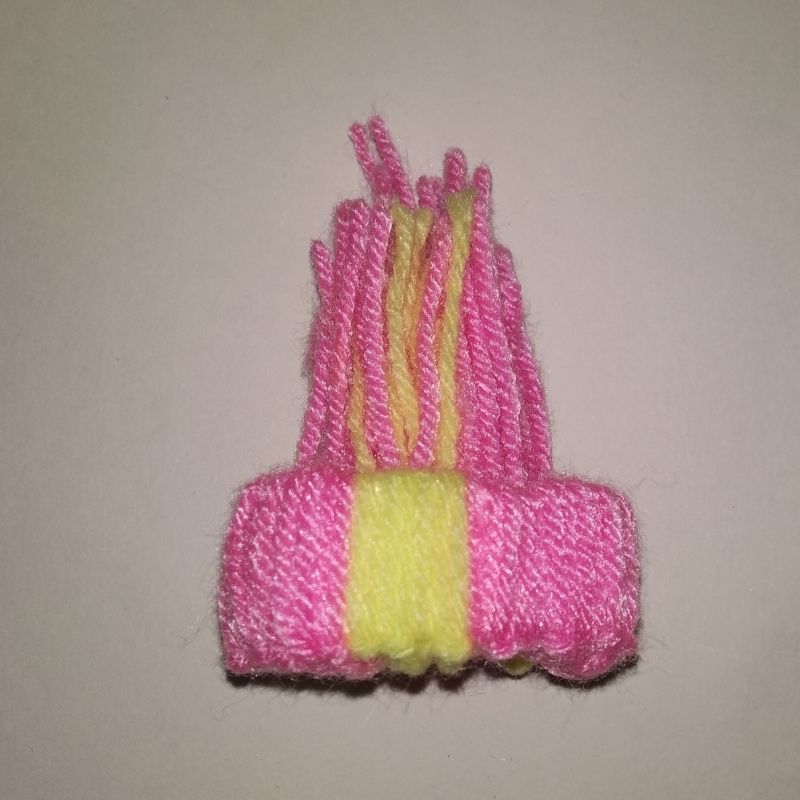
- Once done you will have free ends above this knot.
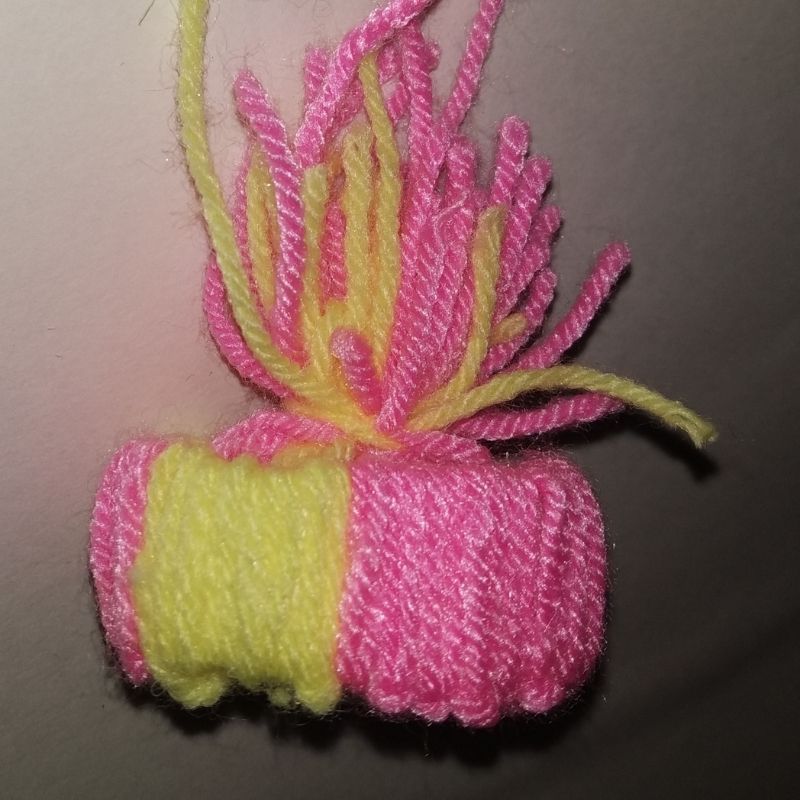
- Cut them to appear as a pom-pom ball on top.
- That’s it, kids! Use this beautiful mini woollen head cap as a pencil topper, part of a hairpin or even as a keychain attachment





Be the first one to comment on this story.