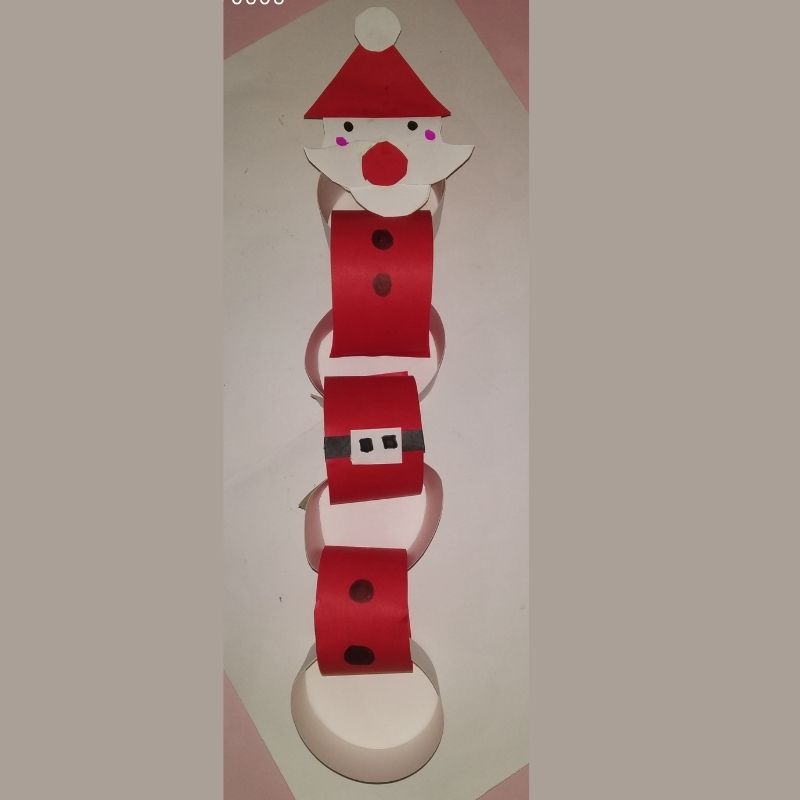
Hello dear kids! It’s the Xmas season and all of us love to decorate our homes at Christmas. HO HO HO! Do we hear Santa Claus? Yes indeed…he’s on his sleigh to meet us with loads of surprises. Let’s make our house more colourful this Christmas with our very own Xmas décor.
So today we are making a beautiful Santa paper chain to hang it in our living rooms or window panes to welcome dear Santa.
Follow the instructions to know how to make santa paper chain crafts.
Materials Required to Make Santa Paper Chain
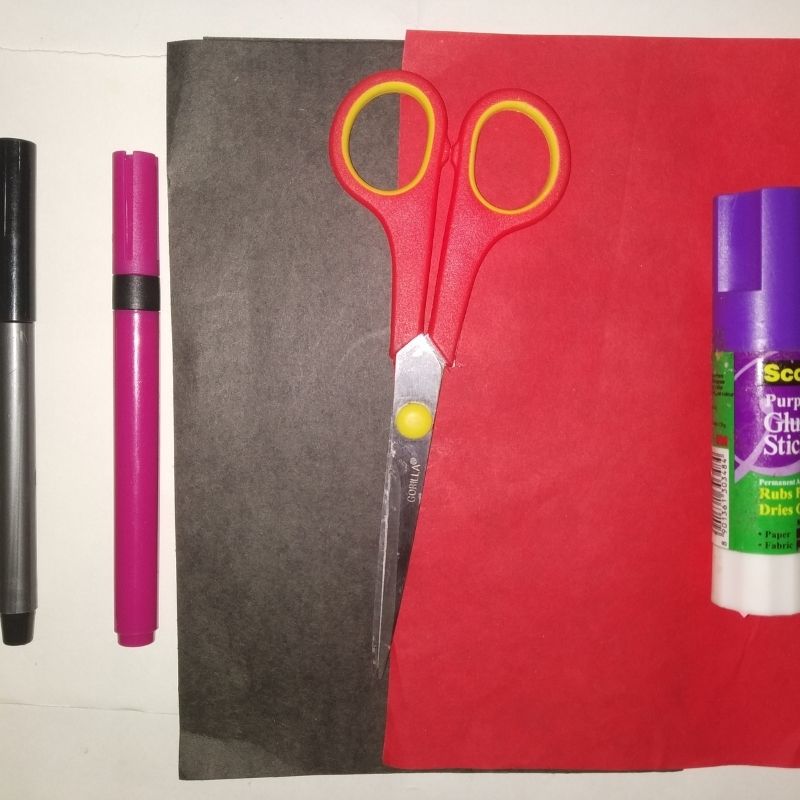
- Red paper
- Black paper
- White paper
- Sketch pens
- Pencil
- Scissors
- Glue
How to Make Santa Paper Chain Step by Step
- We need two sheets of the paperwhite and red each
- Next, cut around 3 strips of red and 4 strips of white paper each.
- The size of the strip should be around 5cm by 12cms each.
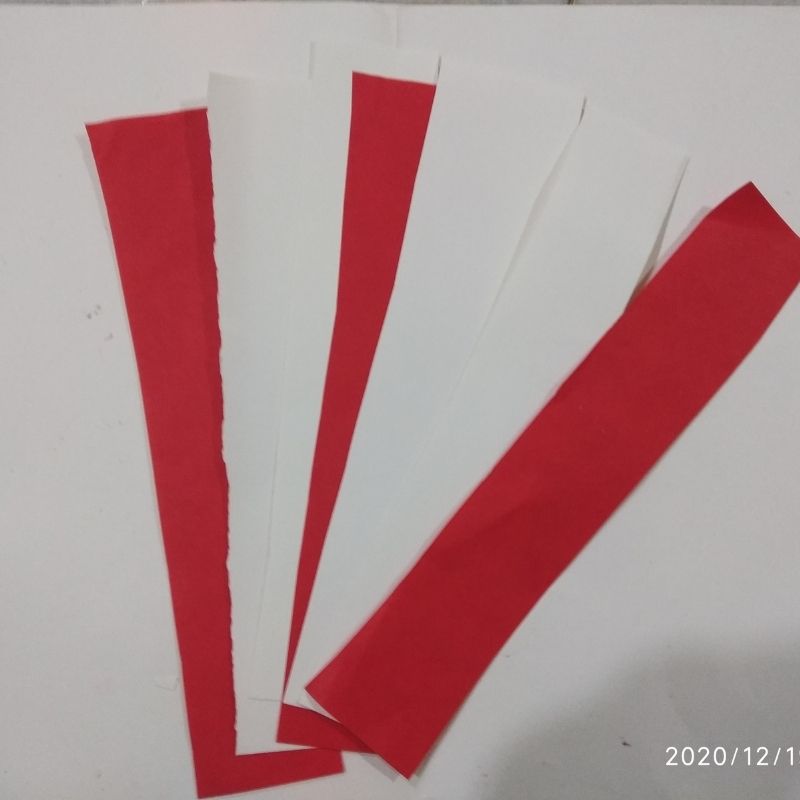
- Once you have the strips ready start making the chain
- For the paper chain, you will need to roll the strips and join the ends.
- Start with the white stripe, join the ends and keep it horizontal.
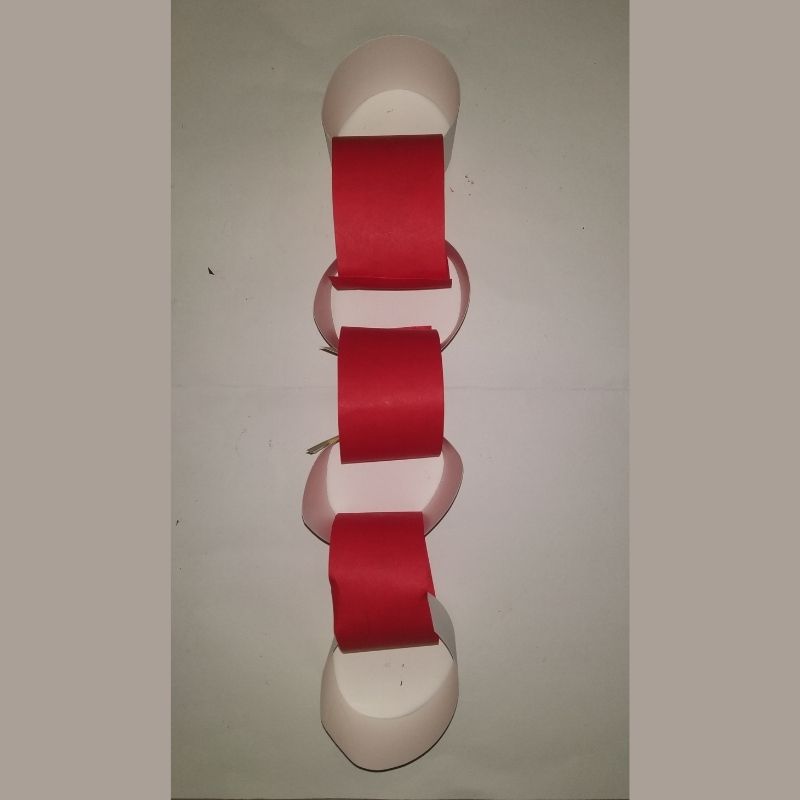
- Arrange the red strip vertically, follow this pattern till you finish with all the strips.
- Next, take a white sheet of paper and cut the face and moustache of Santa Claus.
- Take a red sheet of paper and cut the hat, nose and keep aside.
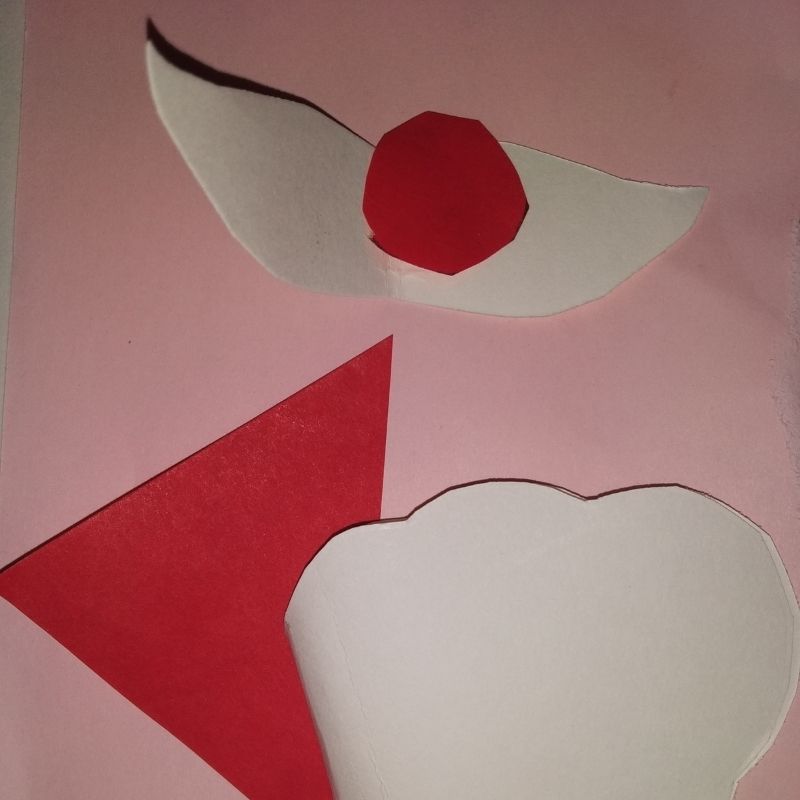
- Also cut a small pom-pom ball using a white sheet.
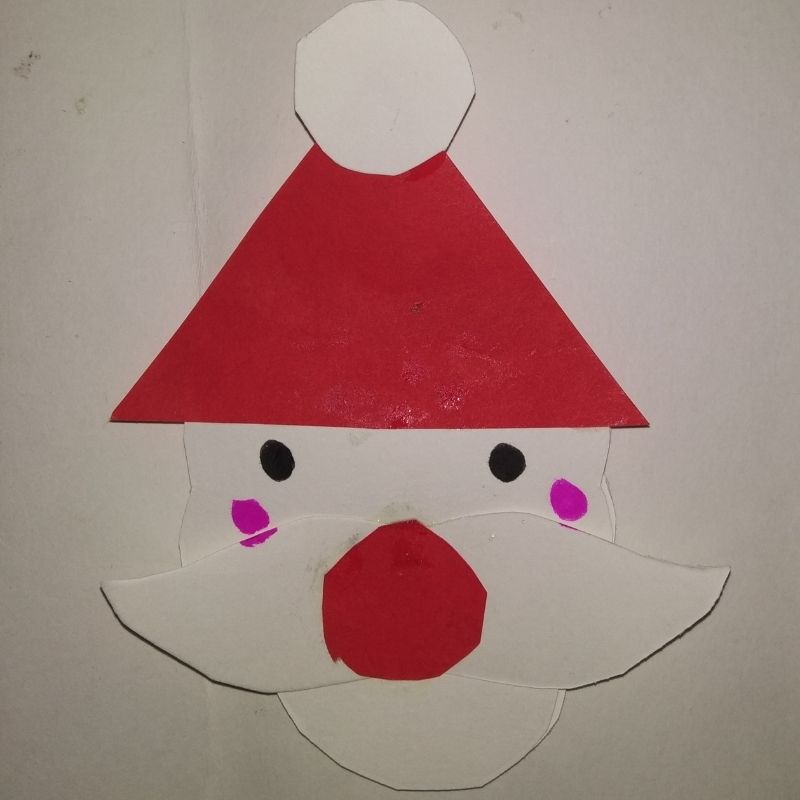
- Now arrange and assemble all the elements of Santa Claus and stick them. Add details to the face using a sketch pen.
- Next, take a black sheet of paper and cut a small strip and stick it horizontally on the second red band. Also, stick a small white buckle over the same.
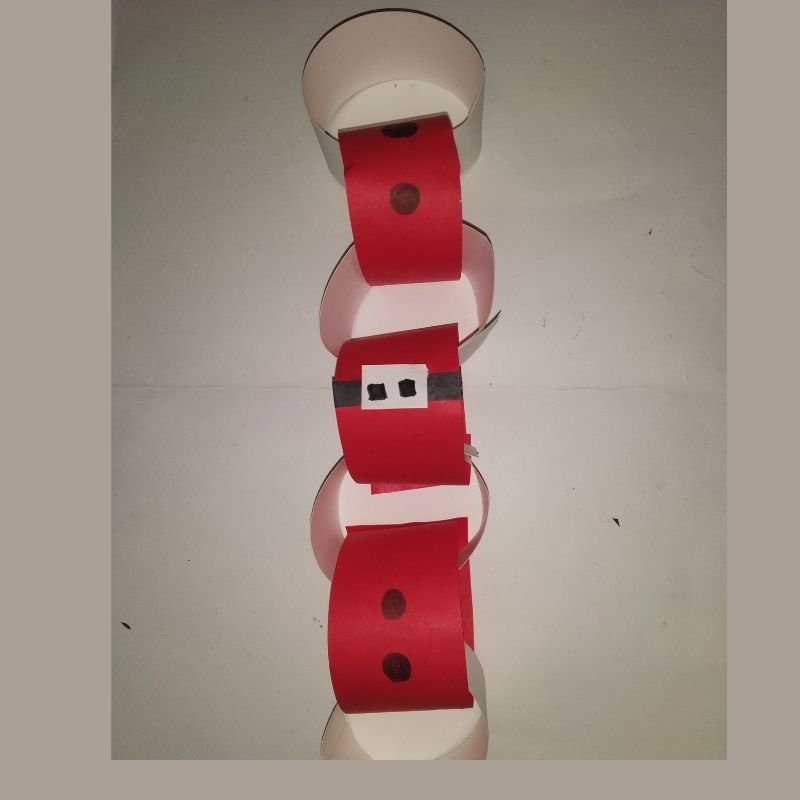
- Add details to the Santas red costume using a black sketch pen.
- Now stick the face over the first white chain portion and that’s it you are ready!
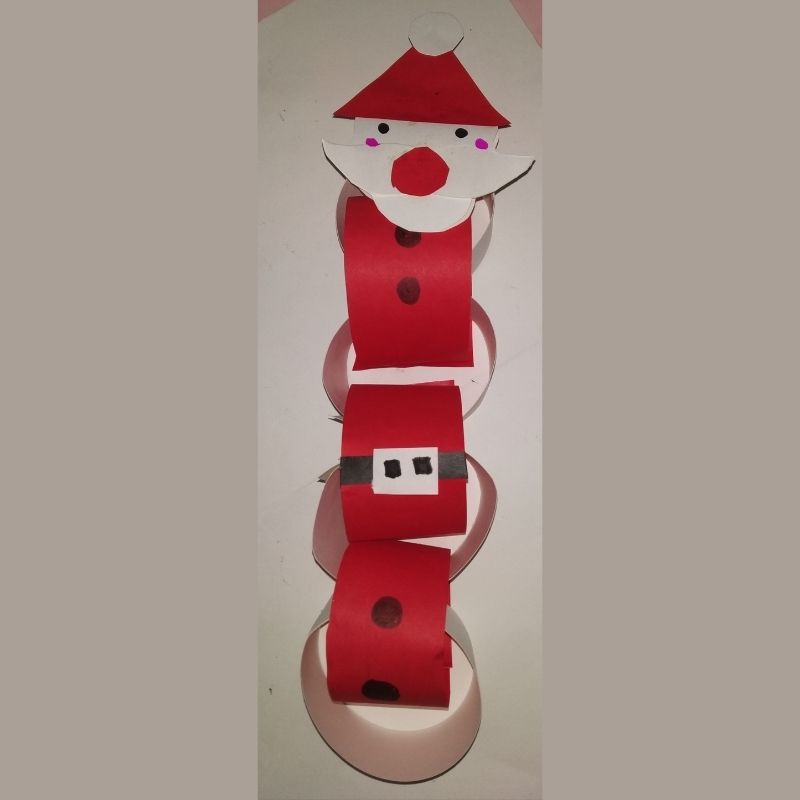
- Hang this simple yet beautiful Santa paper chain in your living rooms or window panes and enjoy!
