A hat is one accessory we love to flaunt in summers , it looks cool even when we team it up with casuals. It is kind of a style statement. Let’s go green by making our own paper samurai hat with basic art and craft supplies. The origami samurai hat is also known as a samurai helmet
Let’s start children! Follow these steps to know how to make an easy origami samurai helmet. Also, check out our other collection of Art and Crafts & DIY Ideas.
Materials Required to Make Samurai Helmet
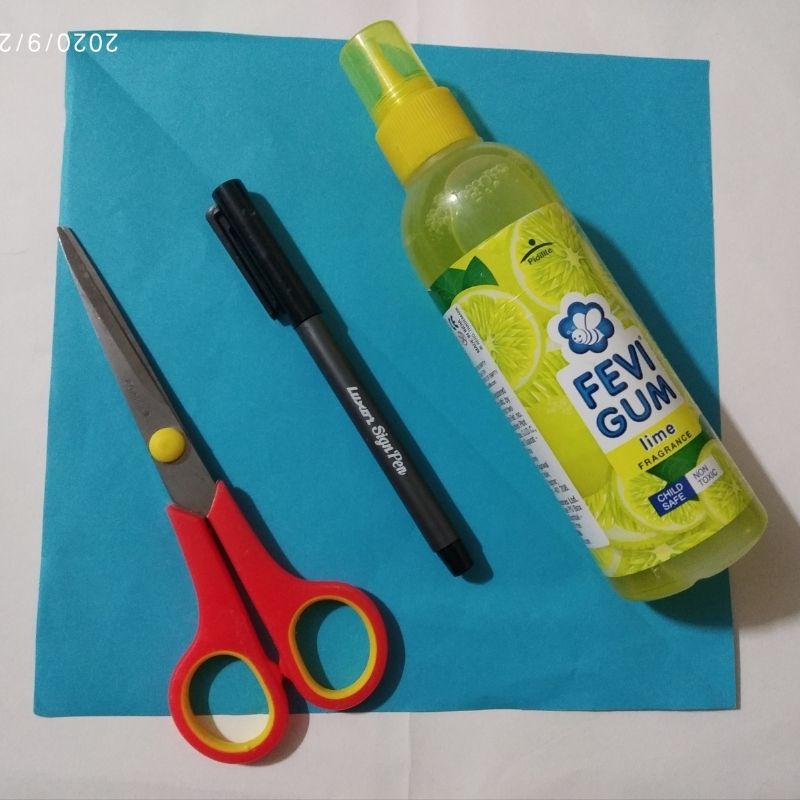
- A bright coloured square sheet (20cm by 20cm)
- Sketch pen
- Glue
- Scissors
How to Make Samurai Helmet Out Of Paper Step By Step
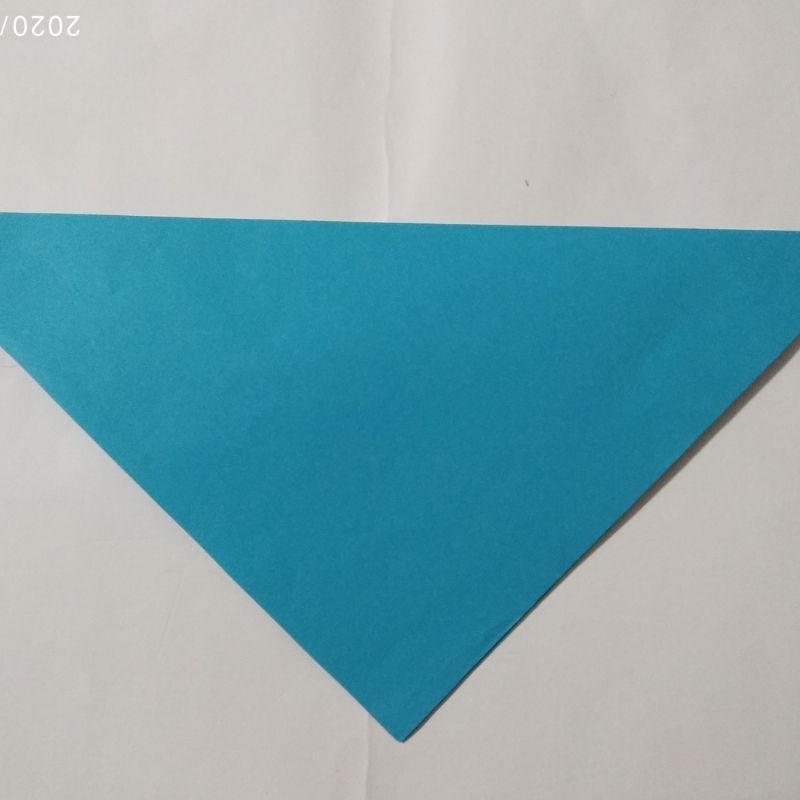
- Take a bright coloured square sheet and fold it into a triangle with its apex pointing downwards.
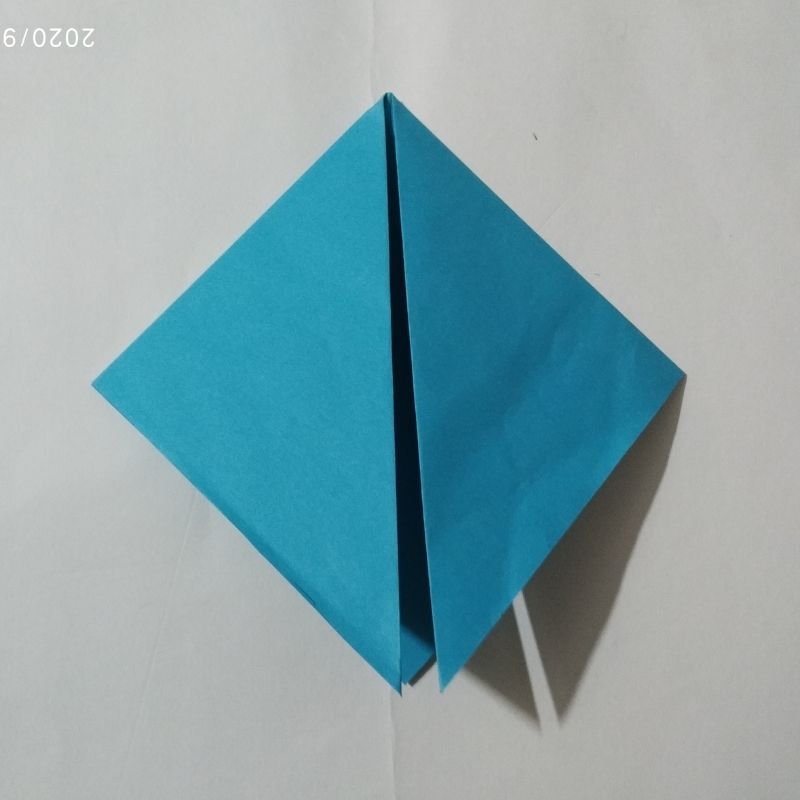
- Next, fold this triangle into two vertical side triangles downwards.
- Once done lift the apex of these two vertical triangles and fold them into half horizontally.
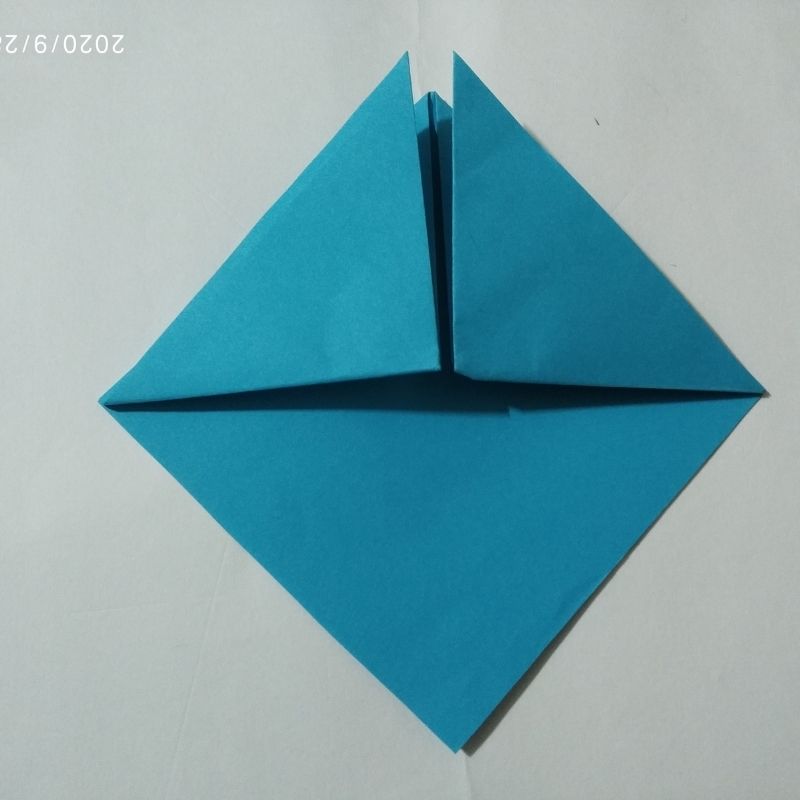
- Next step is to fold these horizontal triangles into half sideways.
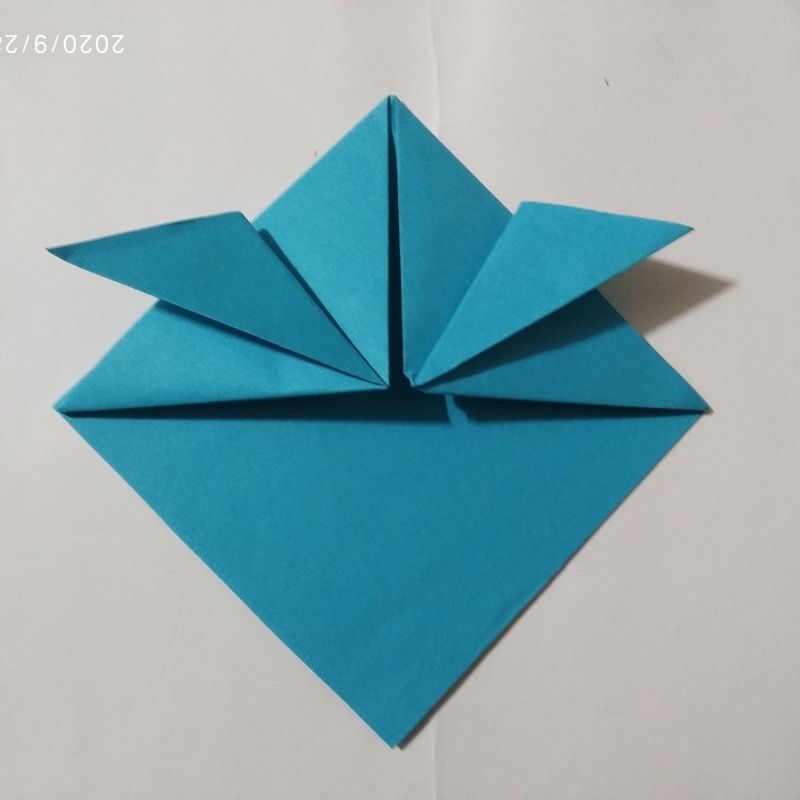
- Now after this step you will have two sideways triangles in the upper half and another half of the portion of the triangle beneath it.
- Lift this front lower portion of the triangle apex and fold it horizontally.
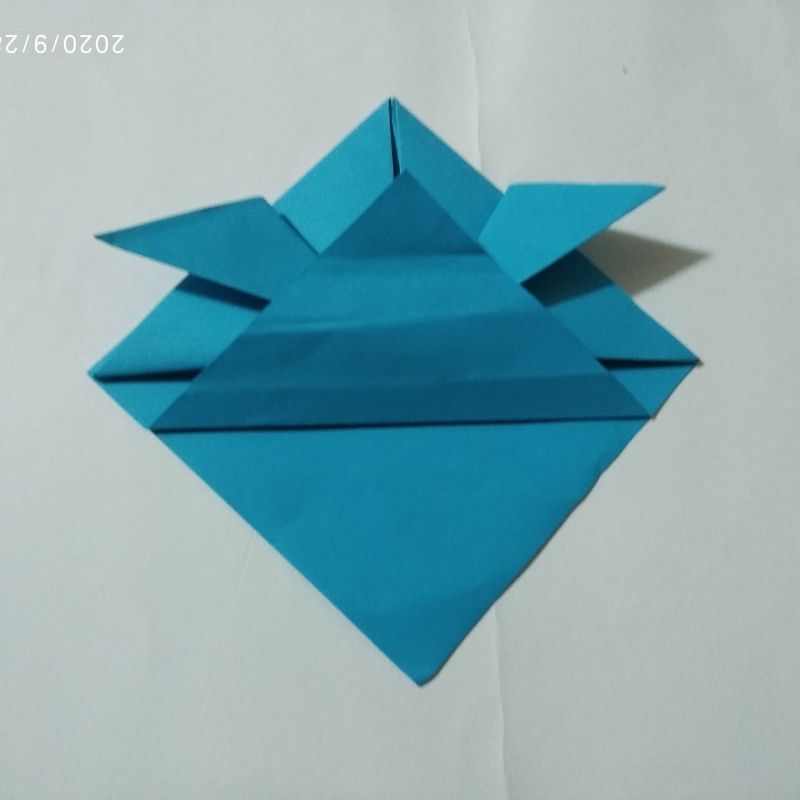
- This horizontal fold is the rim of our hat on one side.
- Next, again divide this triangle folded horizontally upwards into a small parallel fold and a triangle in the inner side.
- This step would fix our hats rim on one side.
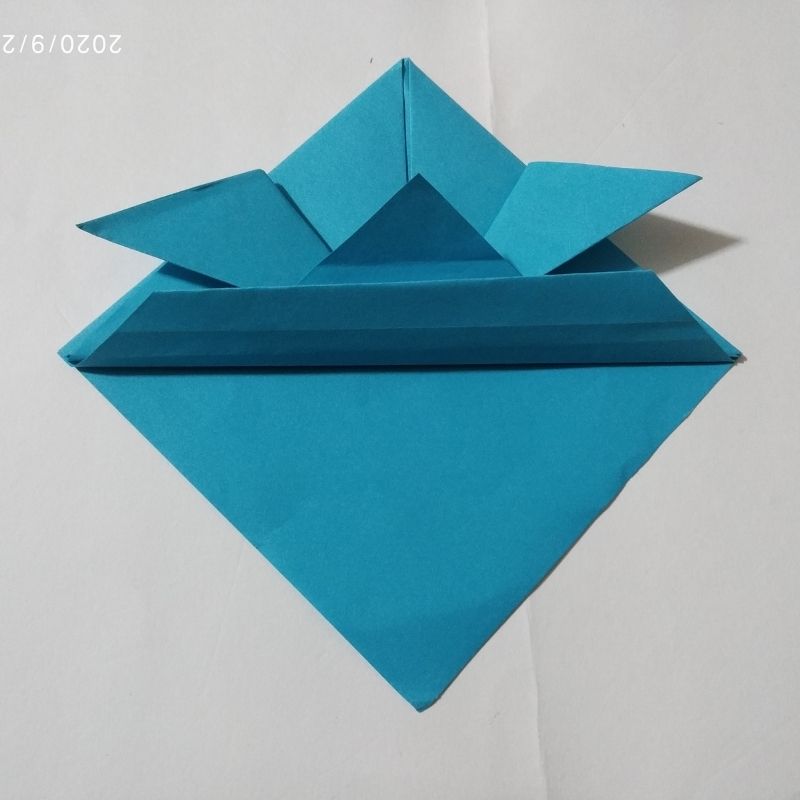
- Next step is to flip the side and fold the triangle on another side to this level horizontally.
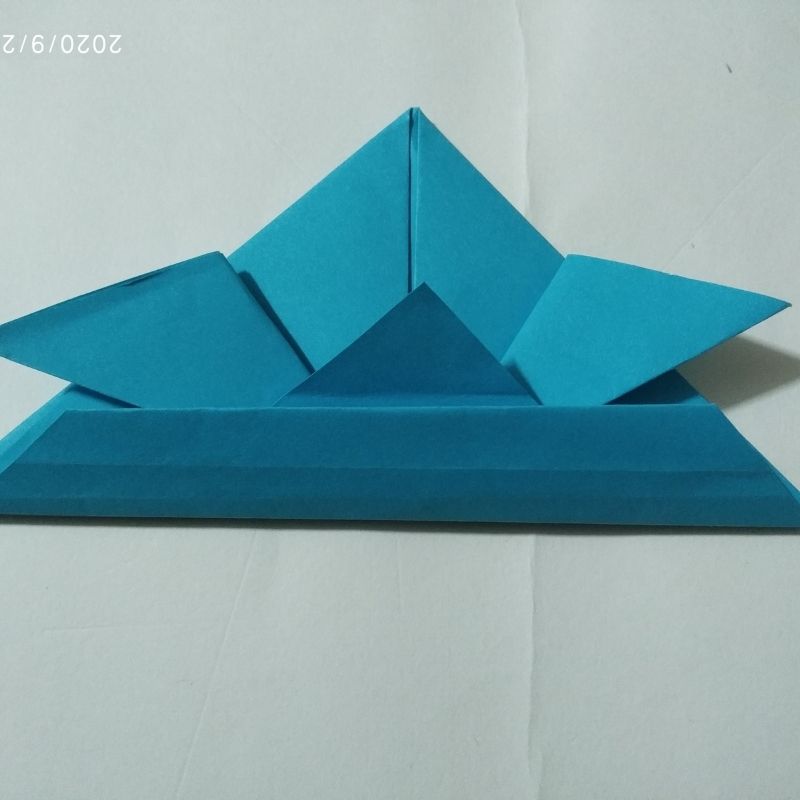
- At this stage, you can use glue to fix the hat in place so that it retains its shape well.
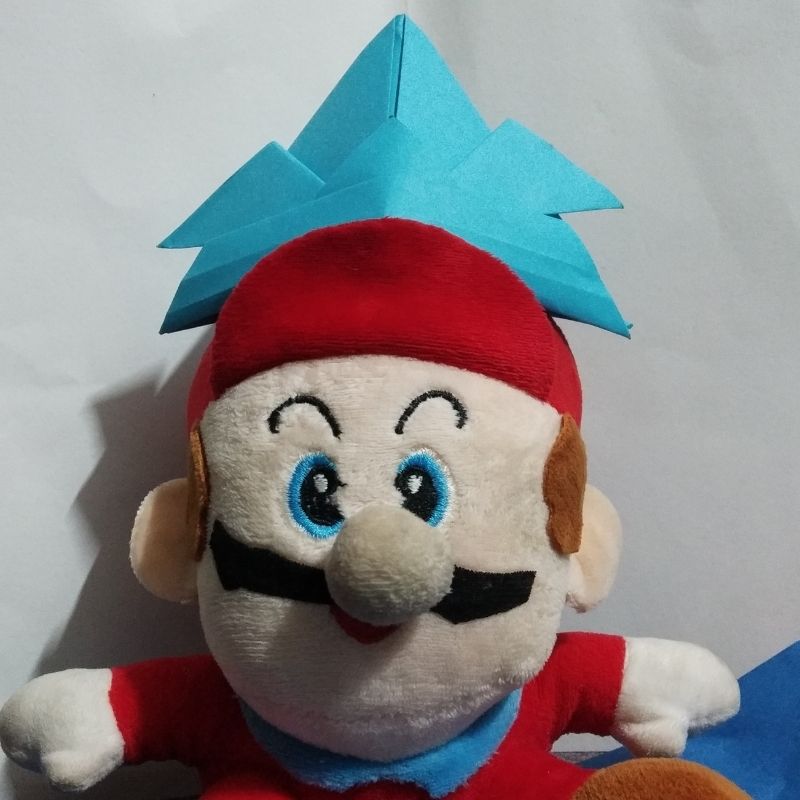
- Next, just balloon the hat with your hand and puff it up to give a hat like an appearance.

- You would be surprised to see your own origami samurai hat ready to don on your head with such easy steps.
- You can write your name with a sketch pen or decorated the hat with beautiful motifs to enhance its look.
Enjoy kids.


Be the first one to comment on this story.