Birds fly high in the sky! We can’t catch them! Yes, of course, some of us have them as pets! It’s a wonderful sight to watch the flight of birds! Today let’s make one bird using colourful papers and basic art and craft supplies!
Simple techniques to make one beautiful origami bird craft!
Let’s get started and follow the steps to know how to make an easy origami bird.
Materials Required to Make an Origami Bird
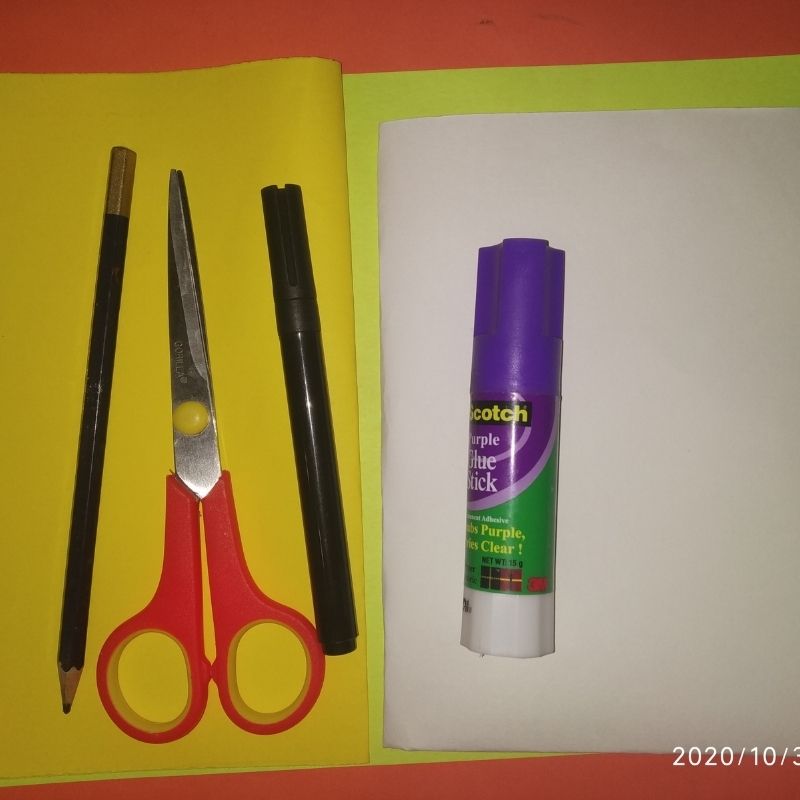
- Colourful bright paper
- White paper
- The yellow or orange sheet
- Sketch pens
- Pencil
- Scissors
- Glue
How to Make an Origami Bird Step by Step
- Take any coloured bright square sheet of paper. Size should be around 20cms.
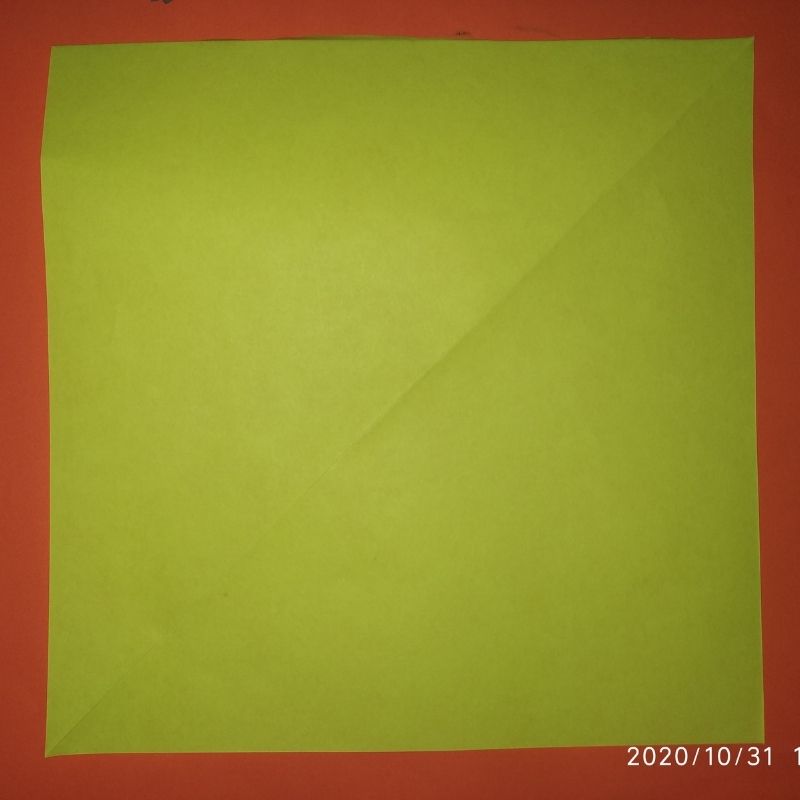
- Next, fold this square paper into a triangle.
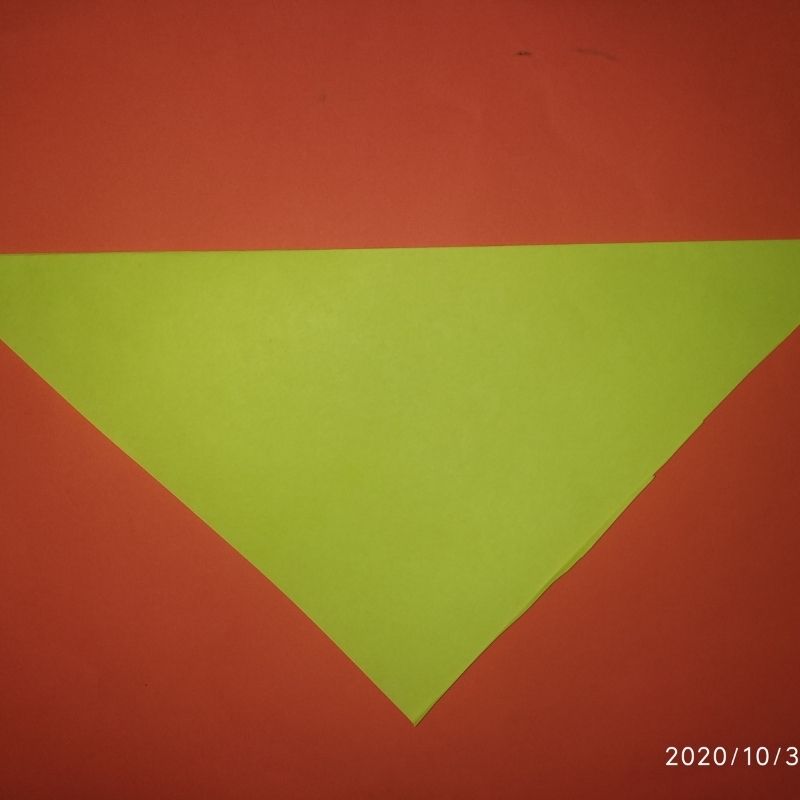
- Food this triangle into two side vertical triangles.
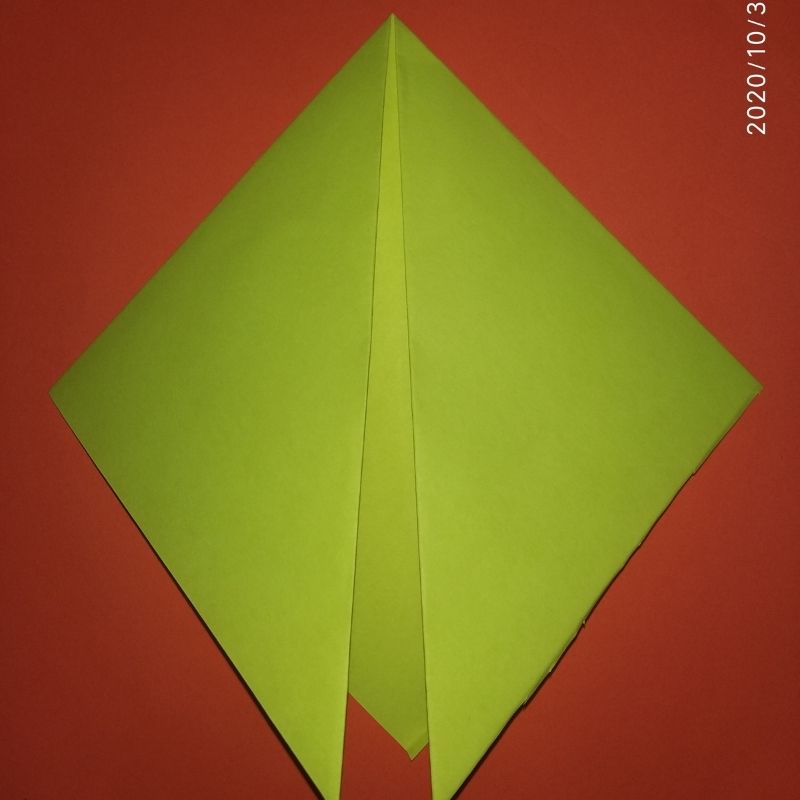
- Next leave the free end as it is and fold the other three sides of the vertical triangles.
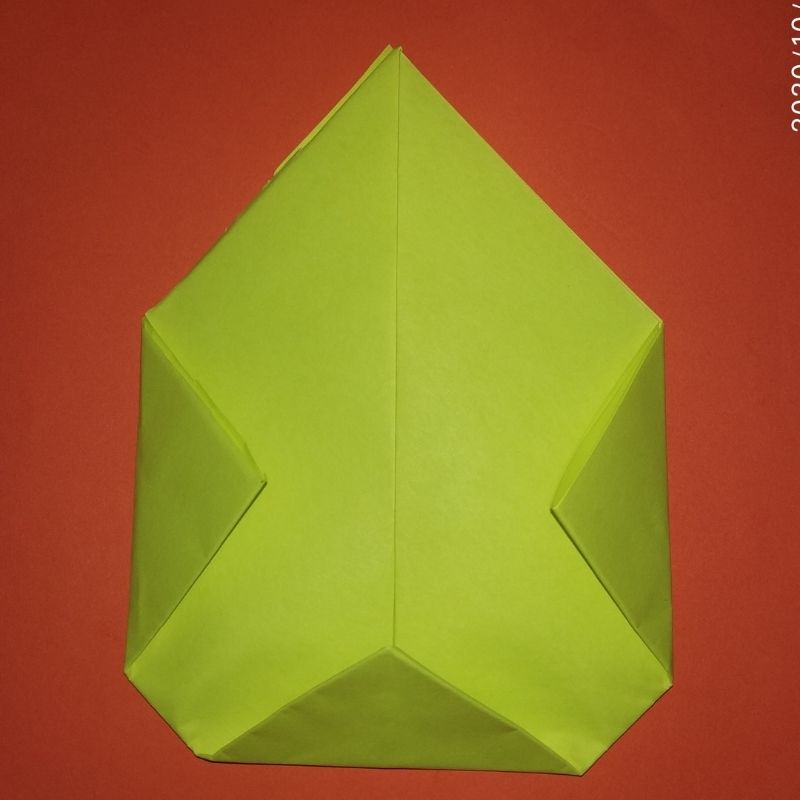
- Next, flip this paper.
- Fold front end of the apex into a small triangle.
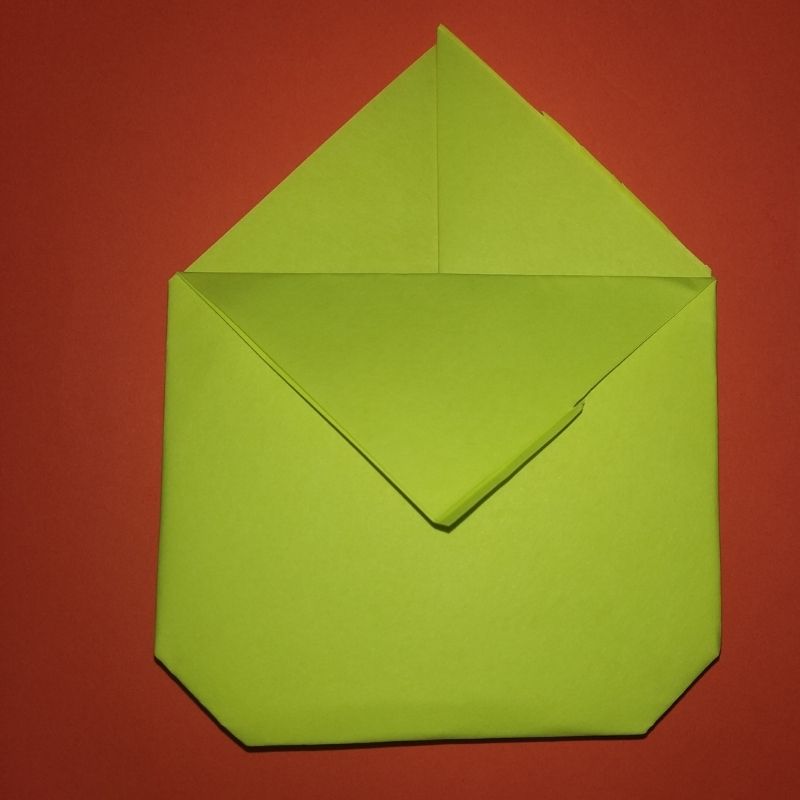
- Cut the other free end of the triangular apex into a semicircular fashion.
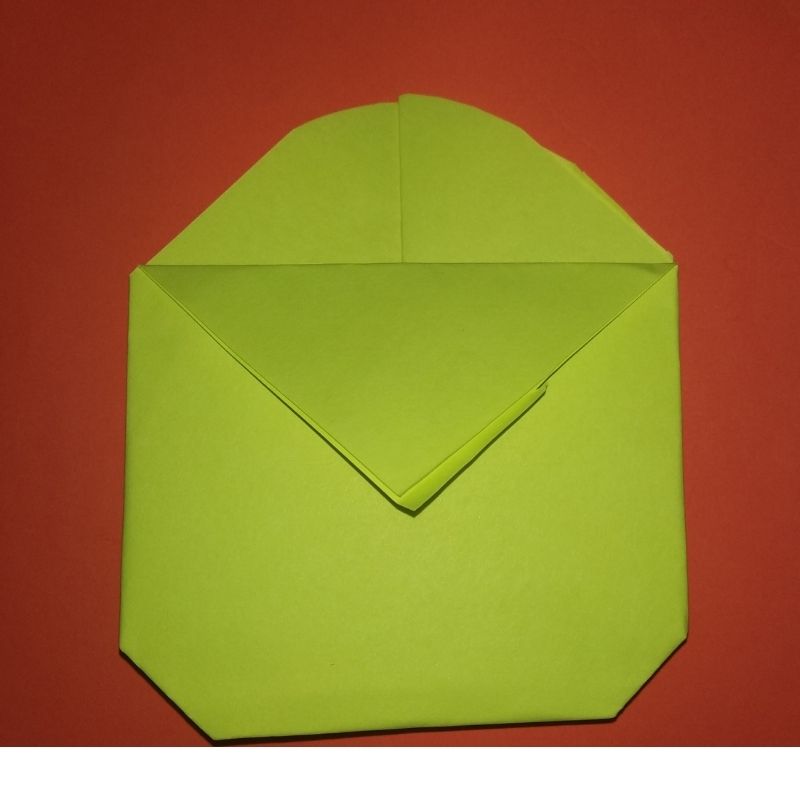
- This would serve as the head of the bird.
- Next, use a white sheet of paper and cut two small circles as the eyes.
- Add details using a black sketch pen to the eyes.
- Next, take a yellow sheet of paper and cut the feet of the bird.
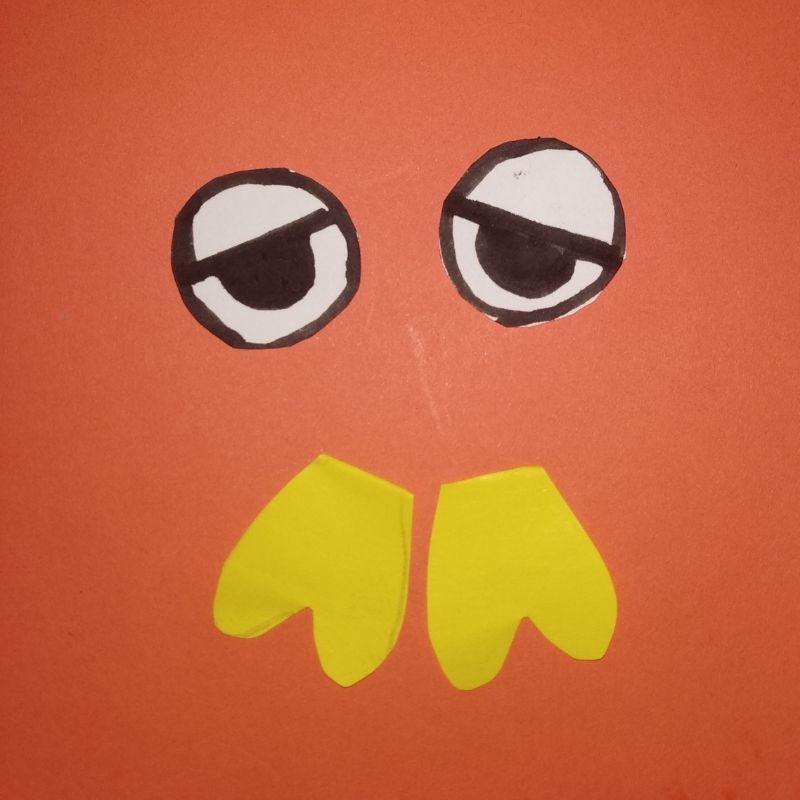
- Now assemble the eyes on the face and stick them.
- Next, stick the feet if the bird on the bottom part of the bird’s body.
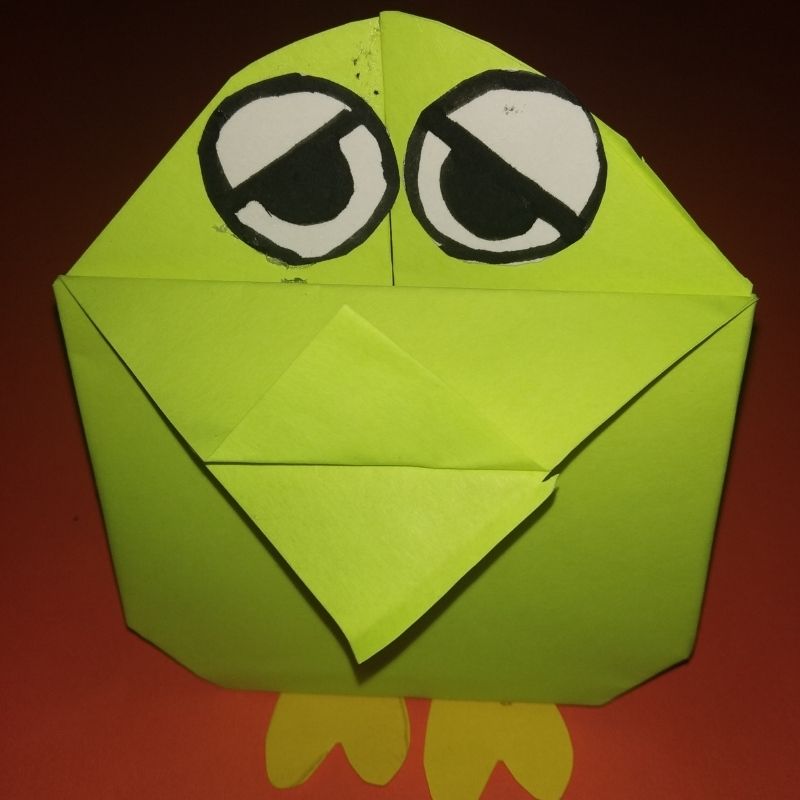
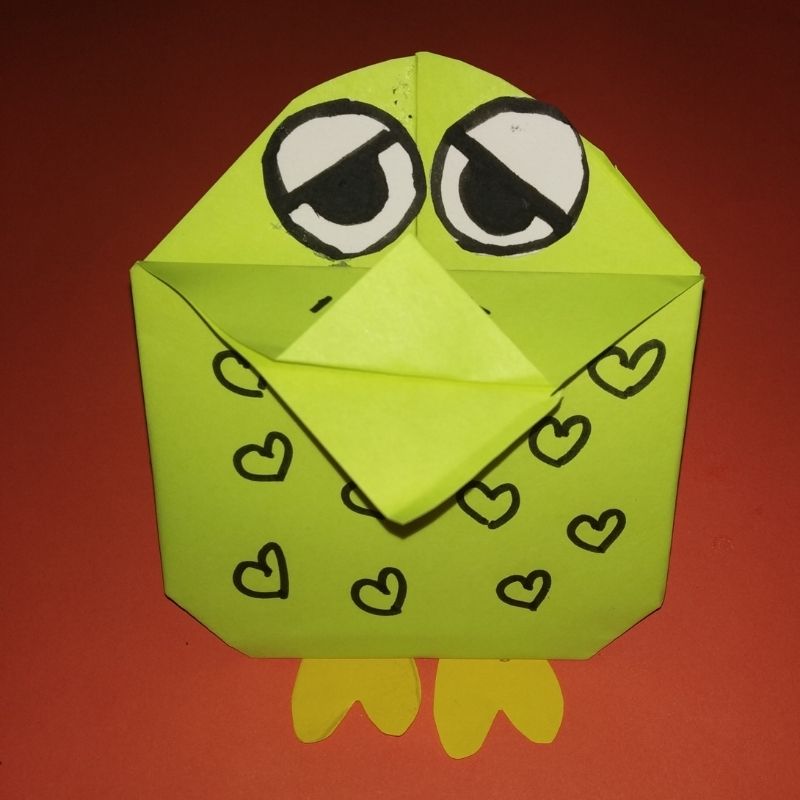
- You can just fold the sides of the bird’s body and elevate the triangular folds to resemble the wings of the bird.
- That’s it, children! Your easy origami bird craft is now ready!



Be the first one to comment on this story.