Cats say meow. They are great pets. Kids love to play with these furballs. Many of us must be having cats as pets. For those who don’t have a pet, don’t worry. Let us make a paper cat. Yes simple yet creative. Today we shall make a beautiful paper cat using basic art and craft supplies at home.
They are pretty simple and fun making.
Let us follow the instructions to know how to make a paper cat.
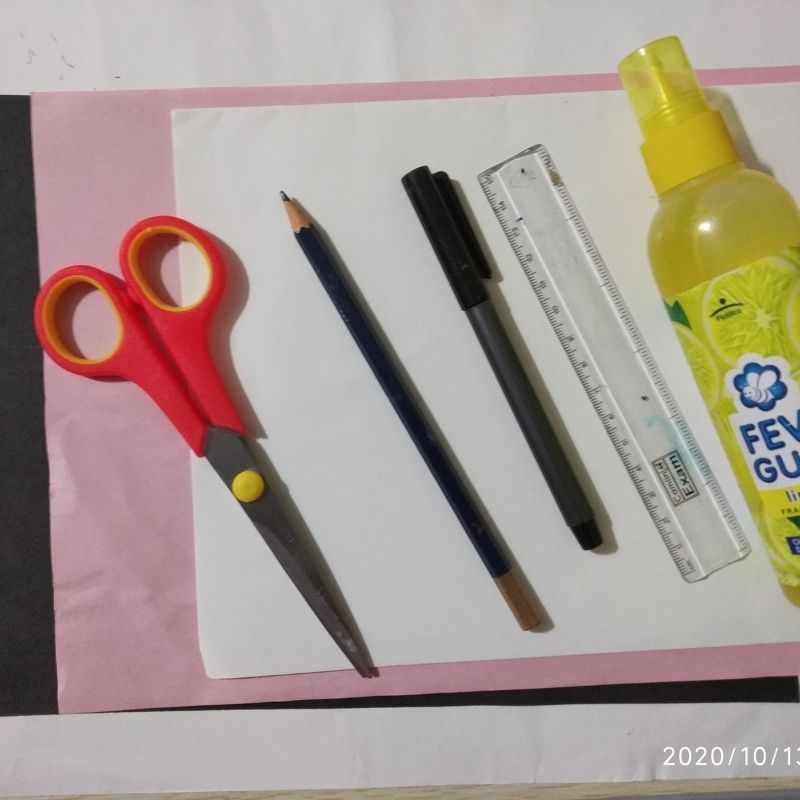
Materials Required to Make a Paper Cat
- Black paper
- Pink paper
- Pencil
- White paper
- Ruler
- sketch pens
- Scissors
- Glue
How to Make a Paper Cat Step by Step
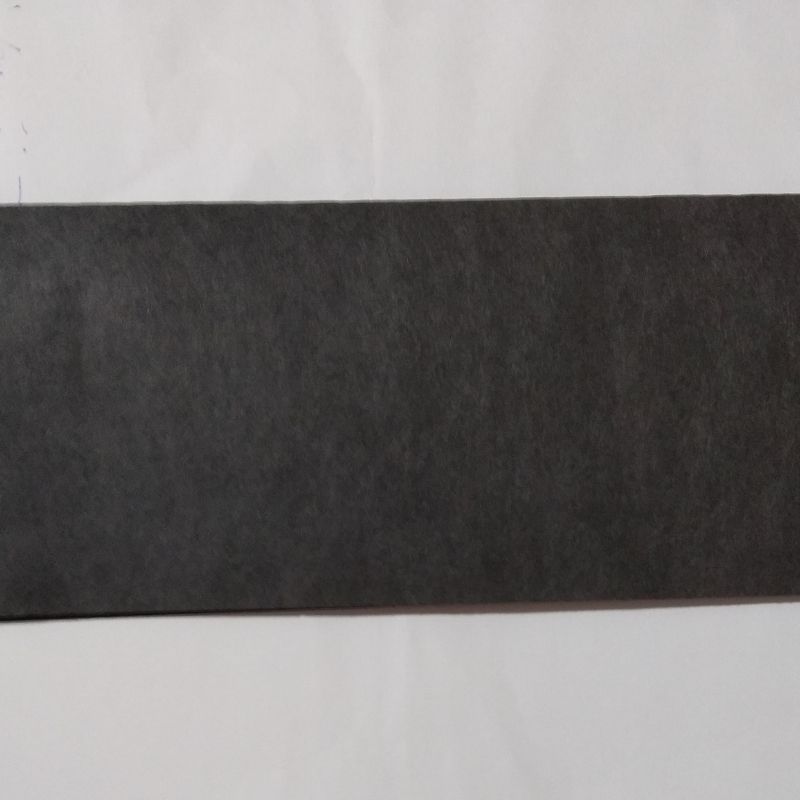
- Take a black sheet of paper and cut a strip of paper. Size should be 20 cm by 5 cm.
- Now fold the paper into three folds.
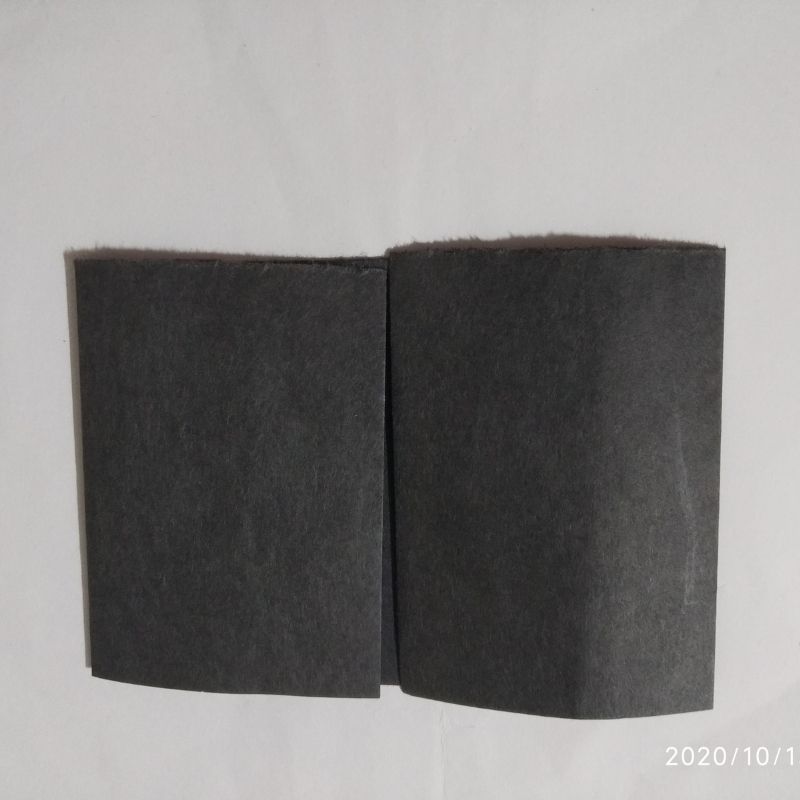
- One must be the base, fold on the other two ends of the strip and stick it.
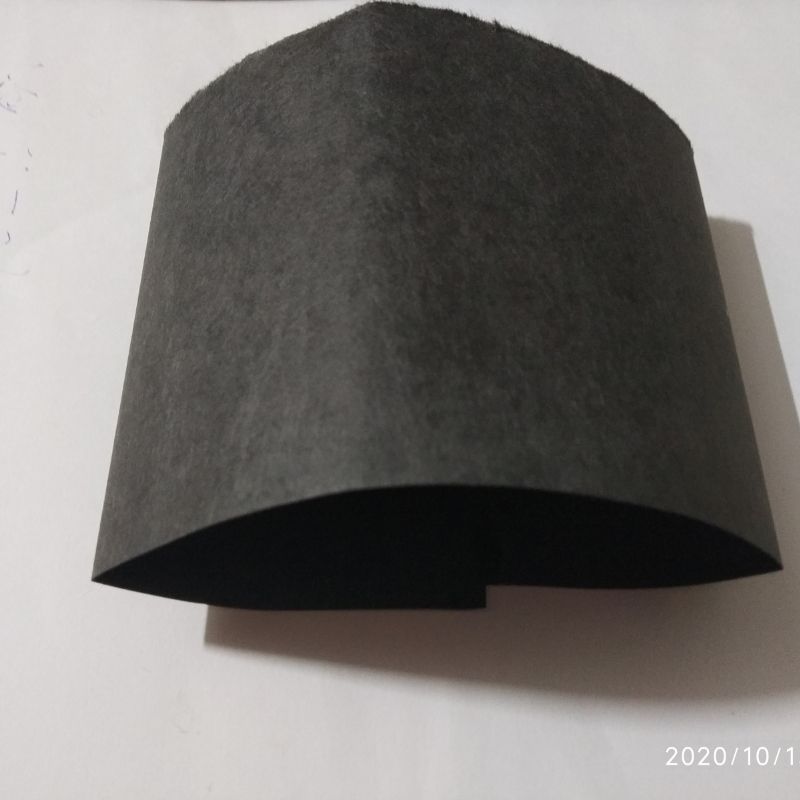
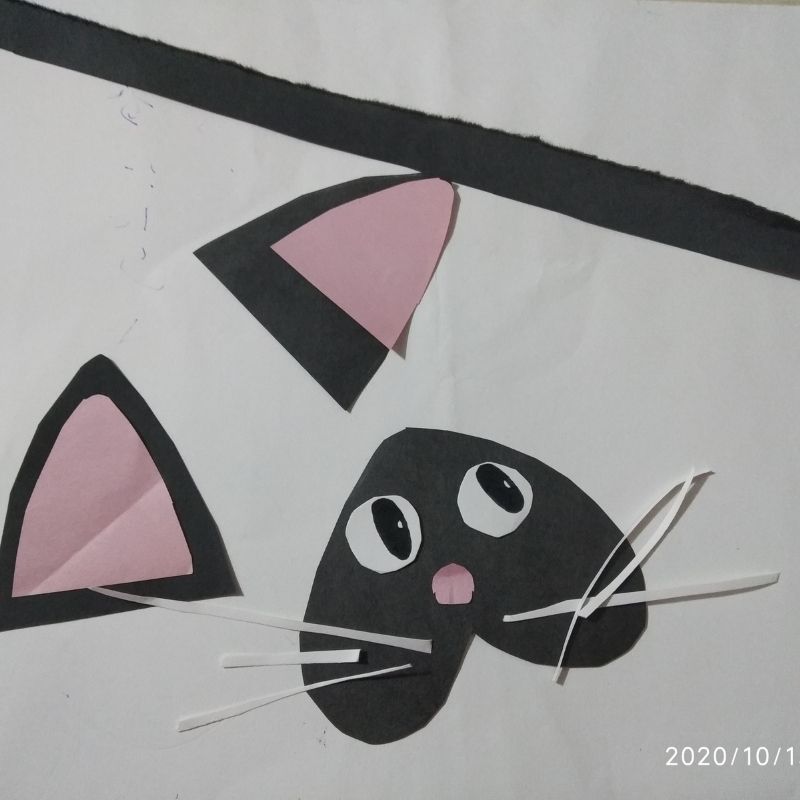
- Make sure you stick the strip in a curve fashion to resemble the body of the cat.
- Next, draw a heart-shaped cat face using a black sheet and cut it.
- Draw and cut two small triangles using a black sheet and use a pink sheet to draw and cut two smaller triangles than the black ones. The pink triangles are the inner portion of the ears.
- Next cut two small circles using a white sheet and add details using black sketchpen. These are the eyes. Use small white strips of paper to resemble whiskers.
- Next cut a small circle using a pink sheet and this would serve as the nose.
- Once done, stick the face on the body, the eyes on the face along with the nose, whiskers and the ears.
- Next cut a small strip using black sheet and stick it on the back of the body to resemble the tail of the cat.
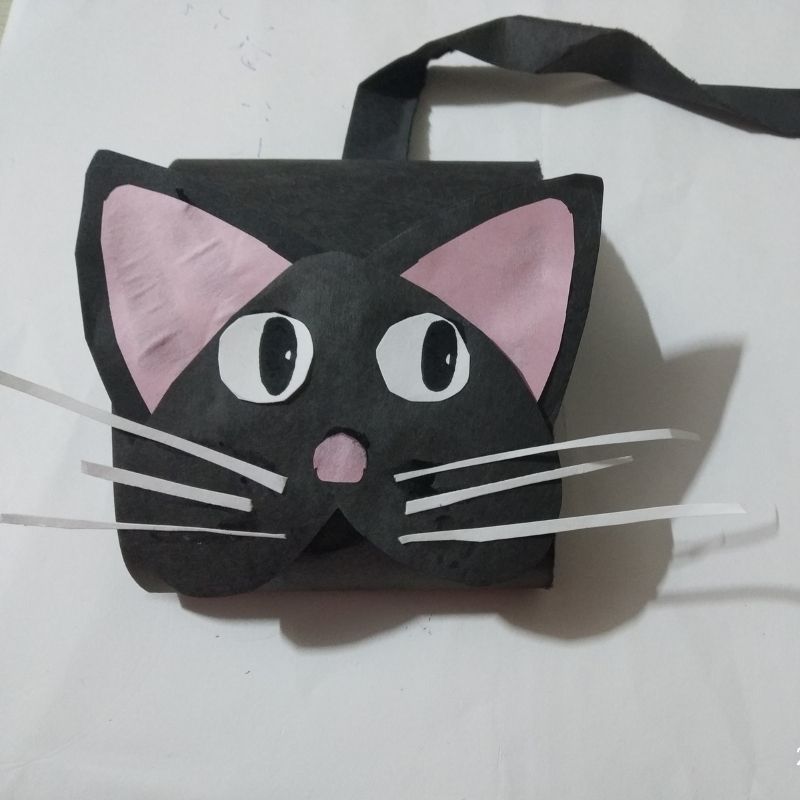
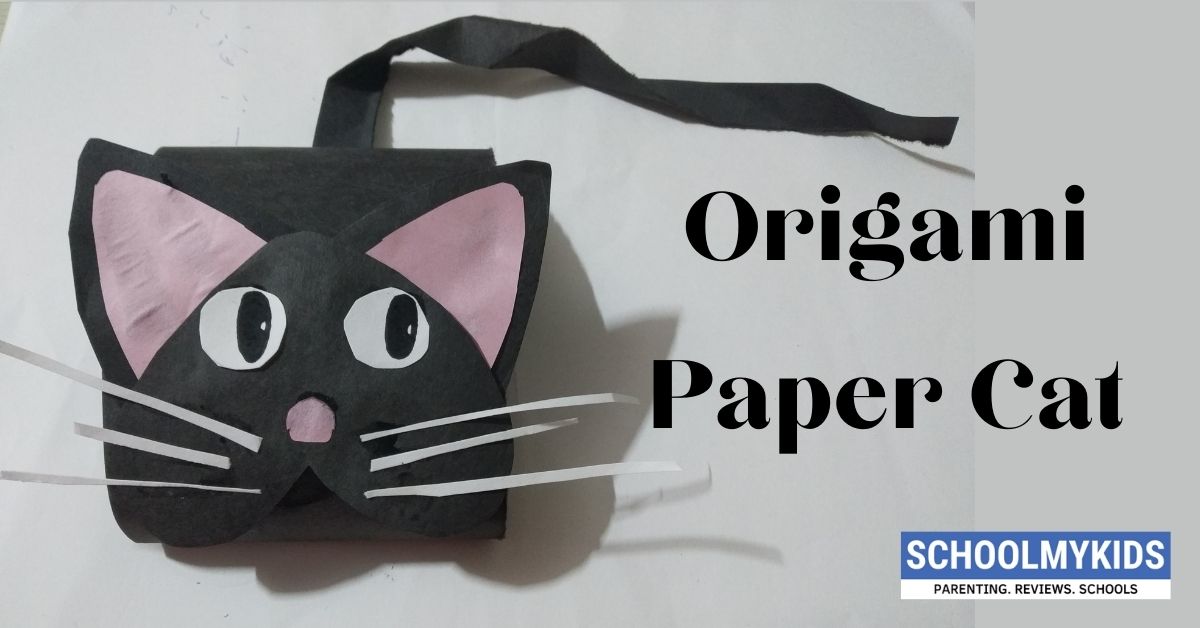
Your beautiful paper cat is now ready kids.



Be the first one to comment on this story.