Olaf is our dear snowman from the movie frozen. Frozen has many fans and I am one of them. I adore Olaf for his friendly nature and kindness. Its Christmas season and time to bring the Santa Claus, Christmas trees and snowman. So let’s make one Olaf craft for Xmas. Today we will make a beautiful Olaf bookmark for our favourite novels which we will enjoy reading on our Christmas holidays.
Let’s go kids!
Follow the instructions to know how to make awesome frozen DIY Olaf corner bookmark.
Materials Required to Make DIY Frozen Olaf Bookmark
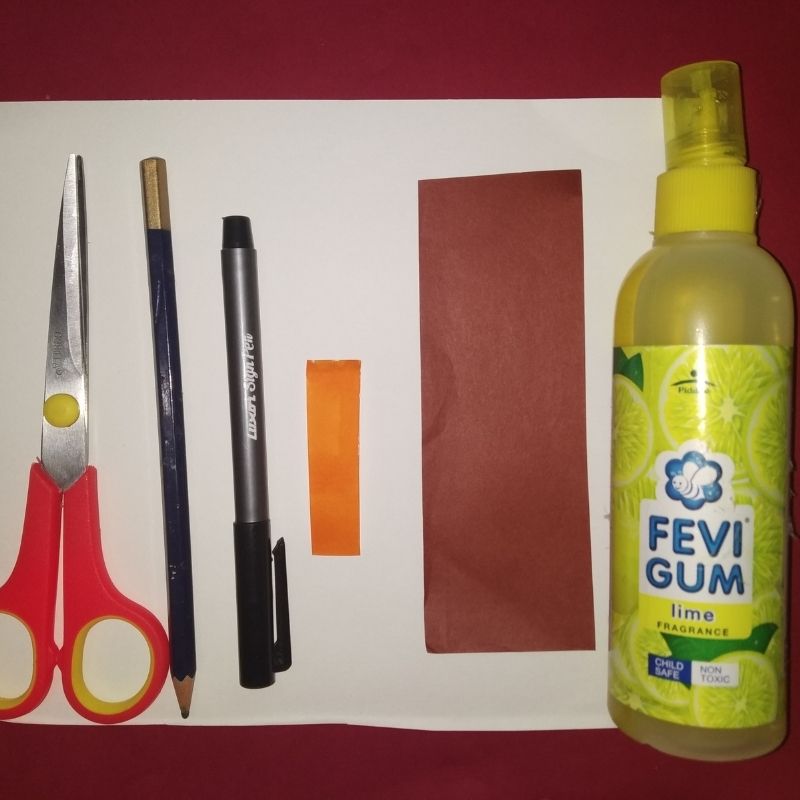
- White paper
- Brown paper
- Orange paper strip
- Sketch pens
- Pencil
- Scissors
- Glue
How to Make DIY Frozen Olaf Bookmark Step by Step
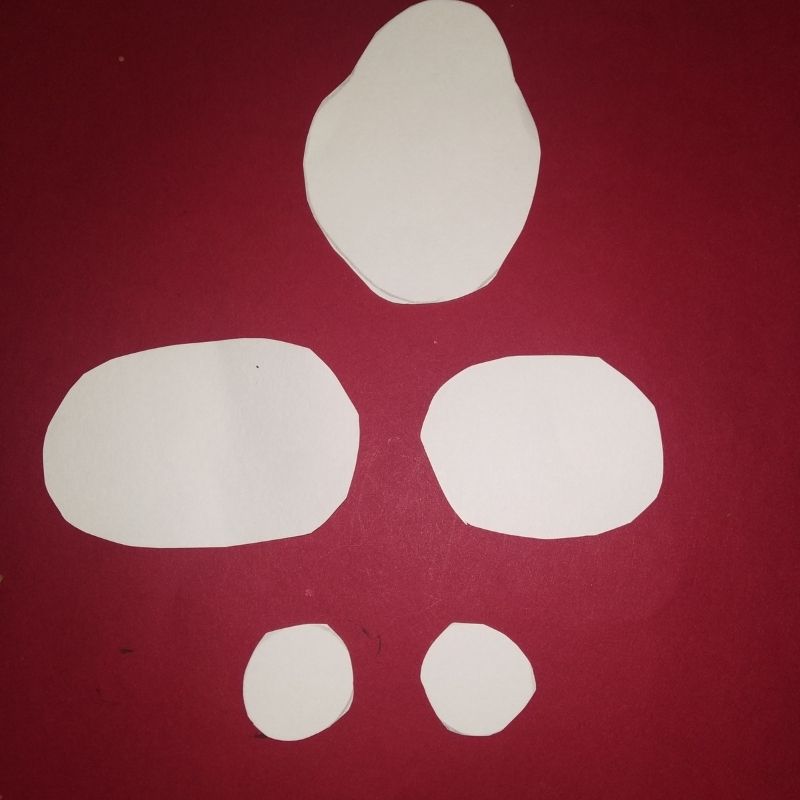
- Take a white coloured sheet and draw the elements of Olaf on it.
- We need an oval-shaped face, two portions of the body upper and lower.
- Next, we need two feet oval.
- Once you draw all the 5 elements cut them and keep aside.
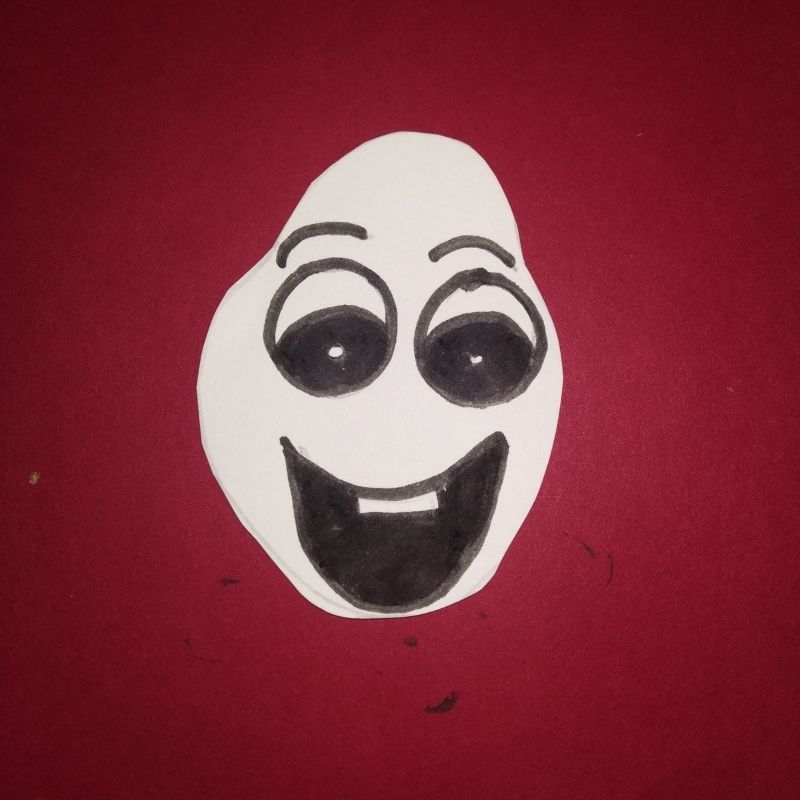
- Next, add details to the face using a black sketch pen.
- Stick the upper and the lower body in a linear fashion beneath the face.
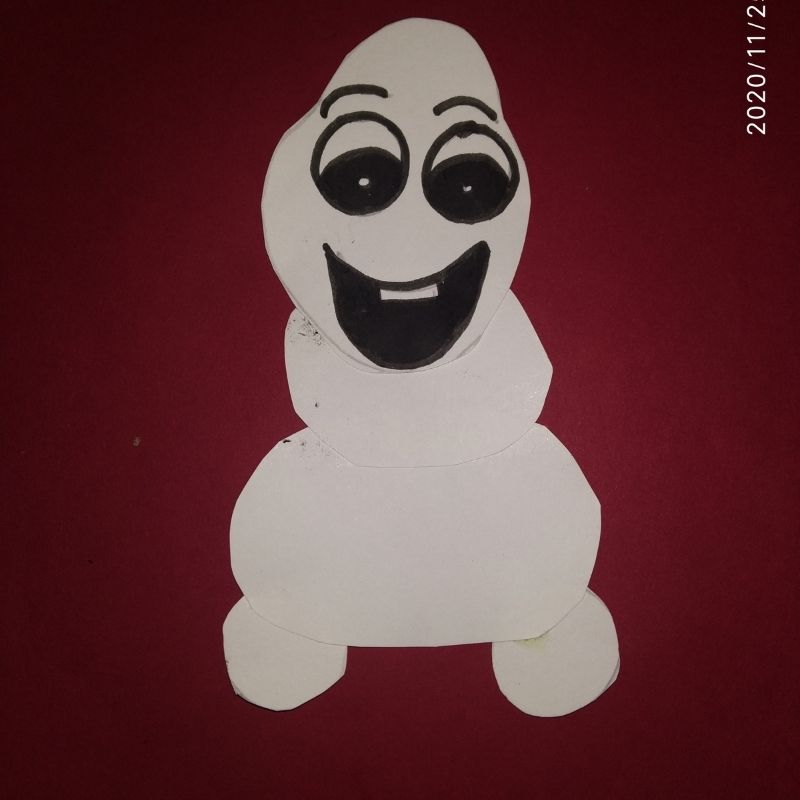
- Draw buttons on it using a black sketch pen.
- Next, stick the feet on both sides of the lower portion of the body.
- Your Olaf figure is half ready.
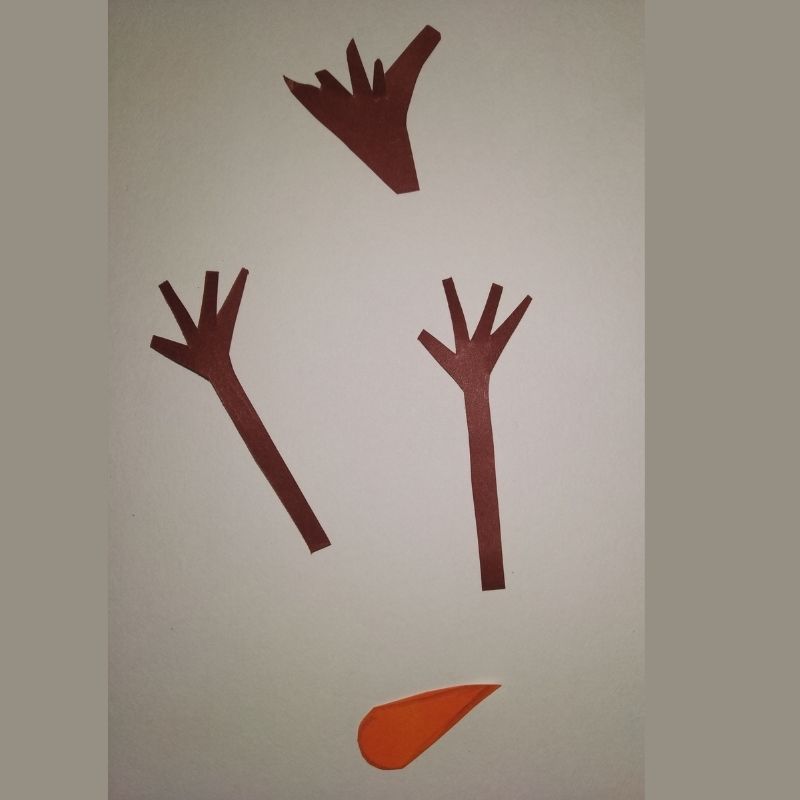
- Now take a brown sheet and cut two arms of Olaf, followed by the hair.
- Stick the two arms on the sides and hair on top of the head.
- Finally use an orange sheet to cut the nose of the Olaf.
- Stick it in the centre of the face.
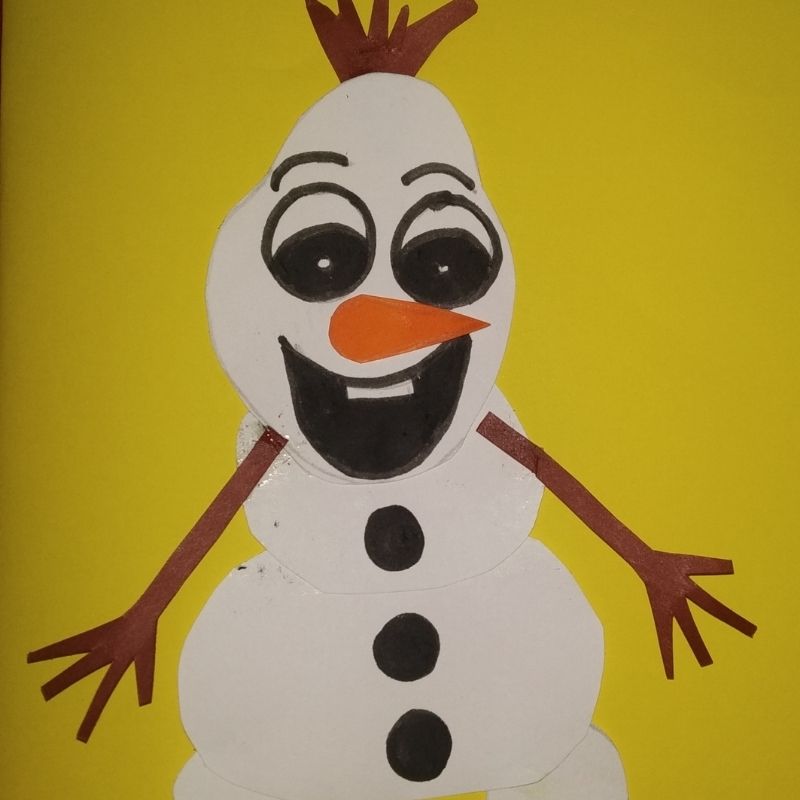
- That’s it, kids! Your beautiful Olaf handmade corner bookmark is now ready!
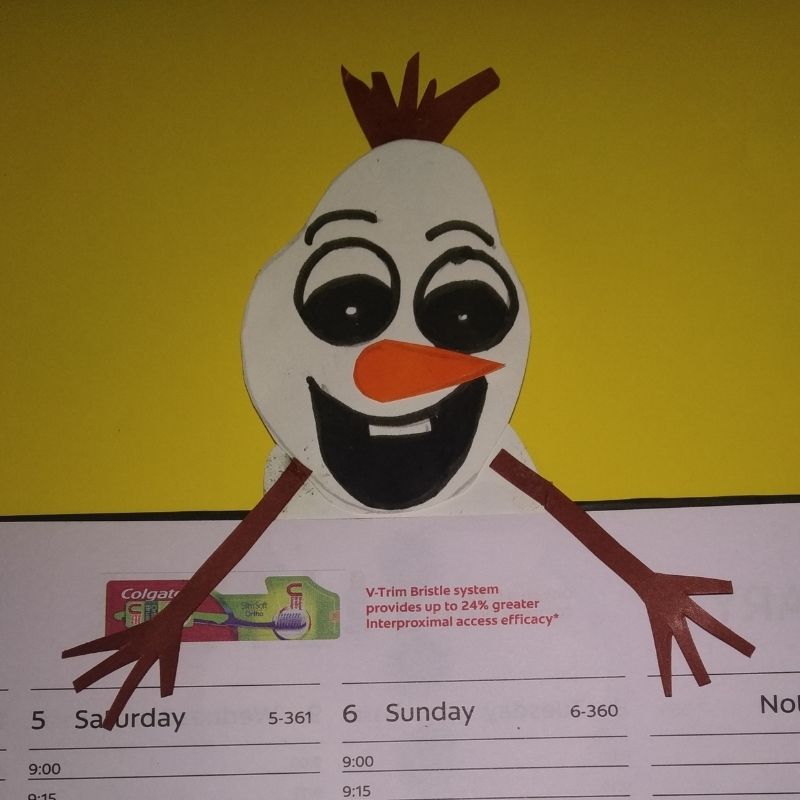
- Enjoy and try for yourself!




Be the first one to comment on this story.