Ho ho ho! It’s the Christmas season and all of us want dear Santa to visit us with exciting gifts! So let’s celebrate Christmas with our beautiful creations! We can make our very own Santa Claus décor using paper. All we need is basic art and craft supplies available at home.
Let’s make a beautiful Santa bookmark to Mark our favourite pages of the Xmas novels which we love to read in our Christmas holidays! Let’s get started!
Follow the instructions to know how to make easy Santa corner bookmark.
Materials Required to Make Santa Corner Bookmark
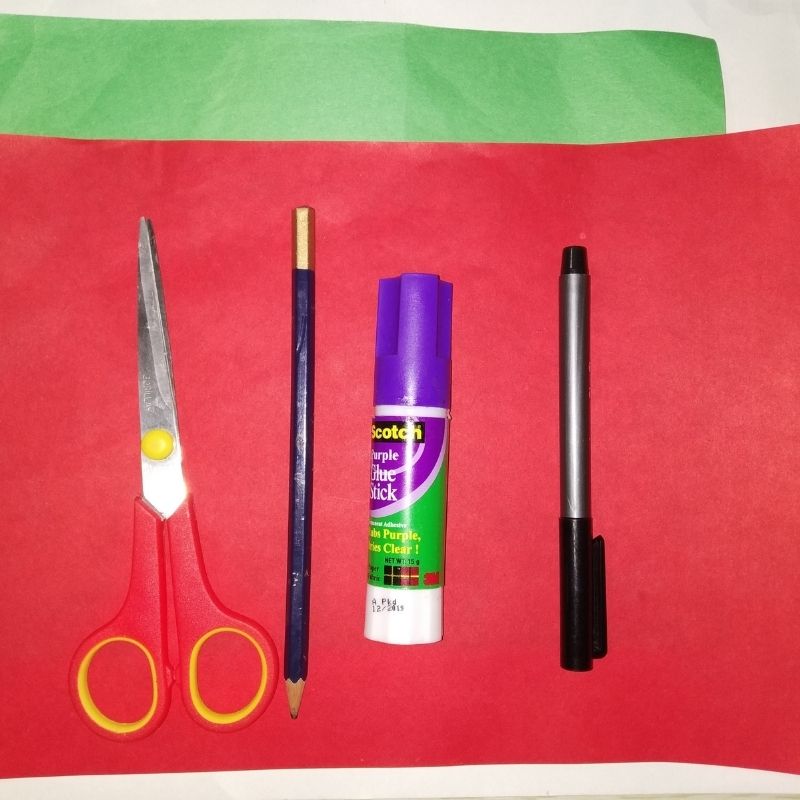
- Red paper
- Pink or light orange paper
- White paper
- Green paper
- Brown paper
- Sketch pens
- Pencil
- Scissors
- Glue
How to Make Santa Corner Bookmark Step by Step
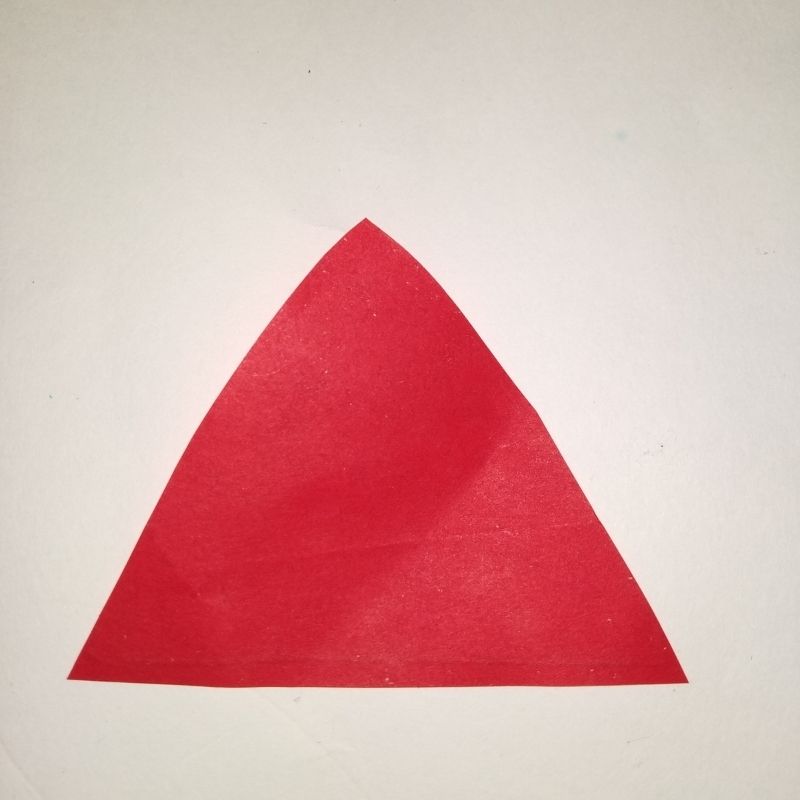
- Take a red sheet of paper and draw the face of the Santa in a cone-shaped pattern.
- The size of the cone should be around 8cms in length and 5cms in width
- Next cut the cone-shaped Santa framework.
- Next use a white sheet of paper to draw the lace of the cap, Santa’s moustache and beard. Use a pink sheet to cut the face. Add details like eyes using a black sketch pen.
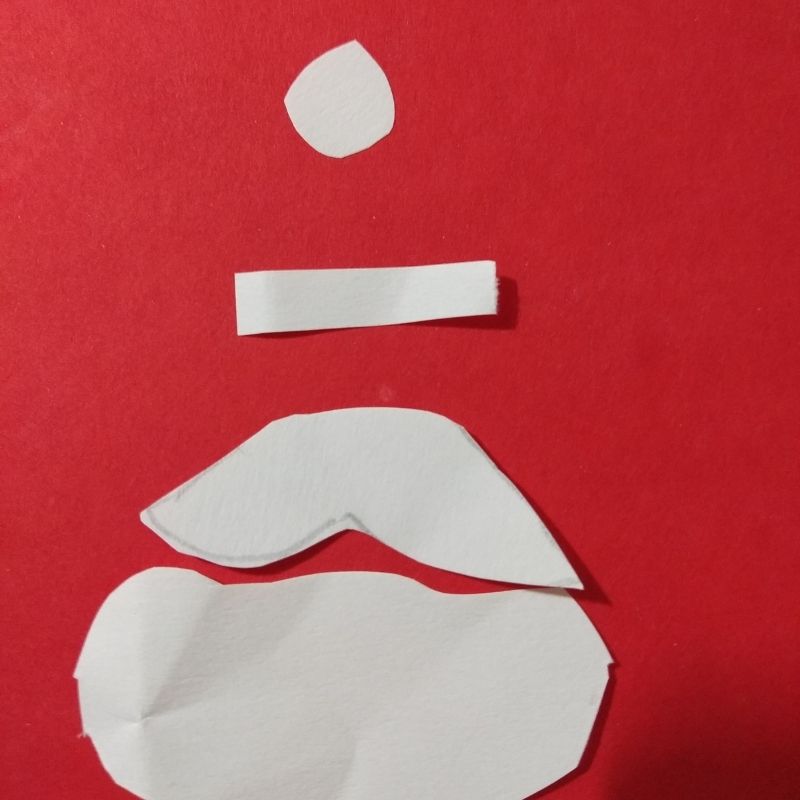

- Draw a small pom-pom ball using the same white sheet for the cap too.
- Next cut all these elements and keep aside.
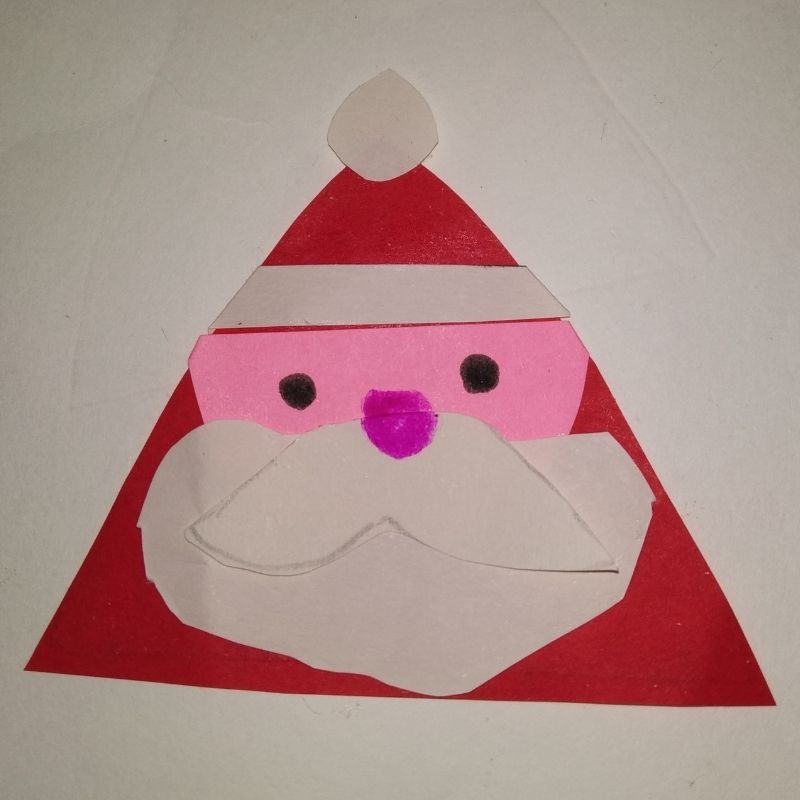
- Arrange and stick it on the cone-shaped framework and keep it aside
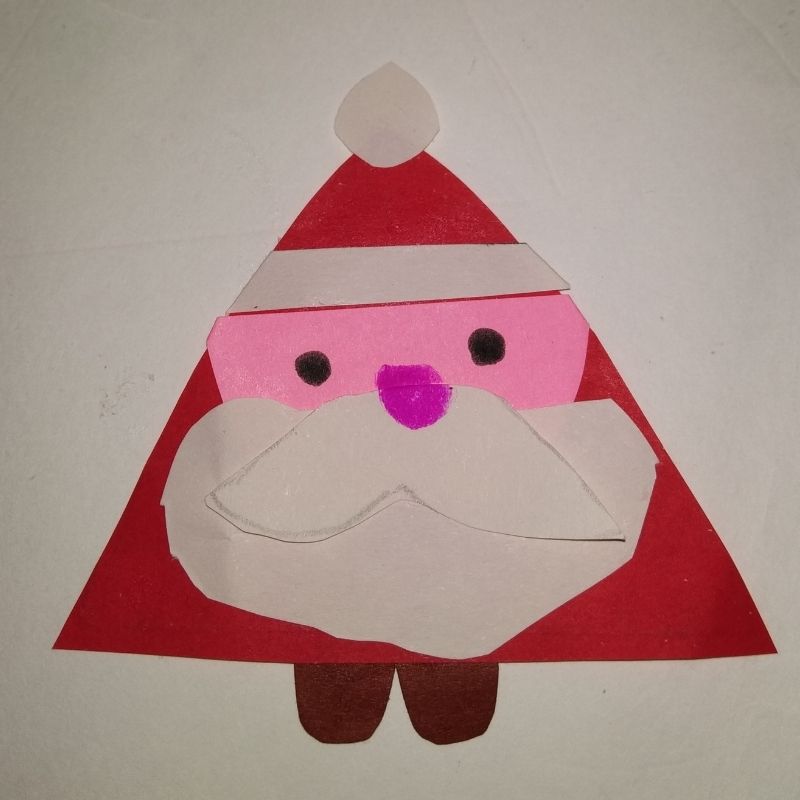
- Next, draw a heart shape on red paper and white paper.
- The red heart should be bigger than the white.

- Stick the white heart over the red heart and keep it aside.
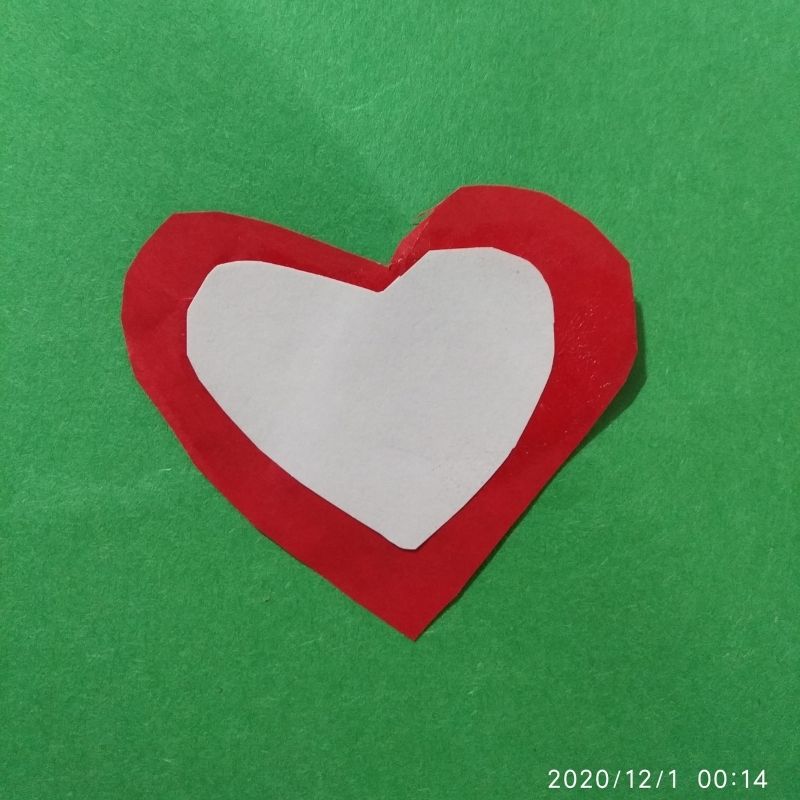
- These are the two portions of Santa’s bookmark
- Next, stick these two portions using a green thick strip of paper and use it to keep it as a bookmark. You can use the brown paper to cut small boots for Santa.
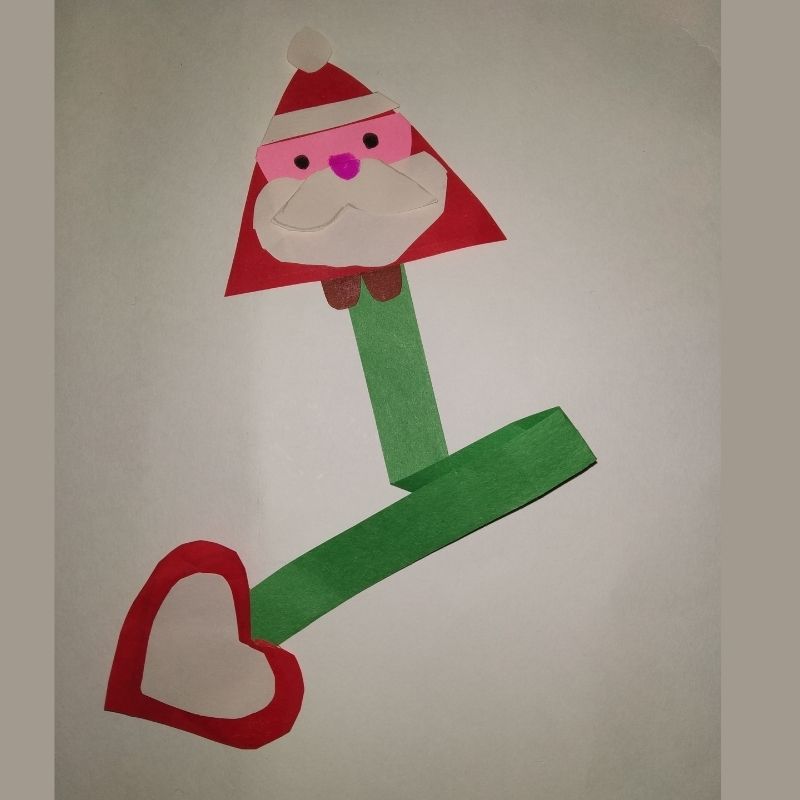
- You can use any one portion as the outer portion of the bookmark and keep the other one in the page.
- This way you have two bookmarks in one single arrangement.
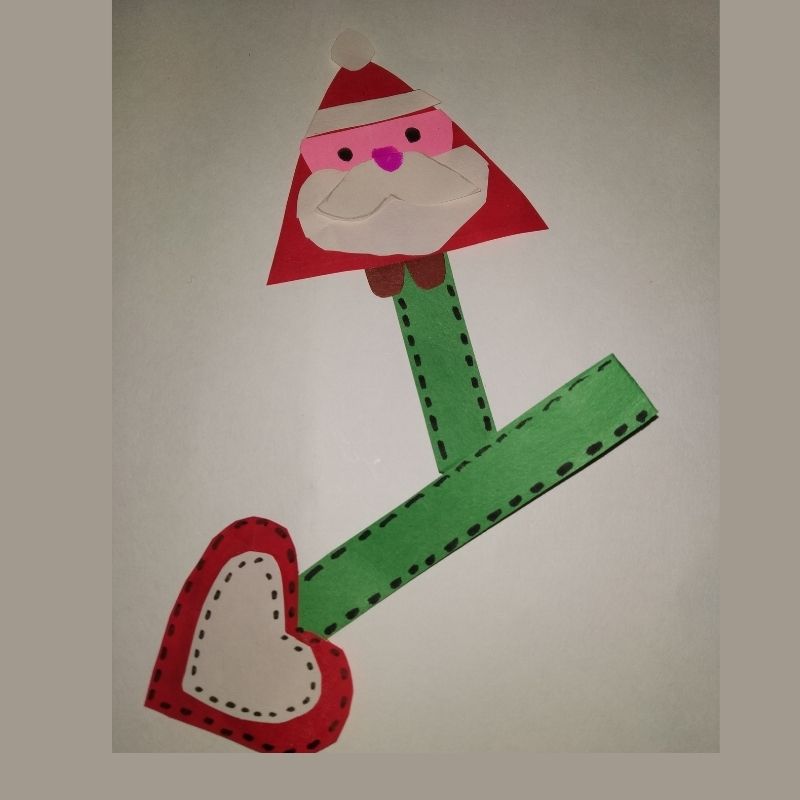
- That’s it, kids! Your beautiful Santa corner bookmark is now ready.


