Butterflies are colourful and it is so soothing to see them fly from one flower to another. We often see them in gardens and flower beds. Today let’s bring home some colourful butterflies using basic art and craft supplies.
Follow these simple instructions to make origami paper butterfly and kids will love this adorable and easy paper butterfly. Also, check out our other collection of Art and Crafts & DIY Ideas.
C’mon kids let’s do it!
Materials Required to Make Paper Butterfly
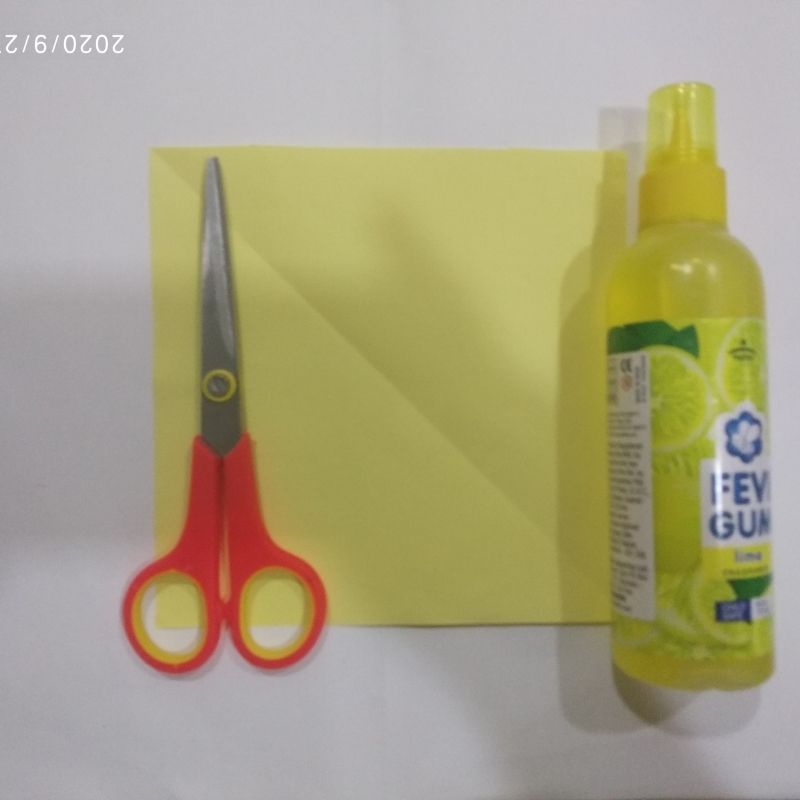
- Bright coloured sheet
- Pencil
- Glue
- Scissors
How to make Paper Butterfly Step by Step
- Take a bright coloured square sheet (15cm by 15cm)
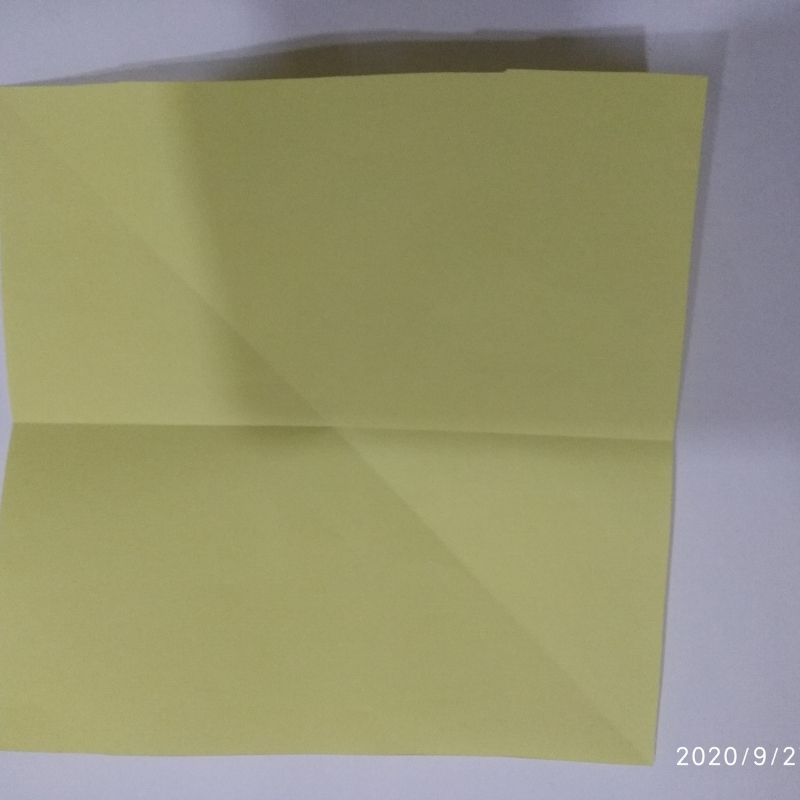
- Next, fold it into half and further fold this half into a square.
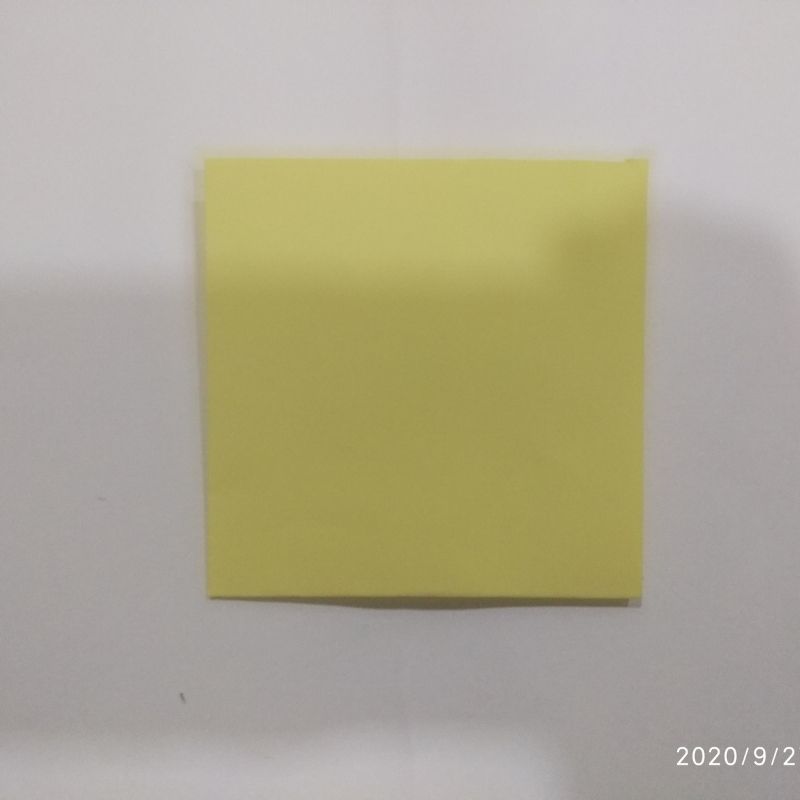
- Once you fold it to a square shape, further fold this square into a triangle.
- Fold it on both sides
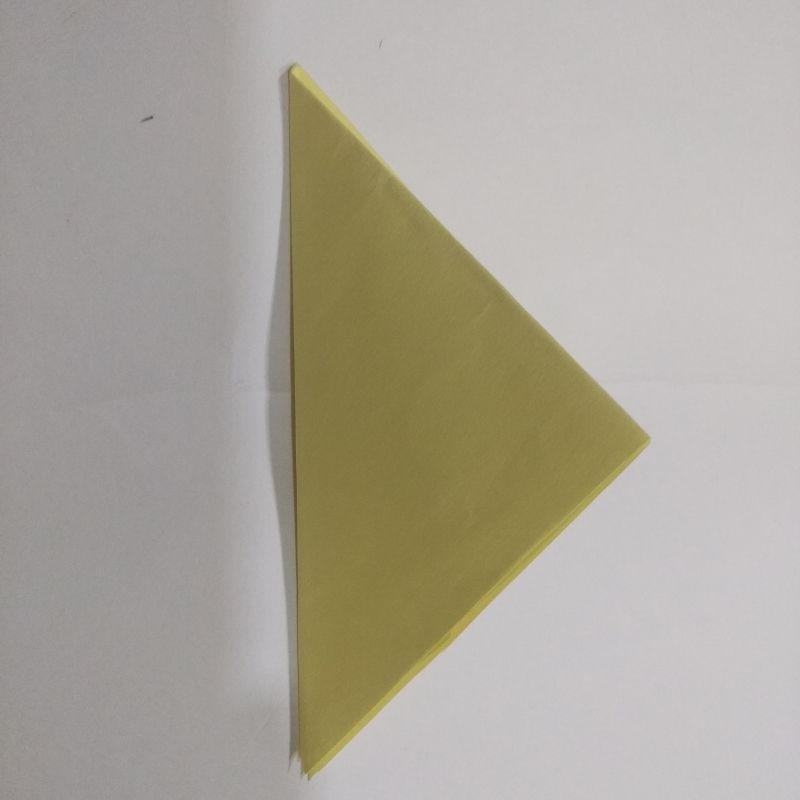
- After you open the sheet you will have a cross intersection of crease lines and a vertical and horizontal intersection of crease lines.
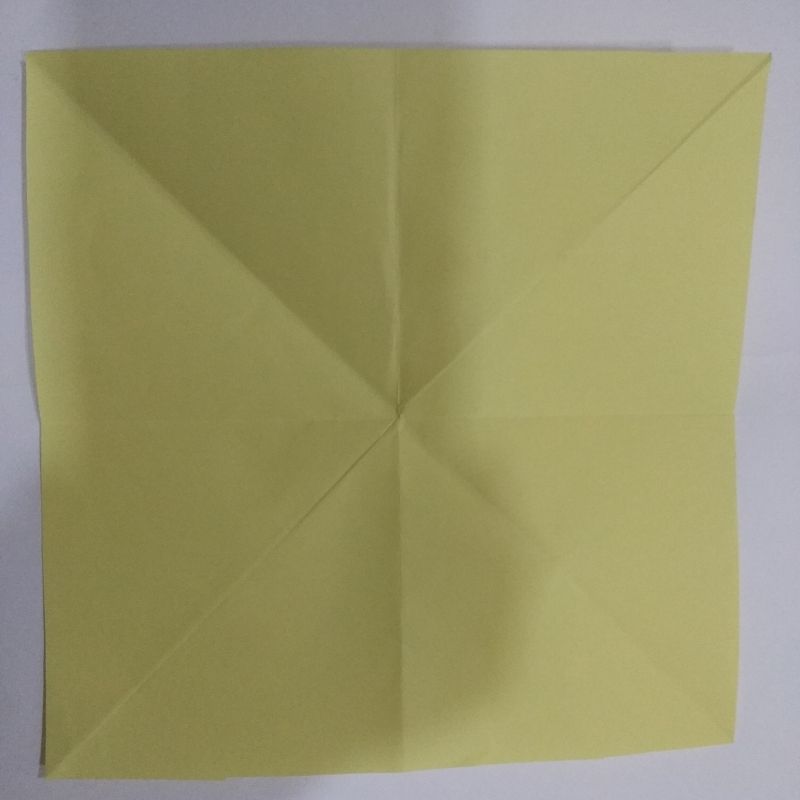
- Further, fold the horizontal crease line inwards to form two triangles on either side of this horizontal line.
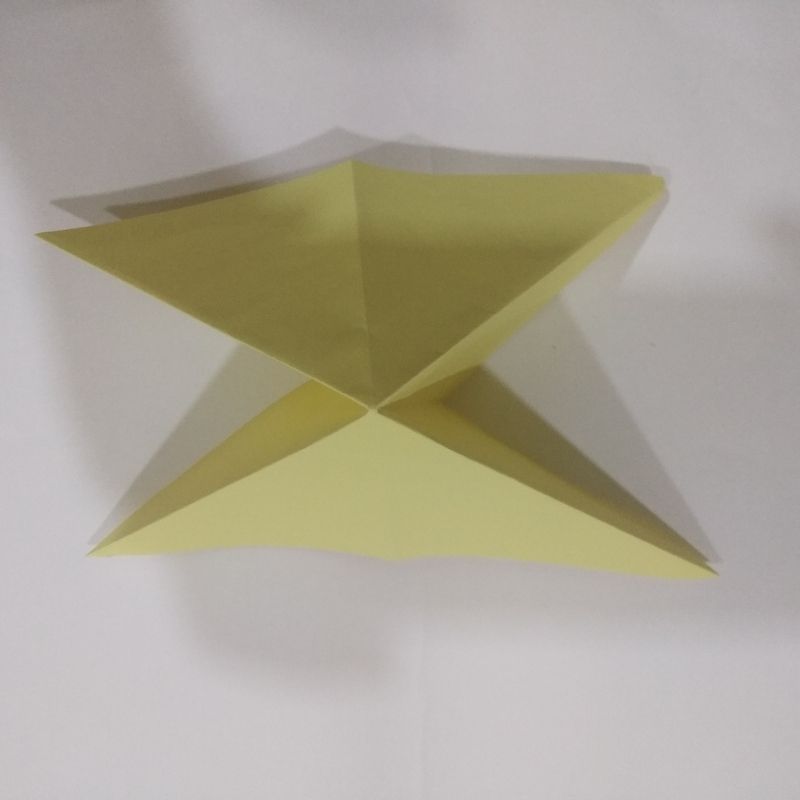
- Next, you will now have a triangle ready.
- Fold this triangle into half and cut just the apex on the right.
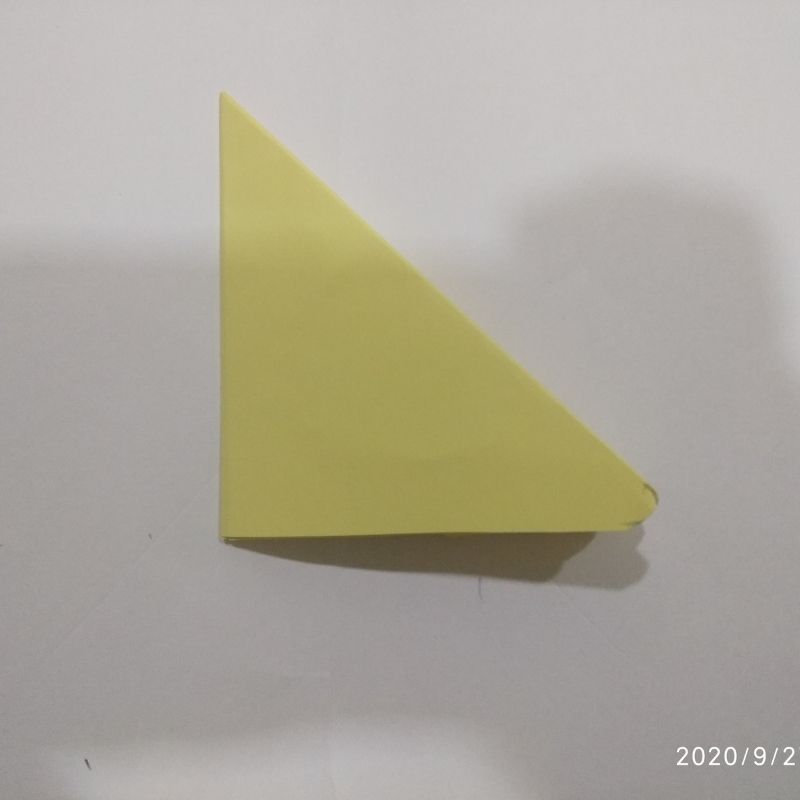
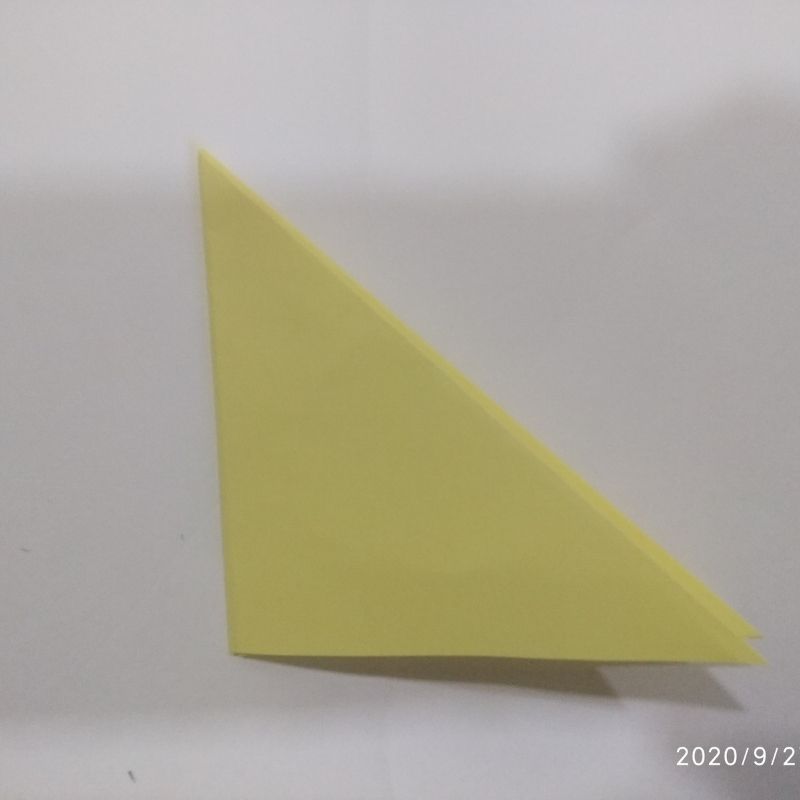
- Next, open this sheet and fold the front triangle into two small vertical triangles on the sides
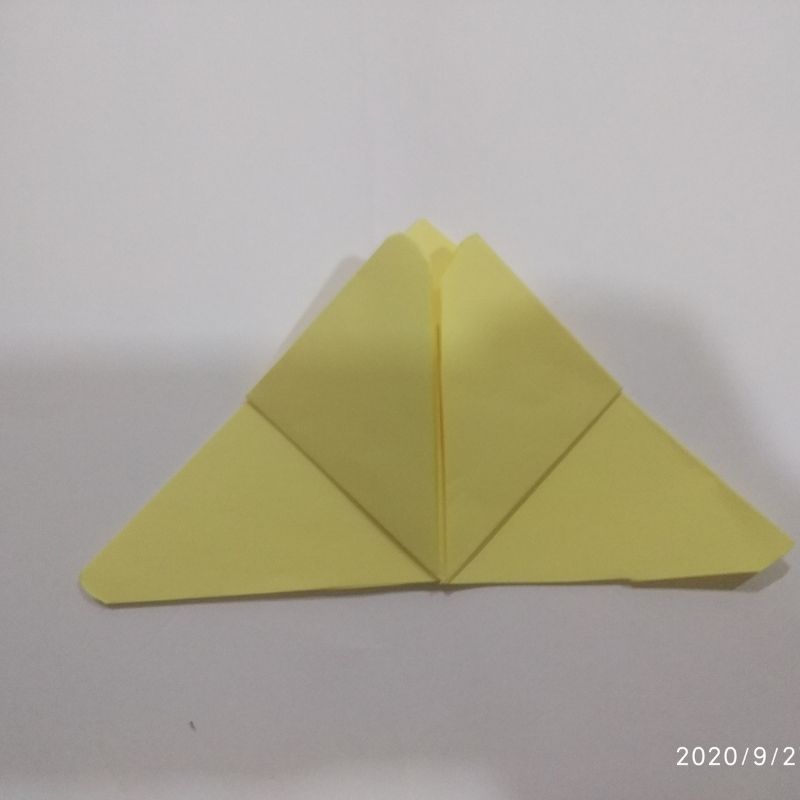
- Next, flip the sheep upside down and you will have the apex of the triangle pointing down on another side.
- Lift this side up and fold it horizontally.
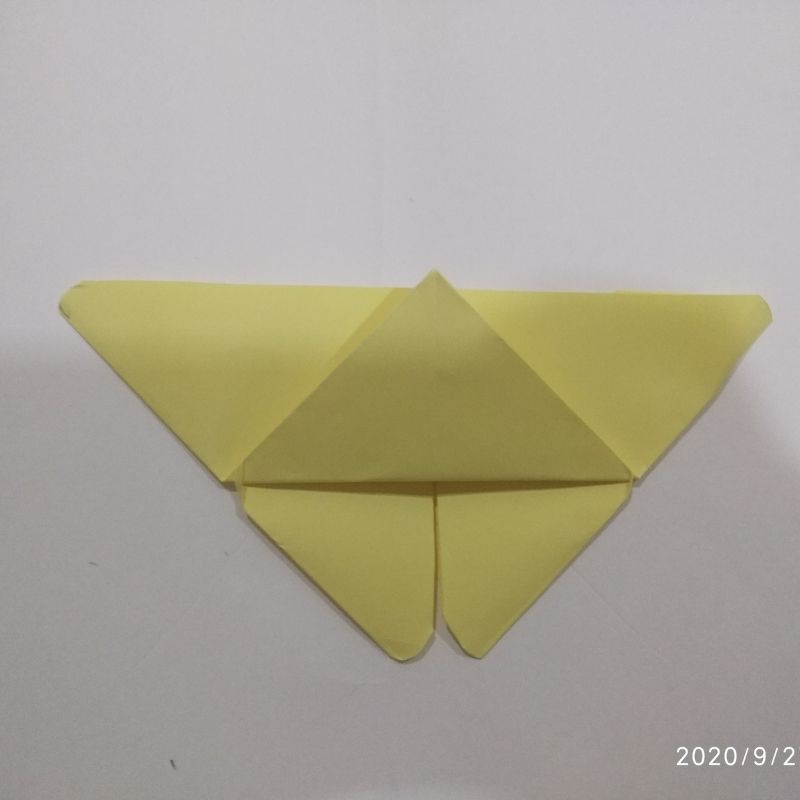
- Next, a small portion of the apex would come above the baseline, just fold that part and lock it there.
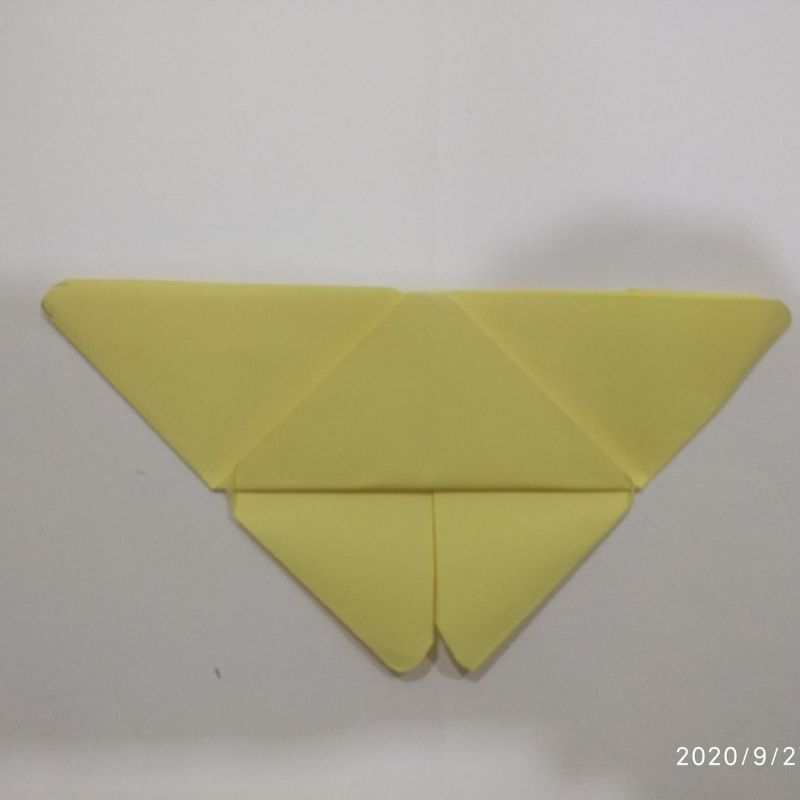
- Next, fold this triangle into half at the midline on the outer side.
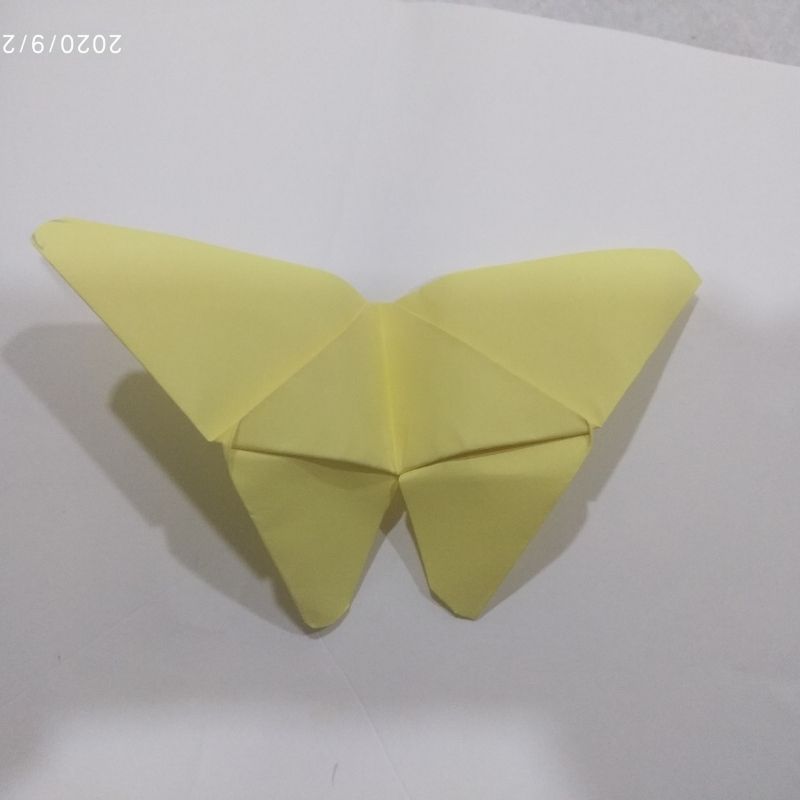
- So now you have the upper wings and the lower wings of the butterfly ready.
- Flip this entire side and you have your butterfly ready kids.
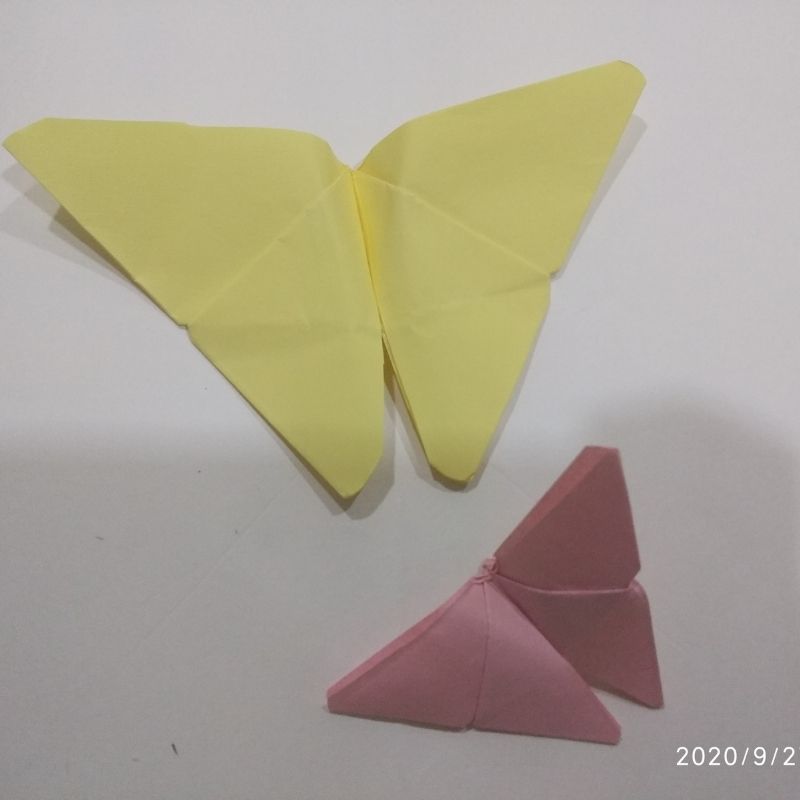
- You can use glue to fix the wings in place.




Be the first one to comment on this story.