Origami is a fun and a great way of art for kids for sharing. It gives parents a chance to sit down with kids and interact while creating something.
So, Kids are you ready to make Origami Modular Crown?
With a simple origami sheet, your beautiful crown will be ready.
How to make Modular Paper Crown
Step by step instructions to make Modular Crown:
1. Start with a 6-inch x 6 inch (15 cm x 15 cm) square paper, colour side down (thicker paper works better for the Crown)
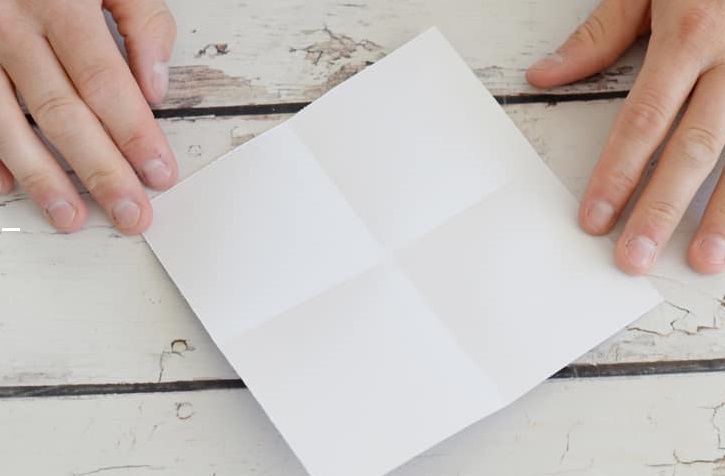
2. Fold the paper in half on both the horizontal and vertical axis. Crease well and unfold.
3. Fold both the top right and left corners to the centre.
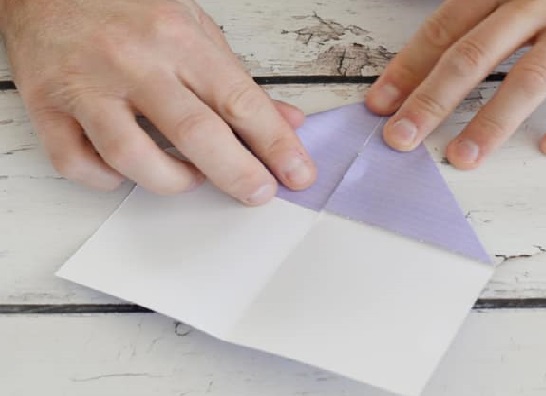
4. Fold the bottom edge to the centre.
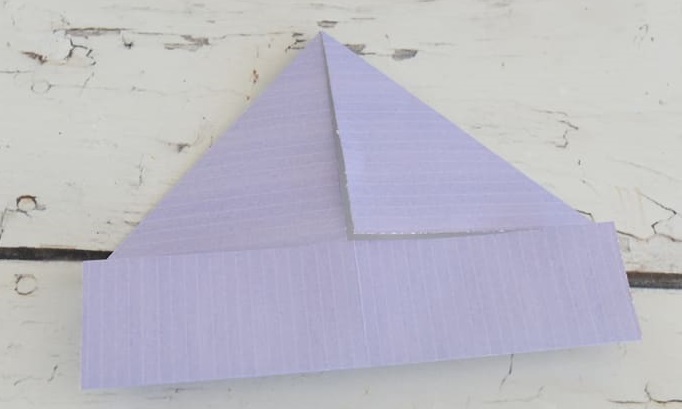
5. Fold the bottom edge upwards again.
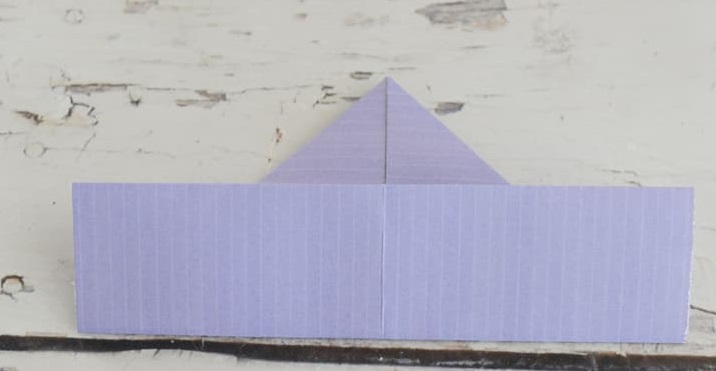
6. Fold the paper in half on the vertical axis. Crease well and unfold.
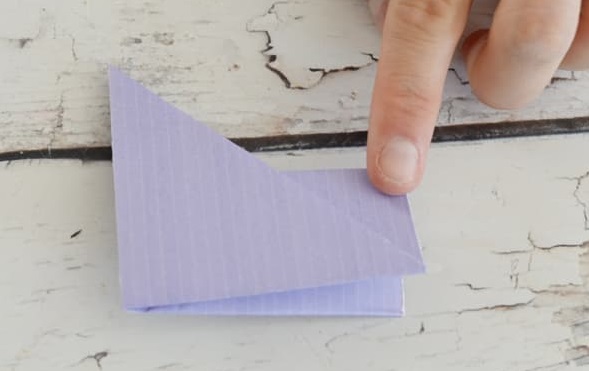
7. You need around 7 to 8 units for an adult and less for kids. With 8 units, the crown is approximately 7 inches (18 cm) in diameter.
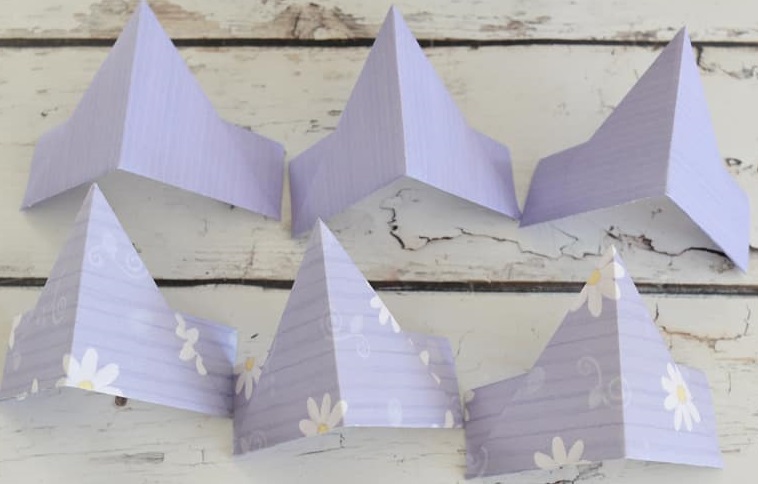
8. Repeat steps for the remaining sheet of paper and to assemble them follow these below instructions:
- Take two of the segments with pointy folded sides pointing out.
- Align the rectangular edges against each other. You’ll notice each edge has an opening. Slide the rectangle of one segment into the opening of the other segment and continue to slide until it locks in place. You may have to slightly bend the rectangular edges to get the segments to fit together.
- Repeat above two steps until all the segments are connected.
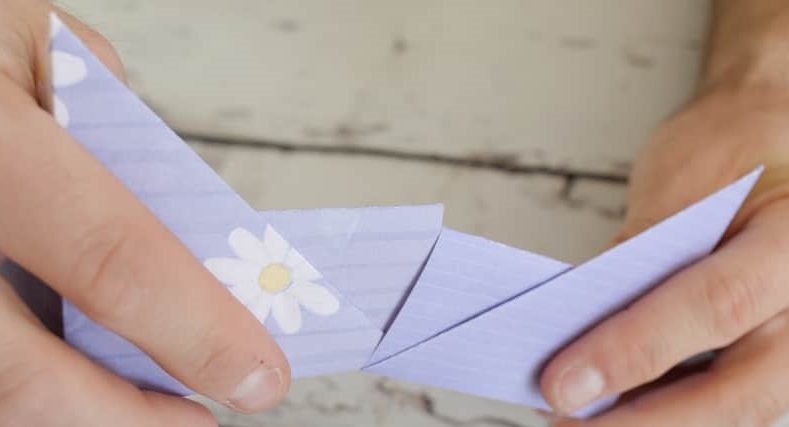
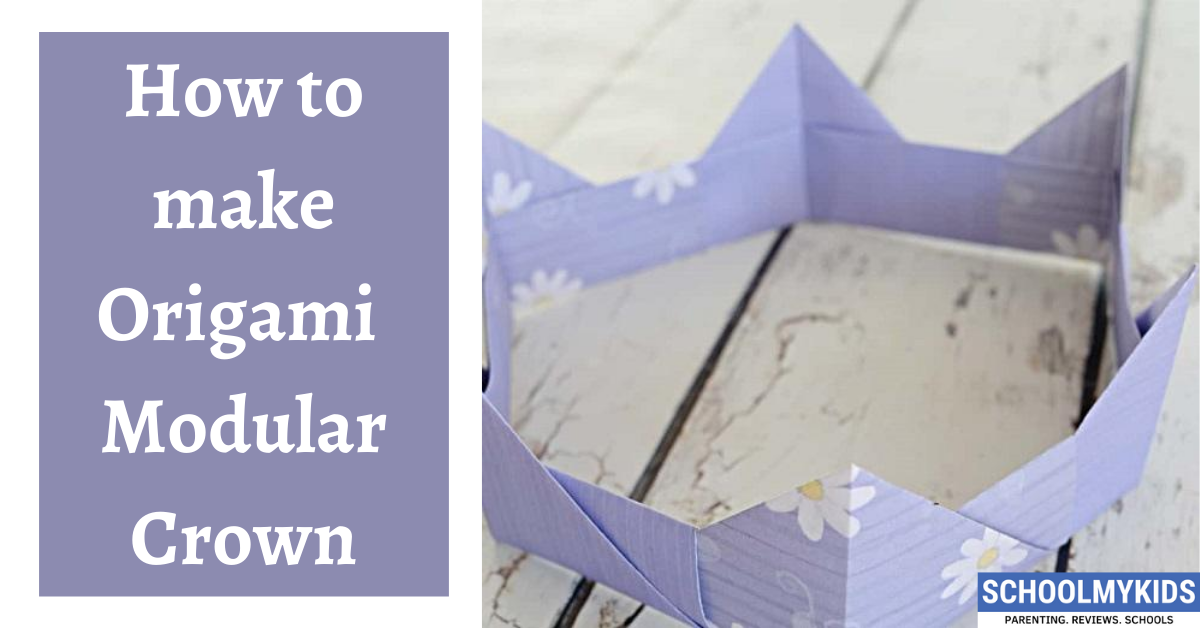
9. Here’s the completed easy origami modular crown that your kids would love.
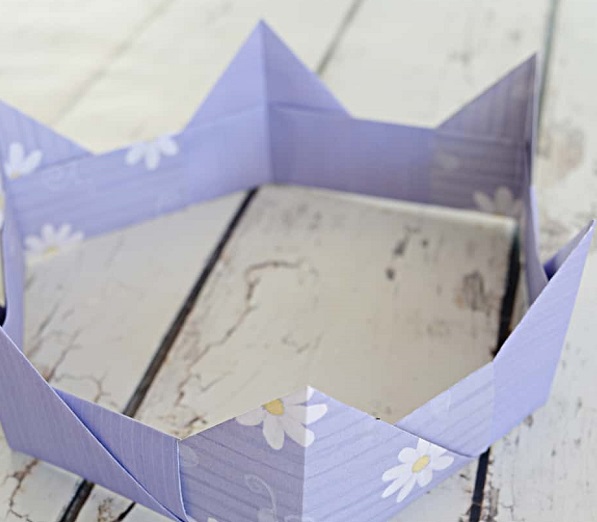
Kids can make this really simple modular crown and wear this on their birthday’s or any special occasions and get the feeling of prince or princess.





Be the first one to comment on this story.