Many of us love to decorate our favourite corner of the room, adore our windows with beautiful wall hangings, lucky charms etc. What if we make our own creative paper star wall hanging? Surprised? Don’t be!
Paper star wall hangings are quick and easy to make. Kids can easily do this activity with the help of few craft supplies.
Let’s make easy paper star wall hangings by following these simple steps.
Materials Required to make Paper Star Wall Hangings
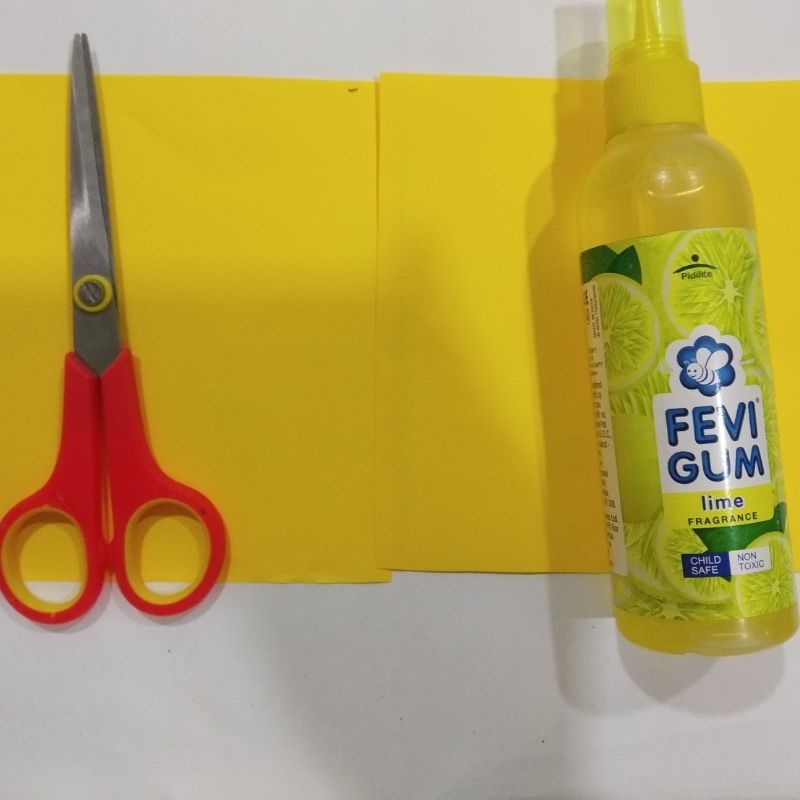
- Square yellow coloured sheets (2nos)
- Glue
- Scissors
How to make Paper Star Wall Hangings Step by Step
- Take a yellow coloured square sheet(15cm by 15cm)
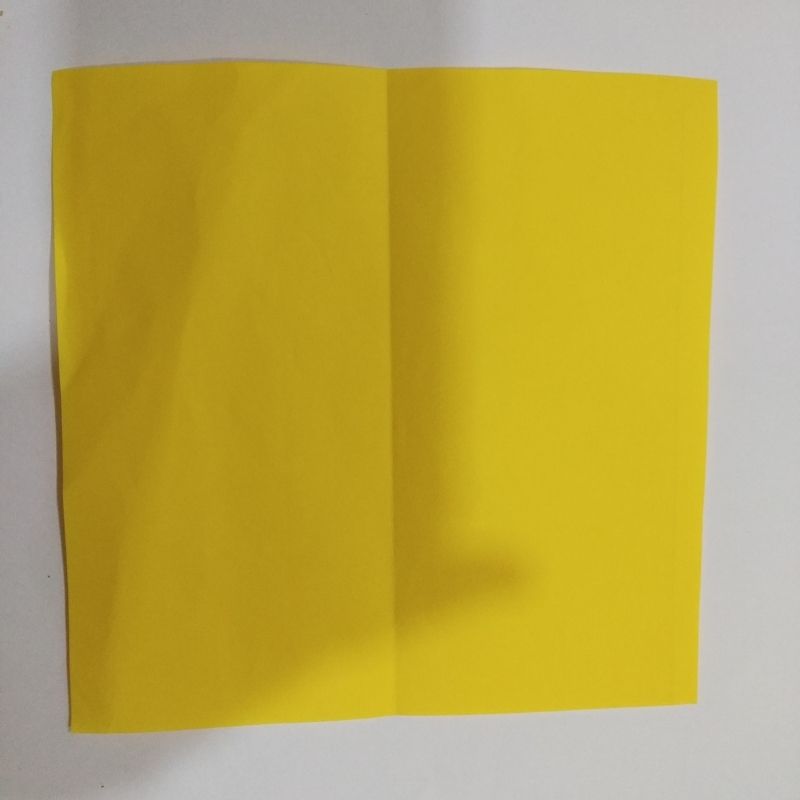
- Next, fold it into half and further fold this half into a square.
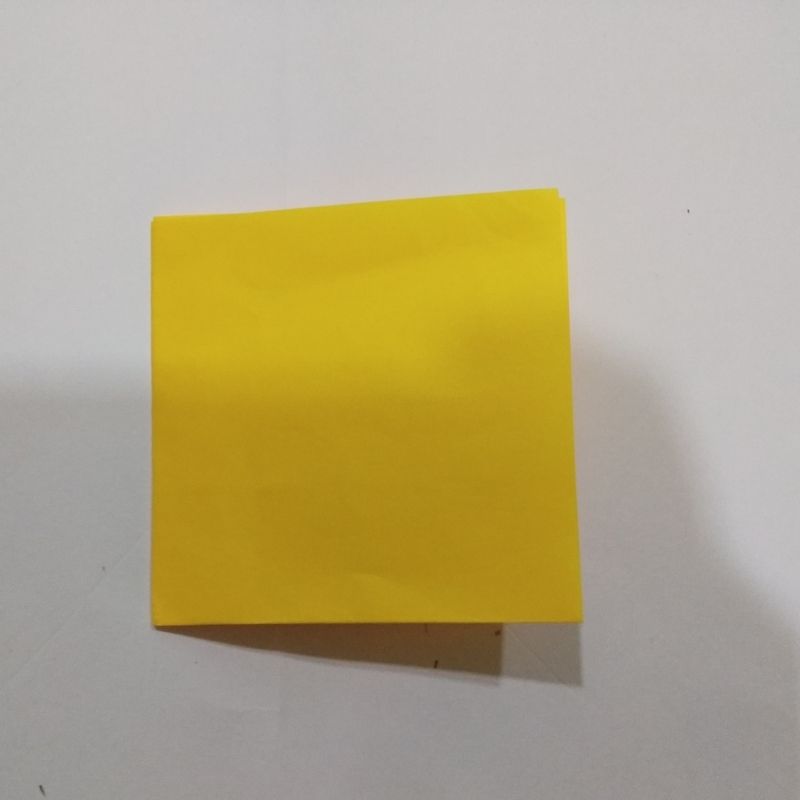
- Once you fold it to a square shape, further fold this square into a triangle.
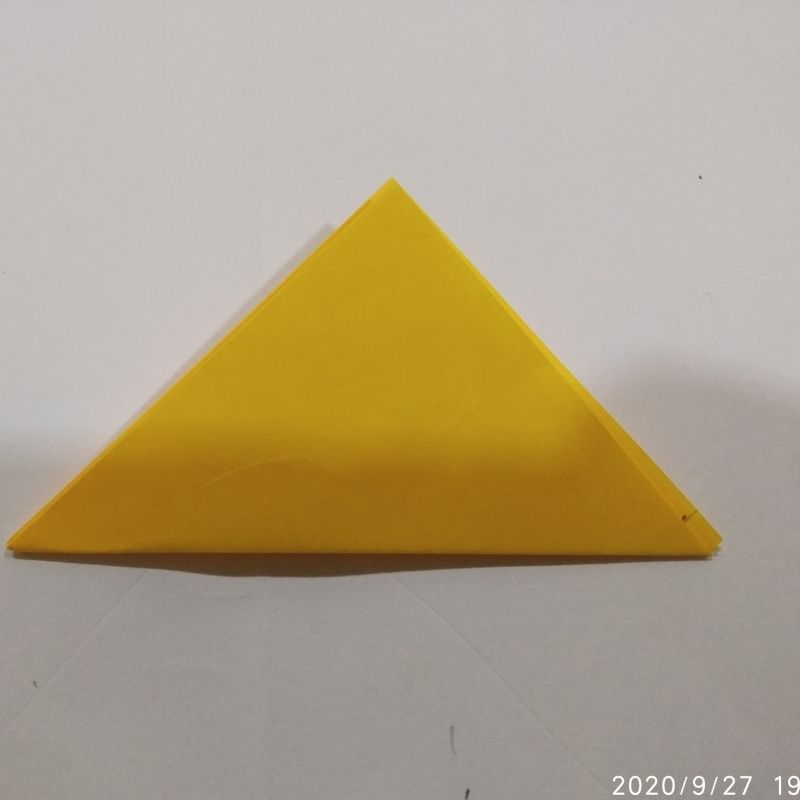
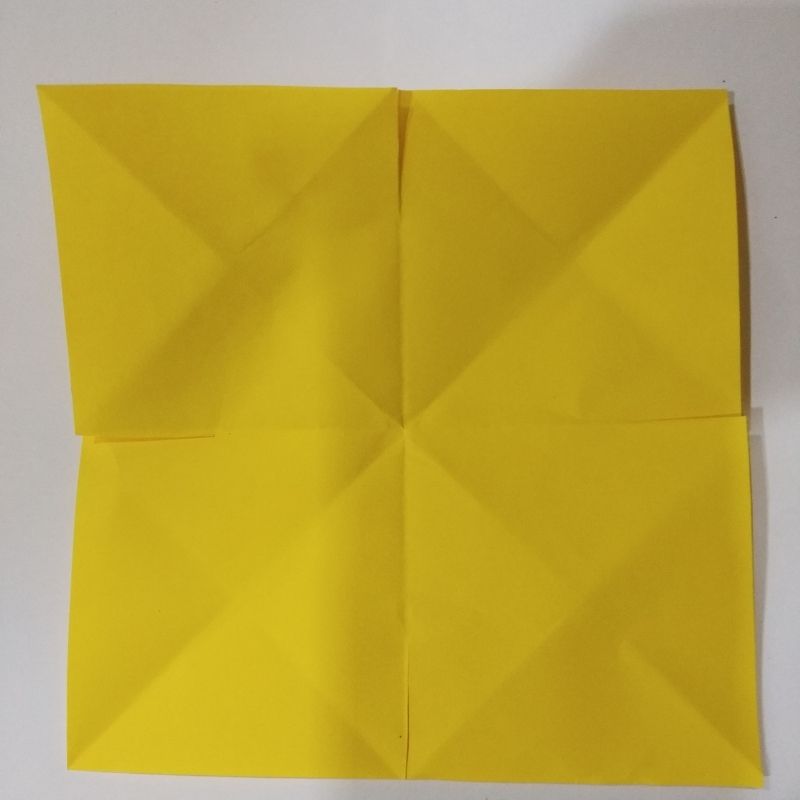
- Fold it on both sides
- After you open the sheet you will have a cross intersection of crease lines and a vertical and horizontal intersection of crease lines.
- Now cut along the horizontal and vertical intersection using a scissor, make sure you cut only less than half the length of the crease lines on all four sides. Do not cut the entire length of the horizontal and vertical crease lines.
- Next, fold the squares on all the four sides into two triangles vertically on each side of the square.
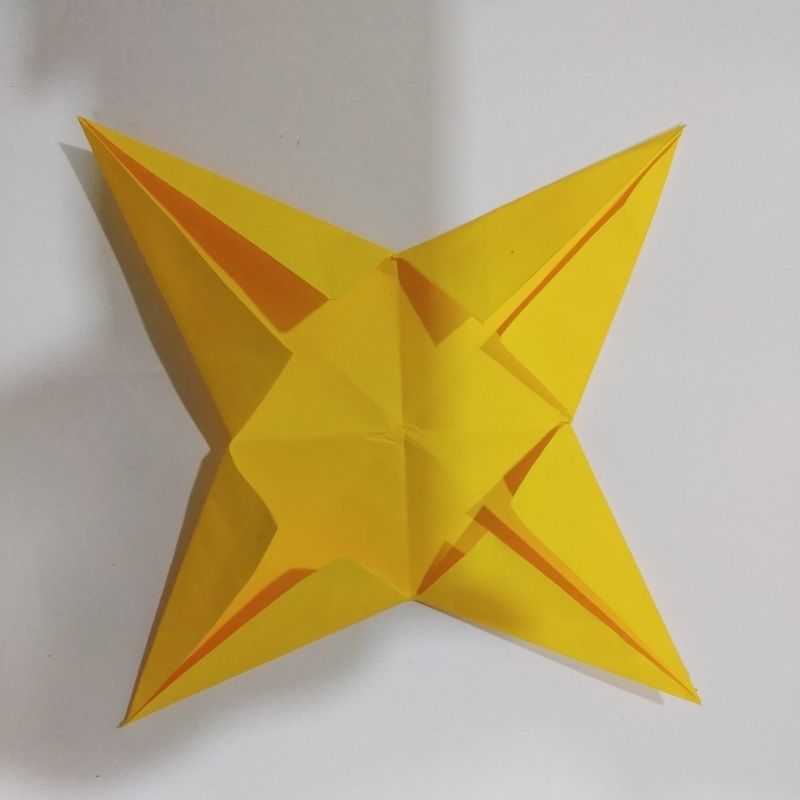
- Once you fold the triangles stick all the four triangles in an overlapping fashion one over the another on all four sides.
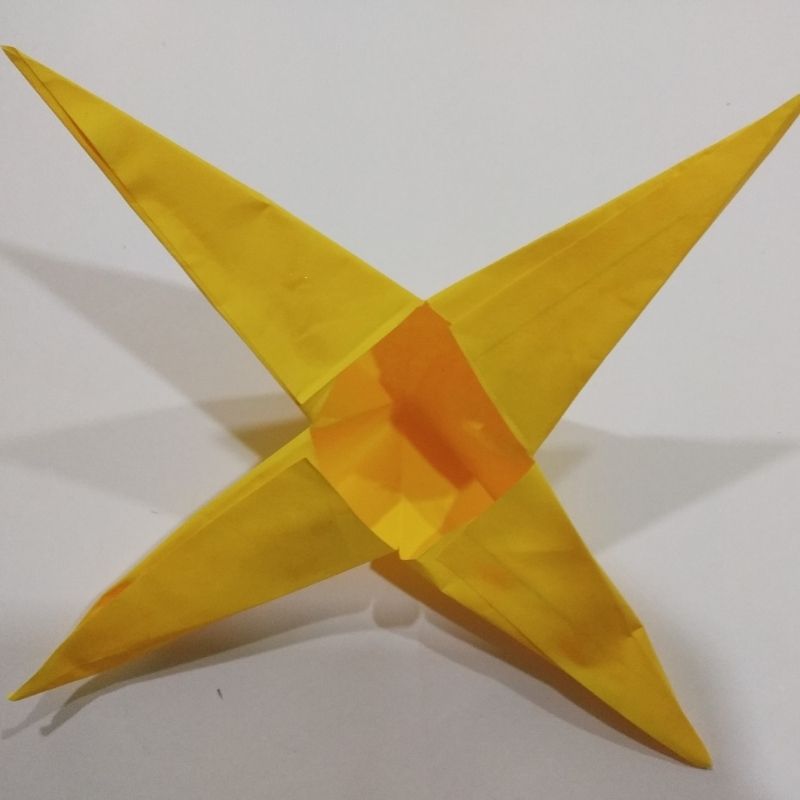
- Flip the side, your star is now ready.
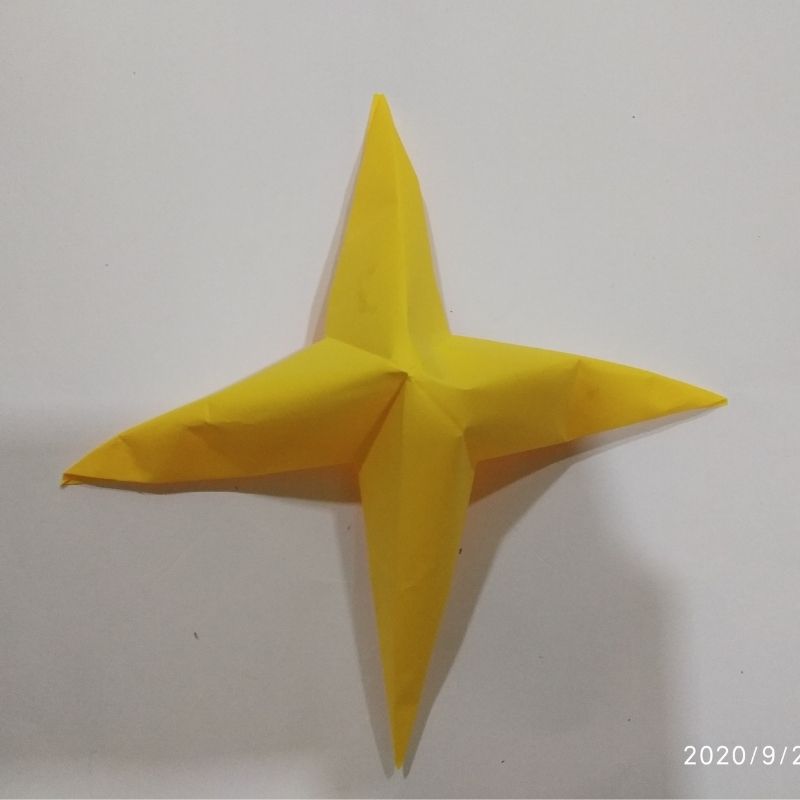
- Next, repeat the same steps until you get another star using the second yellow square sheet.
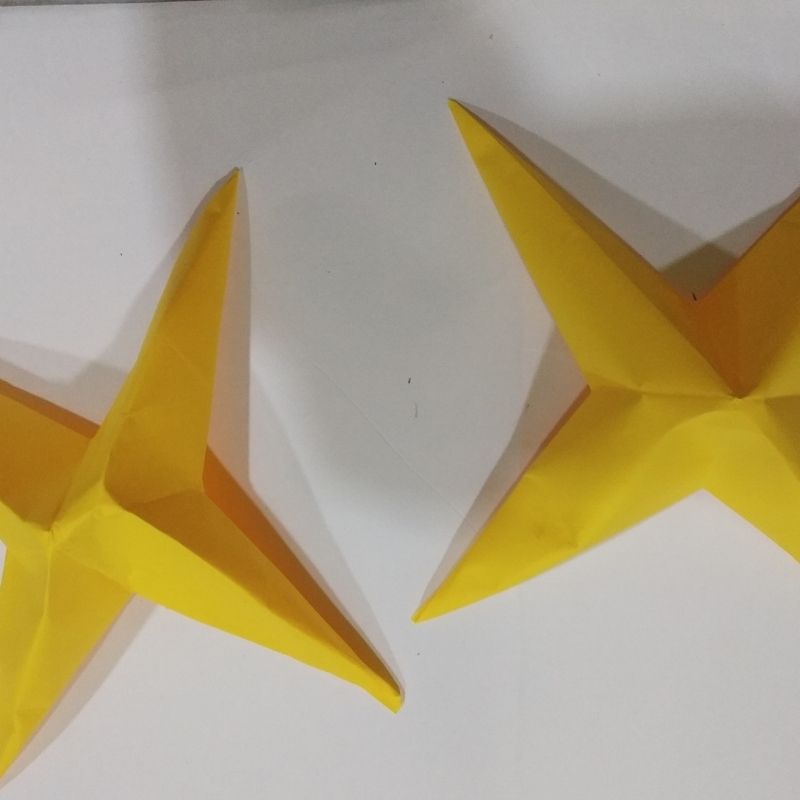
- Stick both the stars using glue in a cross pattern to get your eight-pointed star ready.
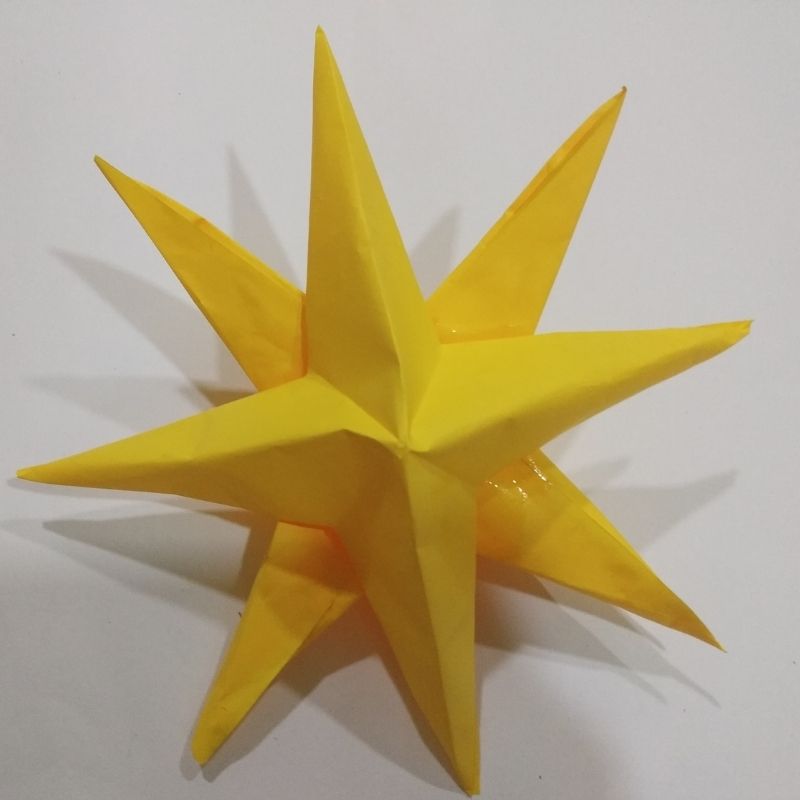
- You can punch two holes on the top and tie a beautiful lace or a yarn to hang it in your room.
Enjoy kids.





Be the first one to comment on this story.