Fish look beautiful swimming with joy in the seas, oceans even for that matter aquariums. There several different coloured species of beautiful fish seen in the waters. They look very pretty donning different colours. It’s a treat for our eyes to see the wobbly little fishes swimming in the fish tanks. Today let’s make a 3d version of such colourful fish and make our very own pair of 3d colourful fish. You can make them a part of your paper fish tanks too.
Let’s get started and follow these simple steps to make 3D Paper Fish.
Materials Required to Make 3D Paper Fish
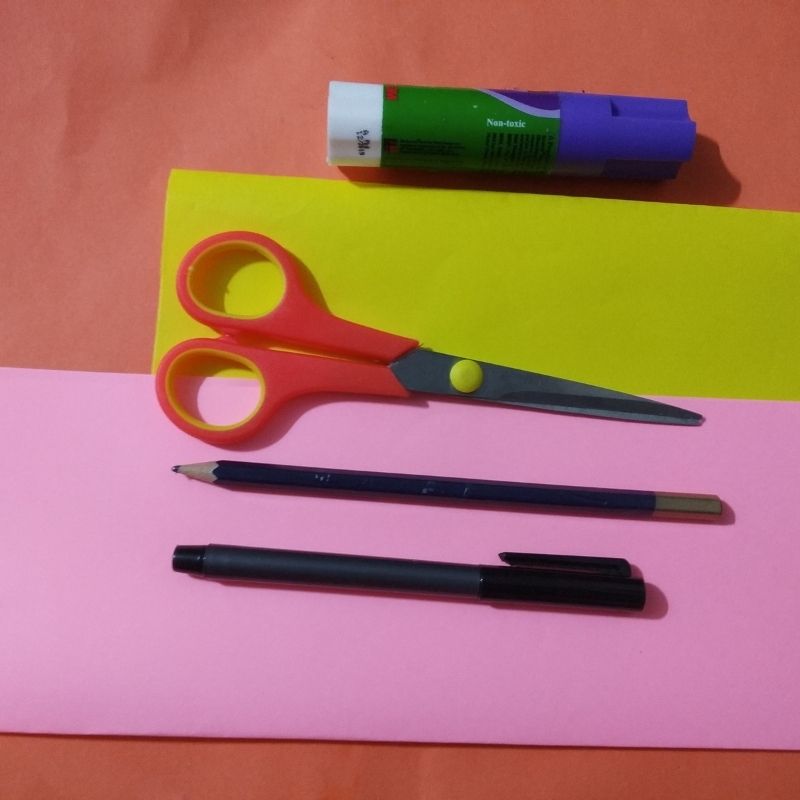
- Yellow paper
- Pink paper
- Sketch pens
- Pencil
- Scissors
- Glue
How to Make 3D Paper Fish Step by Step
- Take a coloured sheet of paper and fold it into half.
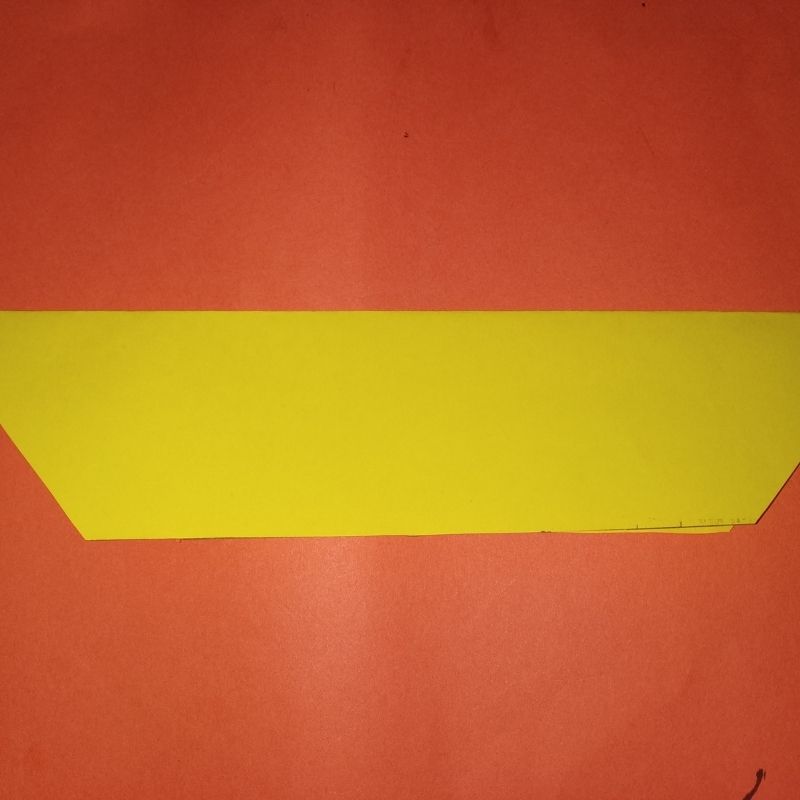
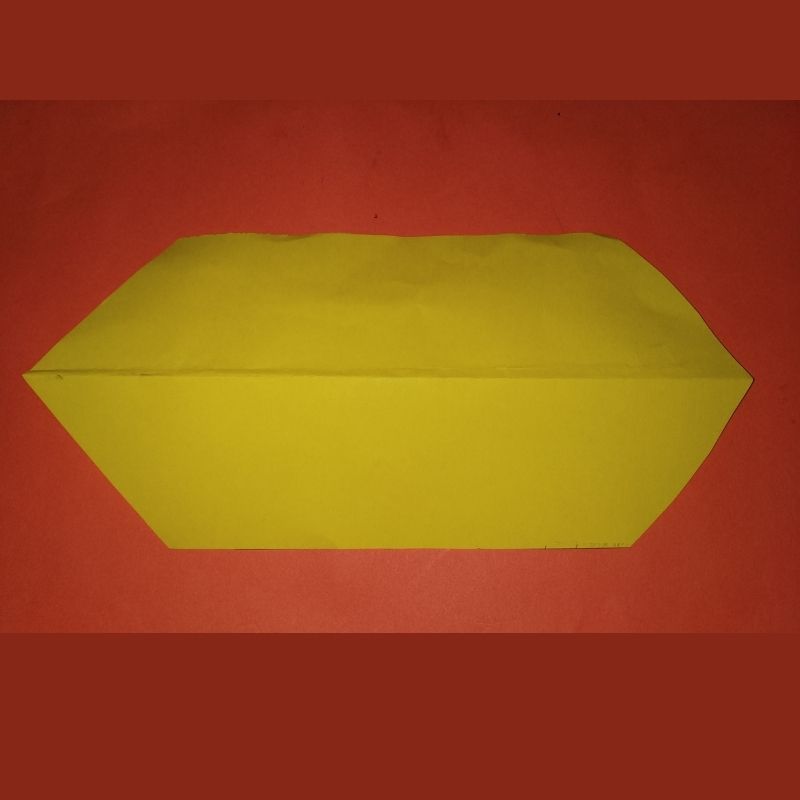
- Next, cut the sheet in the shape of a fish’s body.
- This means you need to keep one end of the fish in a circular portion while the other end should resemble the tail of the fish in a slanting pattern.
- Once you draw this on the sheet, cut the outline.
- Now open the folded sheet.
- Once you open the sheet, cut around 6 strips of this sheet starting from the tail end.
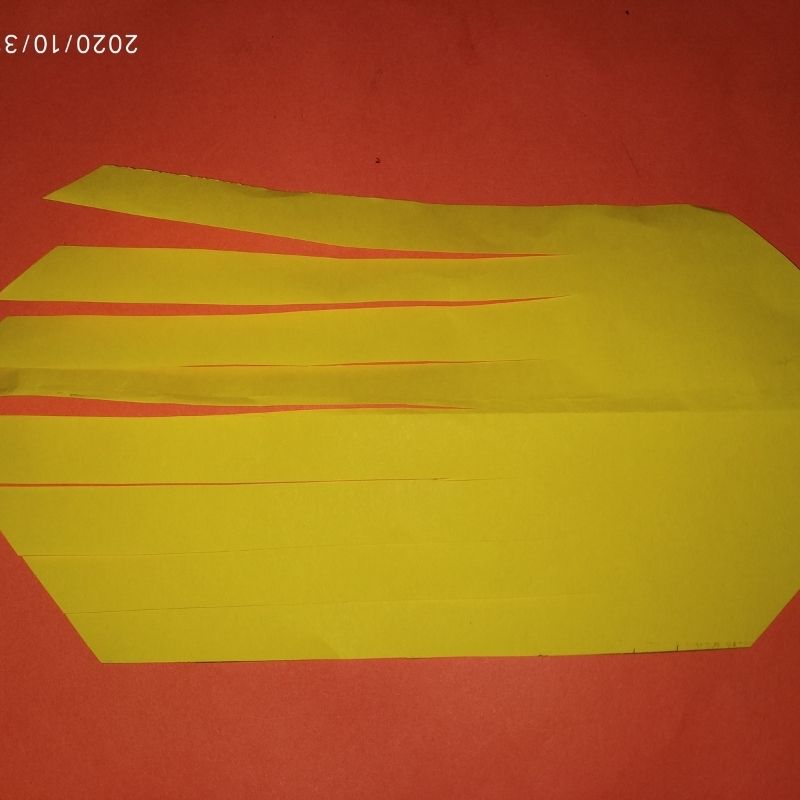
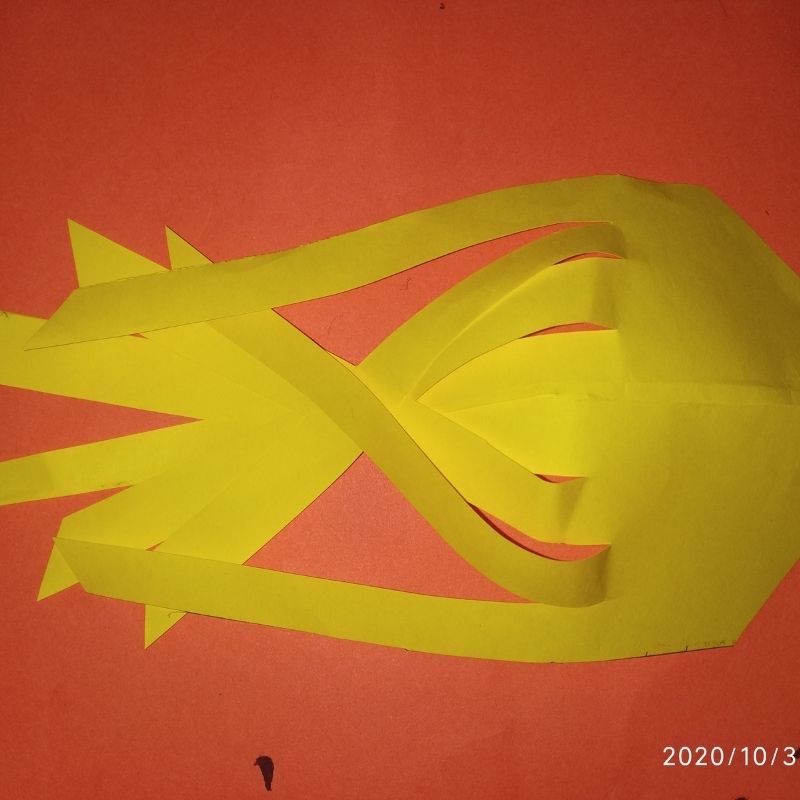
- Make sure you do not cut the strips through the entire length of the body.
- Stop around when you cover 3/4th length of the fish’s body from the tail end.
- Next, you will have around 6 free strip ends on the other end of the fish’s body.
- Start sticking the ends in a criss-cross pattern leaving the last two strips as intend
- Once you finish sticking the 4 strips finally stick the last two strips on either end.
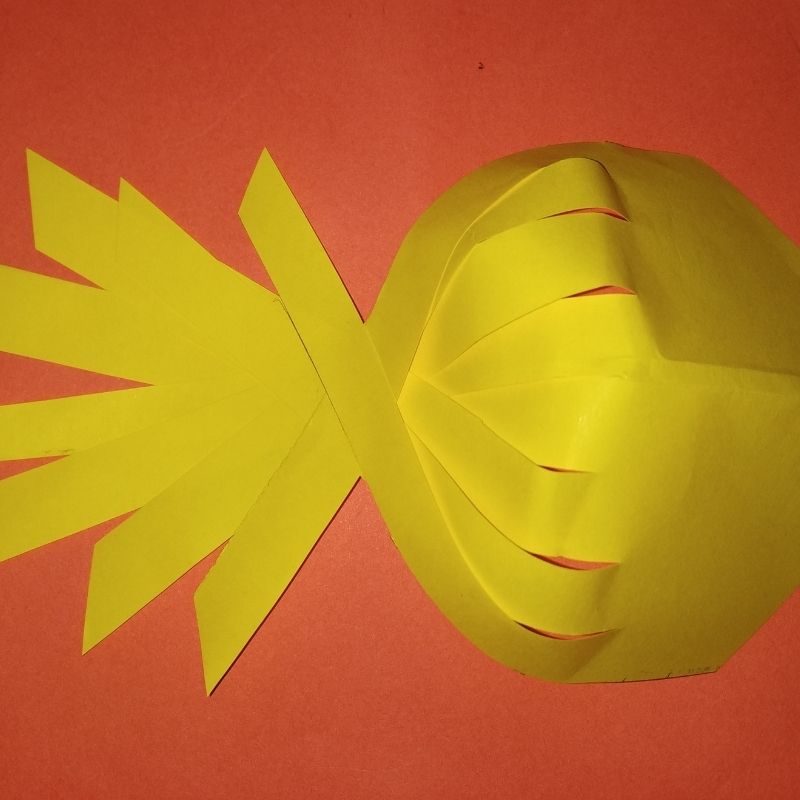
- That’s it, now you will have a 3d fish ready.
- The folded pattern of the sheet gives it a 3d effect.
- Use a sketch pen to add details like eyes.
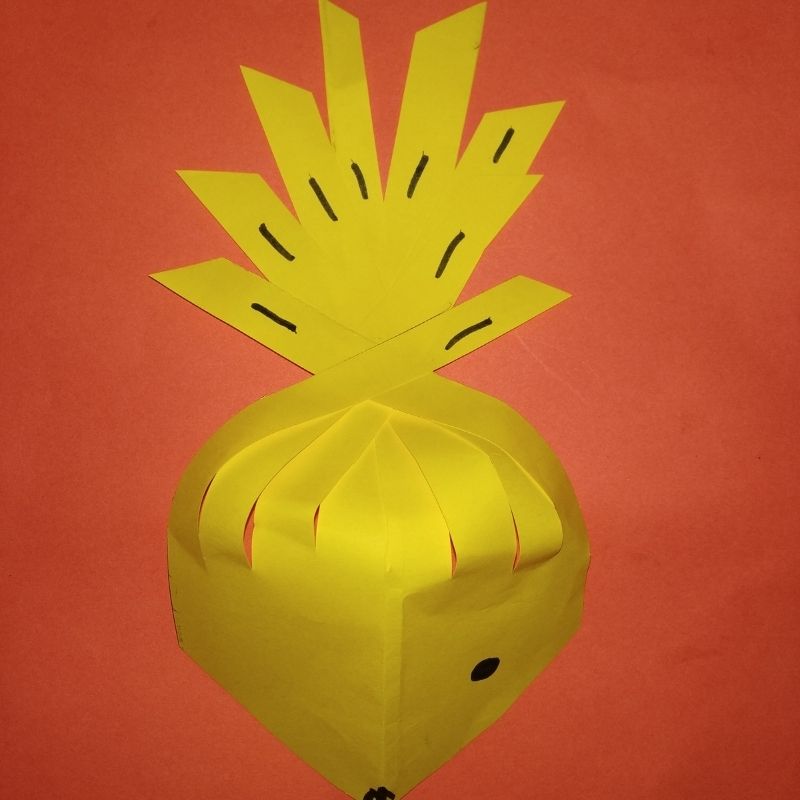
- Use the same technique with the other coloured sheet.
- Your 3d paper fish pair is now ready.
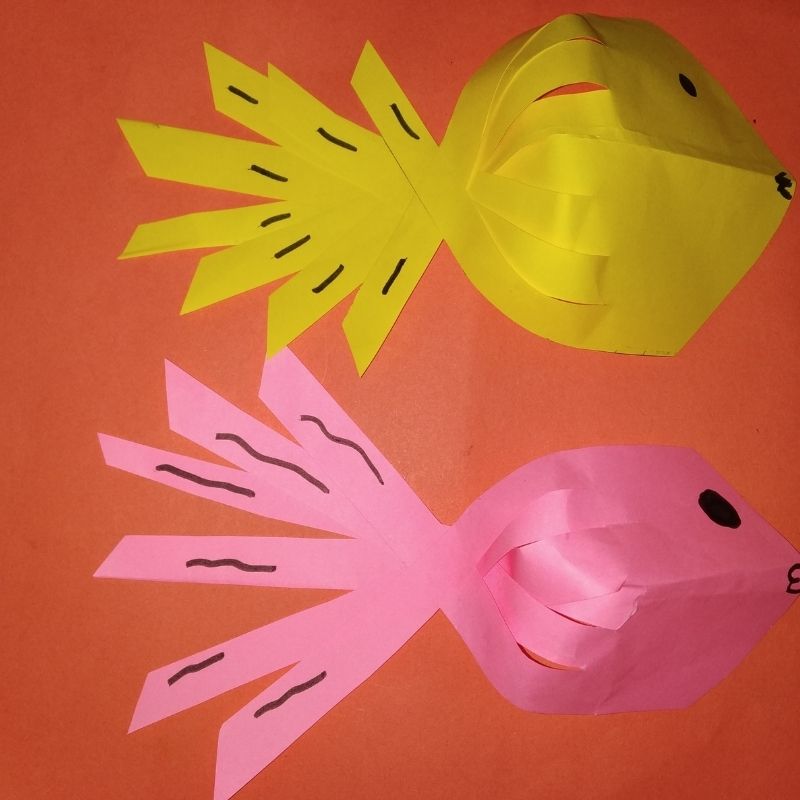
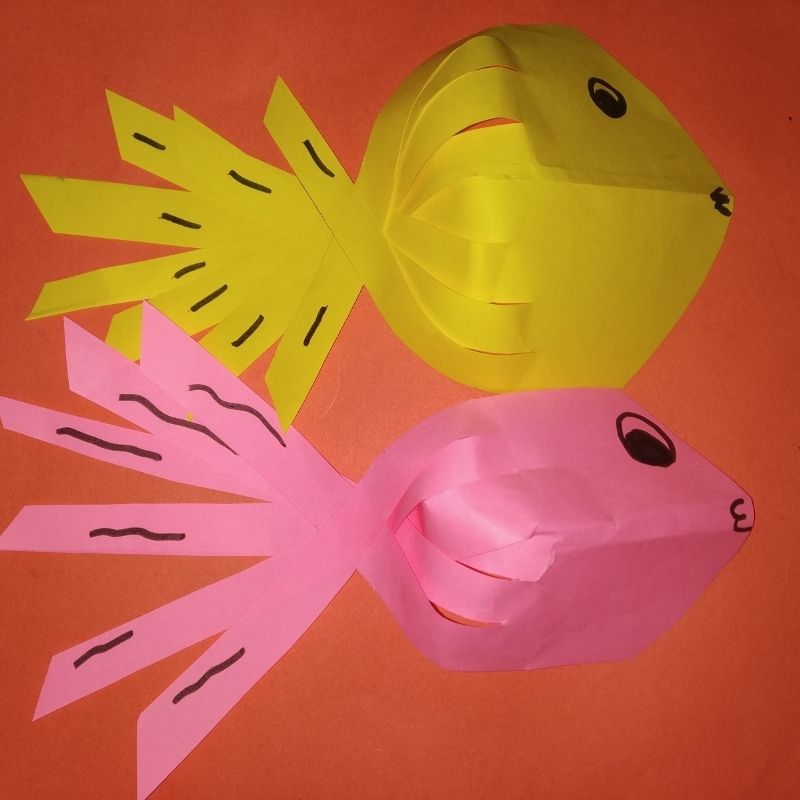
- Try for yourself!
- You can make a few big and few small-sized paper fish too.






Be the first one to comment on this story.