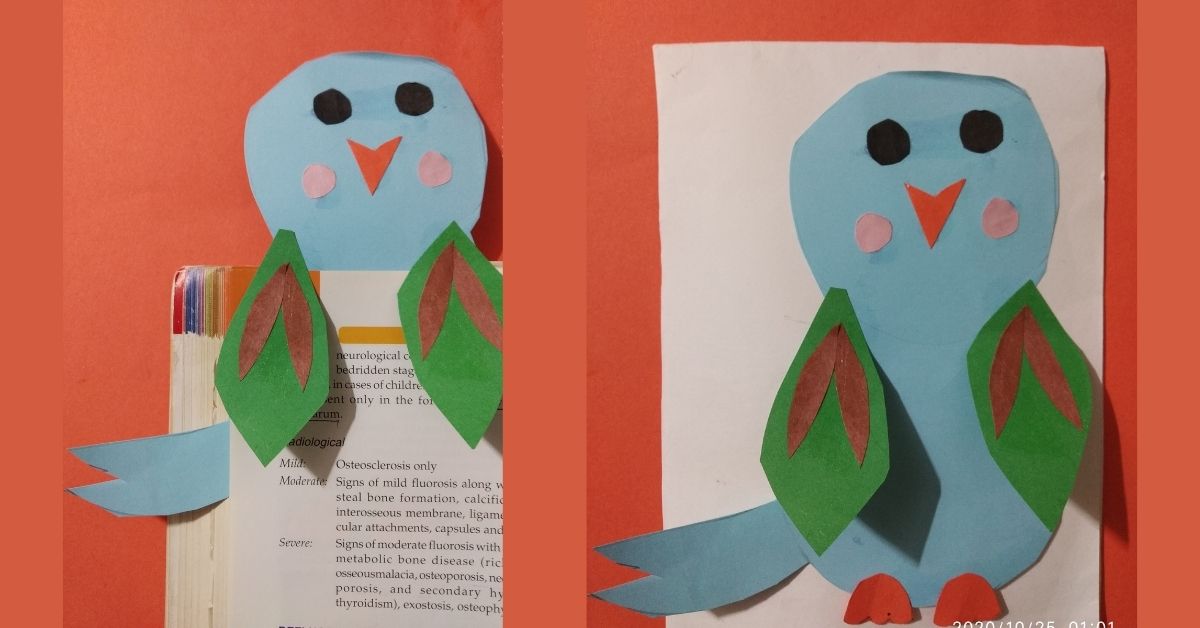
Hello kids! Birds are beautiful and colourful. They fly high in the sky and it’s amazing to see them in flight. There are various birds which line on trees and build their nests in them. Let’s bring one such bird at our home today! Surprised? Don’t be! We are making a beautiful winged bird bookmark for your adorable books. So now on books would be the best of these beautiful birds. Let’s make it using simple art and craft supplies at home.
Follow the steps to know how to make this Adorable DIY Winged Bird Bookmark.
Materials Required to Make Winged Bird Bookmark
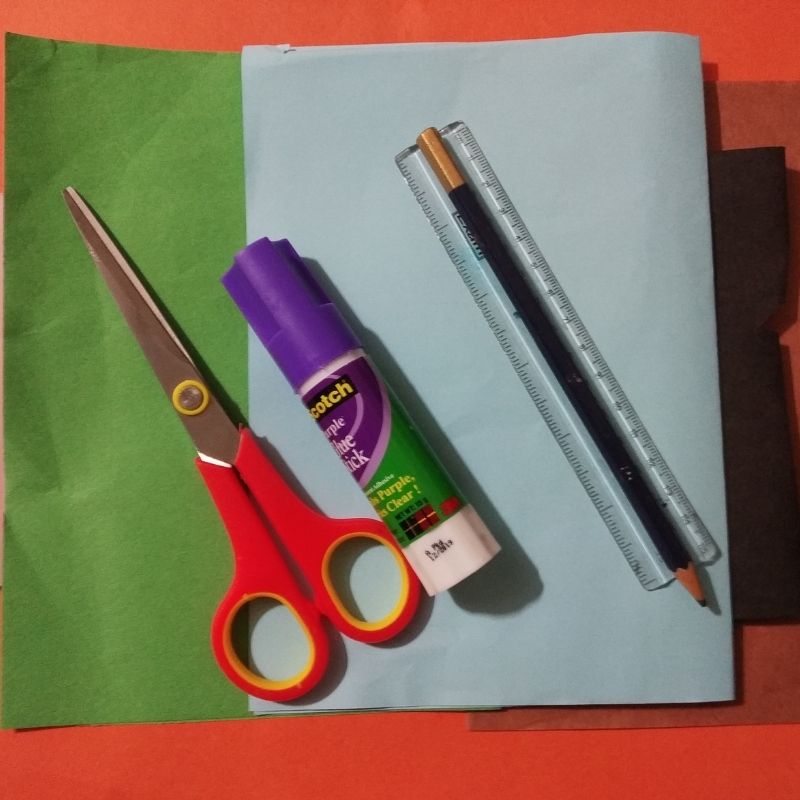
- Blue paper
- Orange paper
- Green paper
- Brown paper
- Pink paper
- Black paper
- Pencil
- Scissors
- Glue
How to Make Winged Bird Bookmark Step by Step
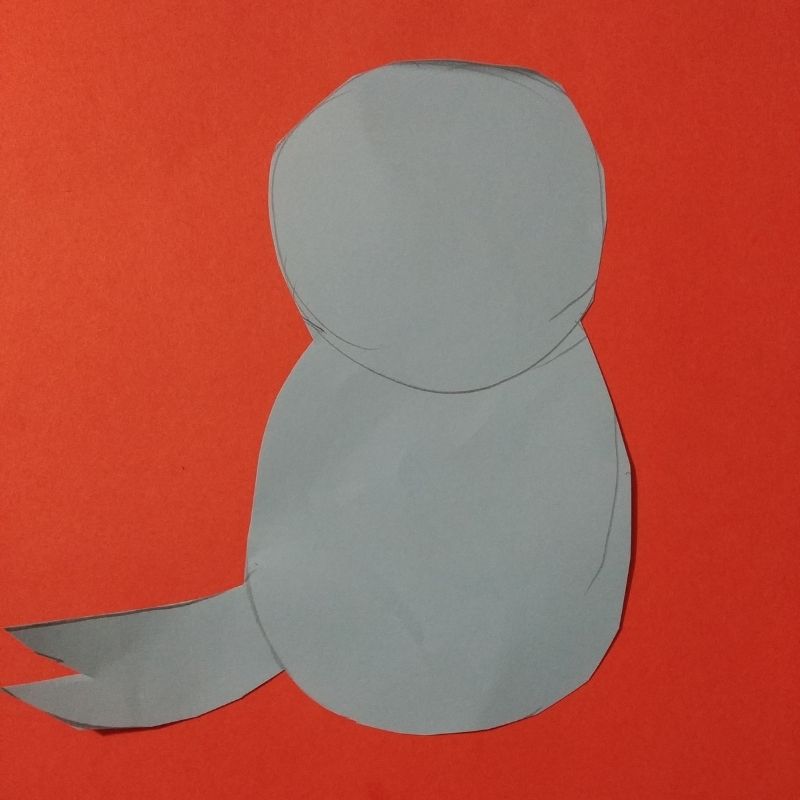
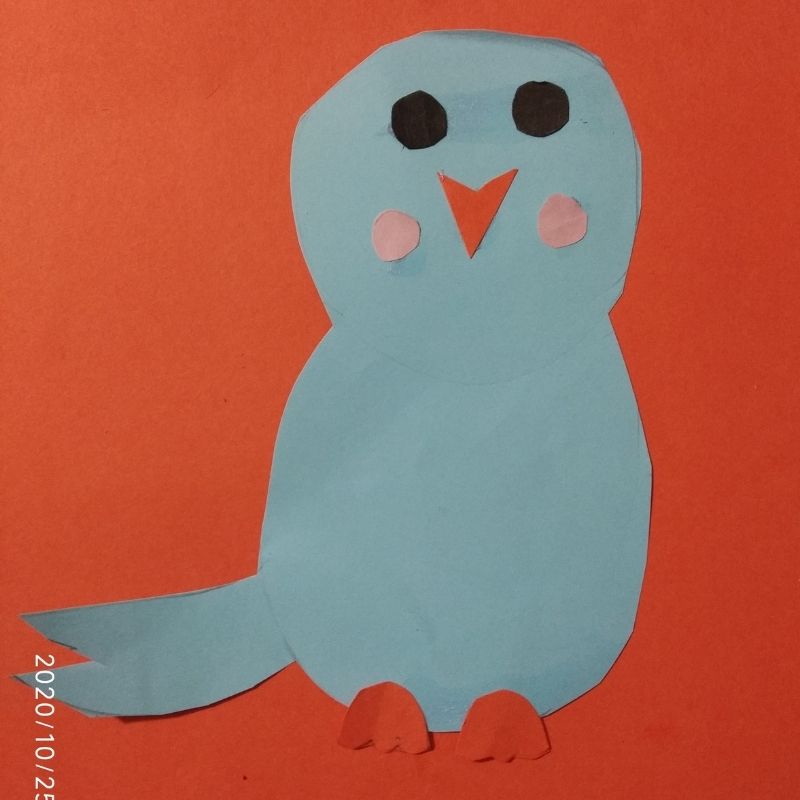
- Take a blue sheet of paper and outline the bird with a tail on it.
- Make sure the size is enough to fit in as a bookmark. Do not make it too large or too small.
- Next, cut this outline of the bird and keep aside.
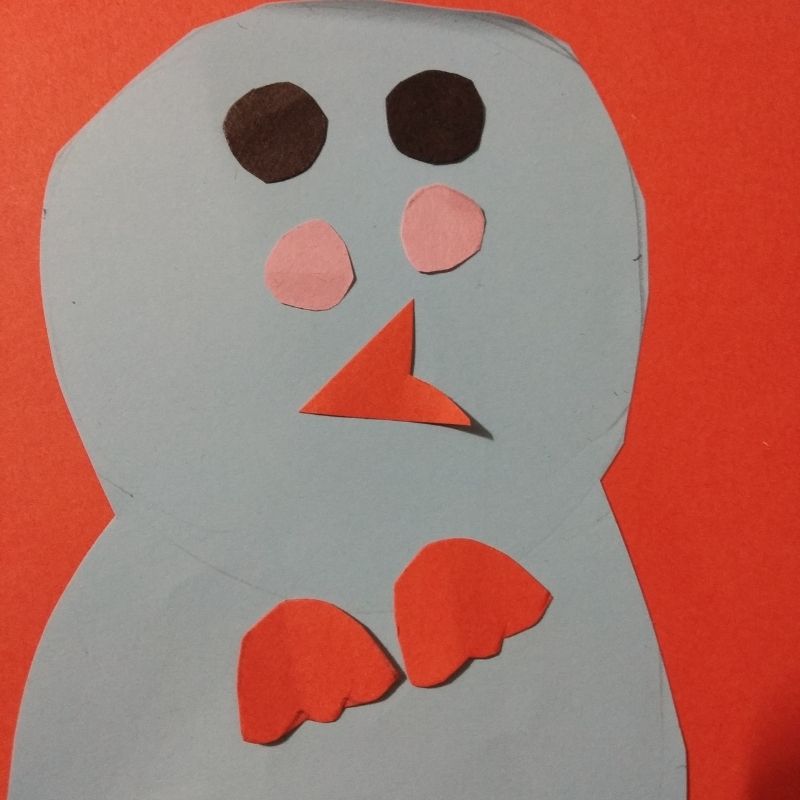
- Next, you will need elements of the bird-like eyes, beak, cheeks, feet, wings.
- Use a black coloured paper and draw two small circles and cut them.
- Next, take a pink sheet and draw two small circles as cheeks and cut them.
- The size of the cheek should be smaller than that of the eyes.
- Next, draw a small triangle using an orange sheet and cut it. This would serve as the beak of the bird. Draw and cut two small feet using the same coloured sheet.
- Now stick all these on the face of the bird. Stick the feet on the lower portion of the bird’s body.
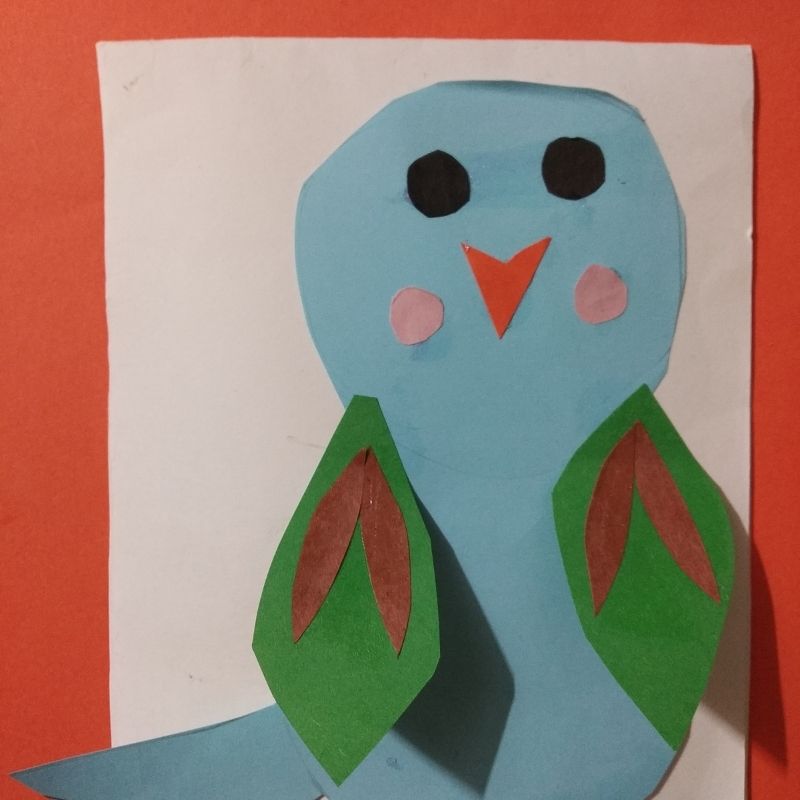
- Next, take a green sheet of paper and draw two wings of the bird.
- Now, make some pattern for the wings using a brown sheet. You can cut strips of brown sheet and stick it on the wings.
- Finally, stick the wings on either side of the birds face; make sure only the upper portion of the wings is stuck.
- The lower portion should be free to be engaged in the page of the book
- This would serve as the winged bird bookmark.
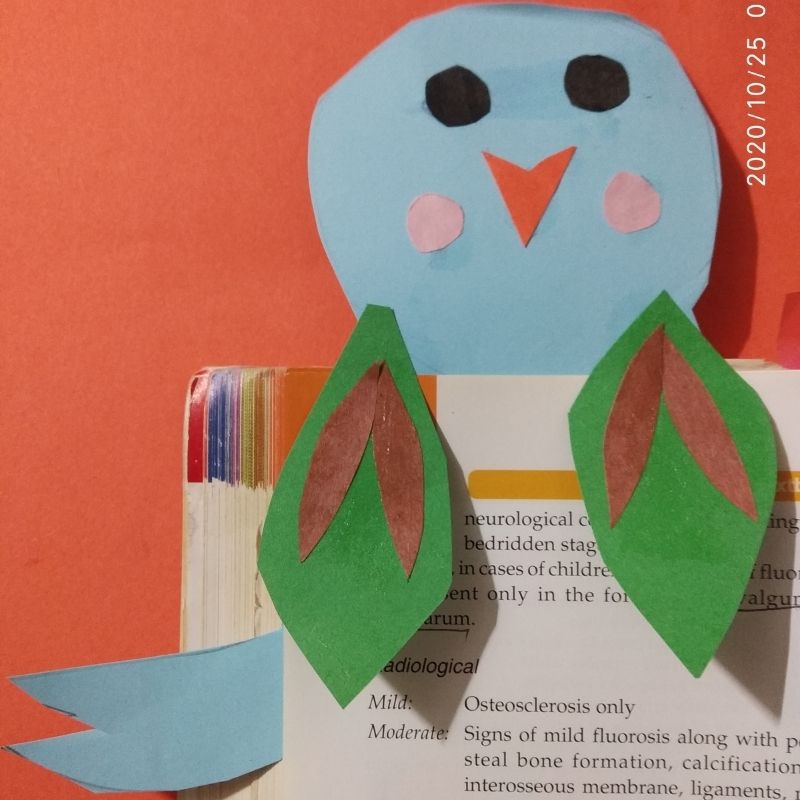
That’s it, kids! Your bookmark is now ready.
