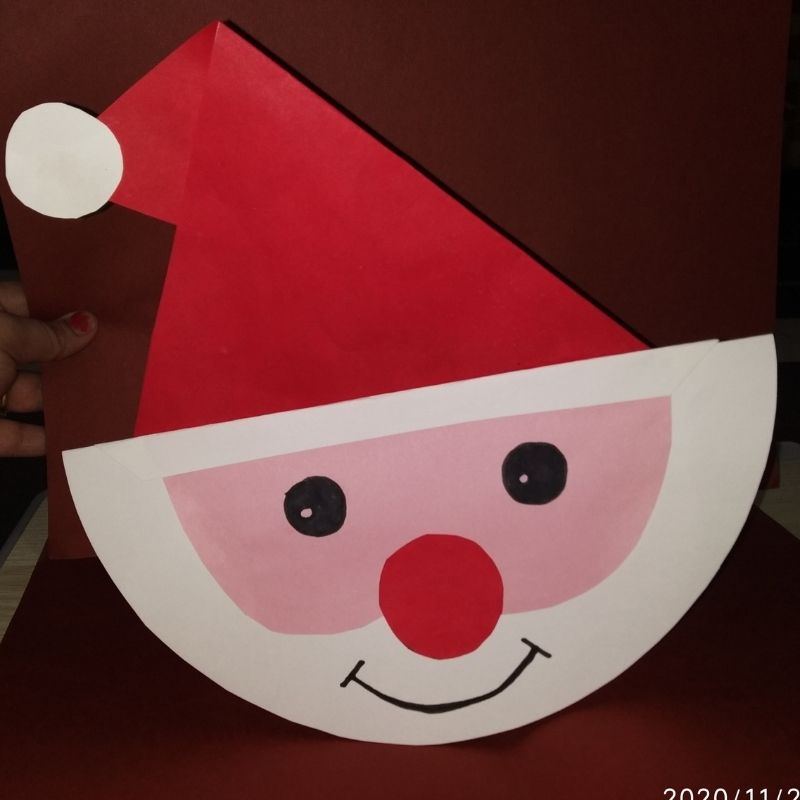
HO! HO! HO! Santa Claus is coming around riding on his sleigh! Xmas is the best time of the winters. Santa Claus is the favourite amongst kids; he surprises us with loads of gifts and makes us happy. So today we are making a creative Santa Claus paper toy to bring in joy and happiness to our homes this Christmas. Let’s make one kid!
Follow the instructions to know how to make DIY Santa Claus Paper toy.
Materials Required to Make Santa Claus Paper Toy
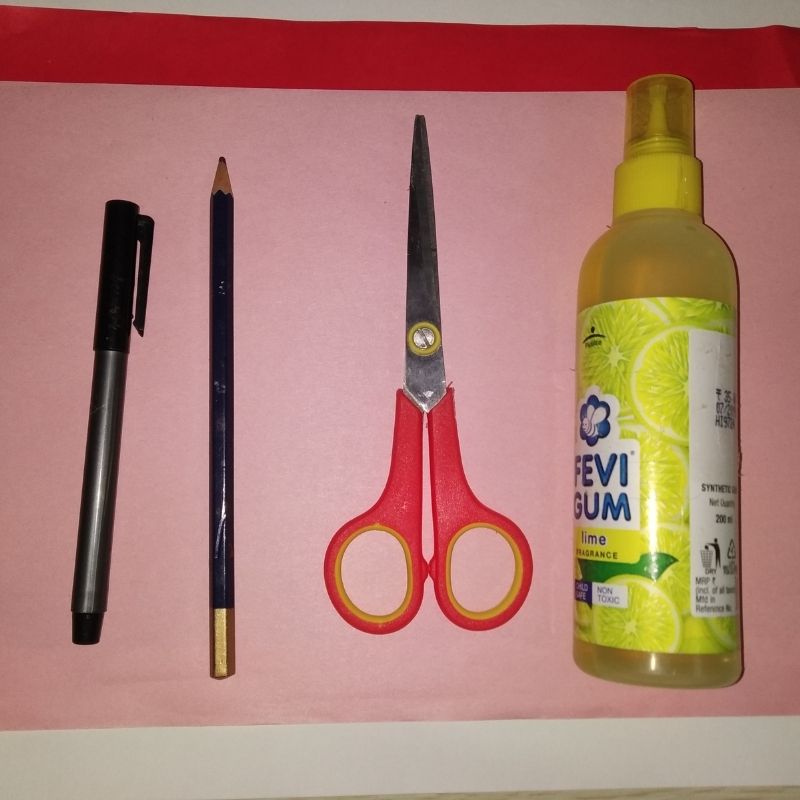
- Red paper
- Pink paper
- White paper
- Sketch pens
- Pencil
- Scissors
- Glue
How to Make Santa Claus Paper Toy Step by Step
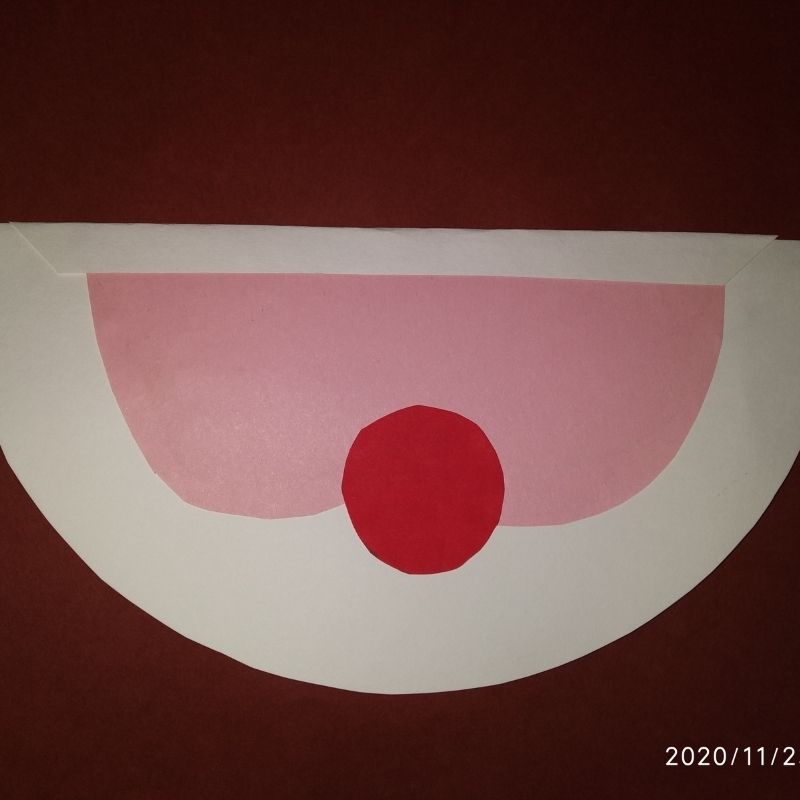
- Take a white sheet of paper and draw a circle on it. Size of the circle should be around 20cms in diameter.
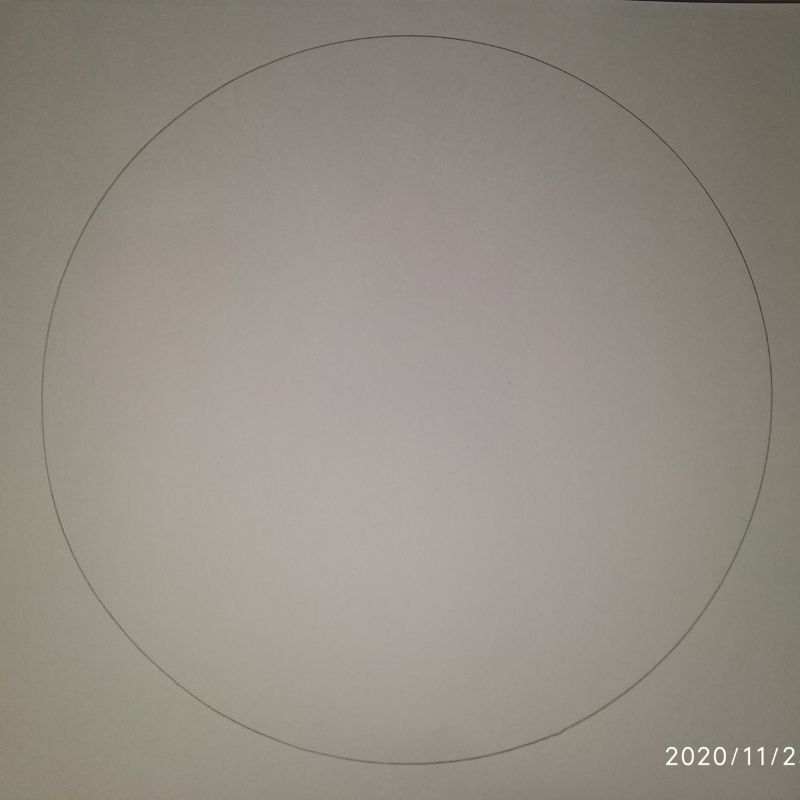
- Once you draw the circle, cut it and fold it into half.


- This is the head of our Santa.
- This is also the base of the rocking Santa toy.
- Next take a pink sheet of paper, draw and cut the elements of Santa’s face.
- Stick it on the white portion. Cut a small red circle and stick it on the face. This is the nose.
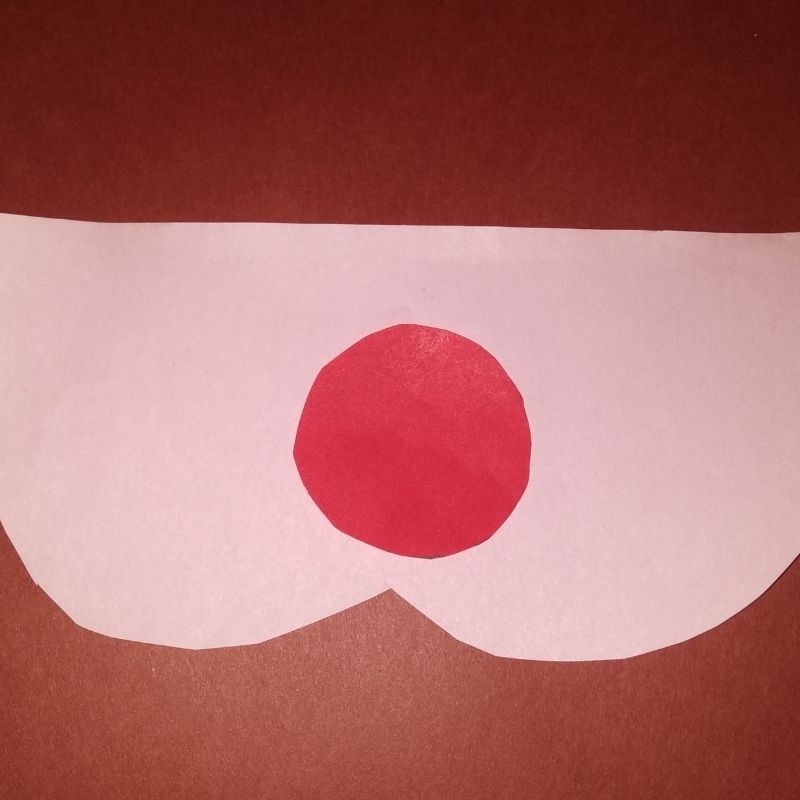
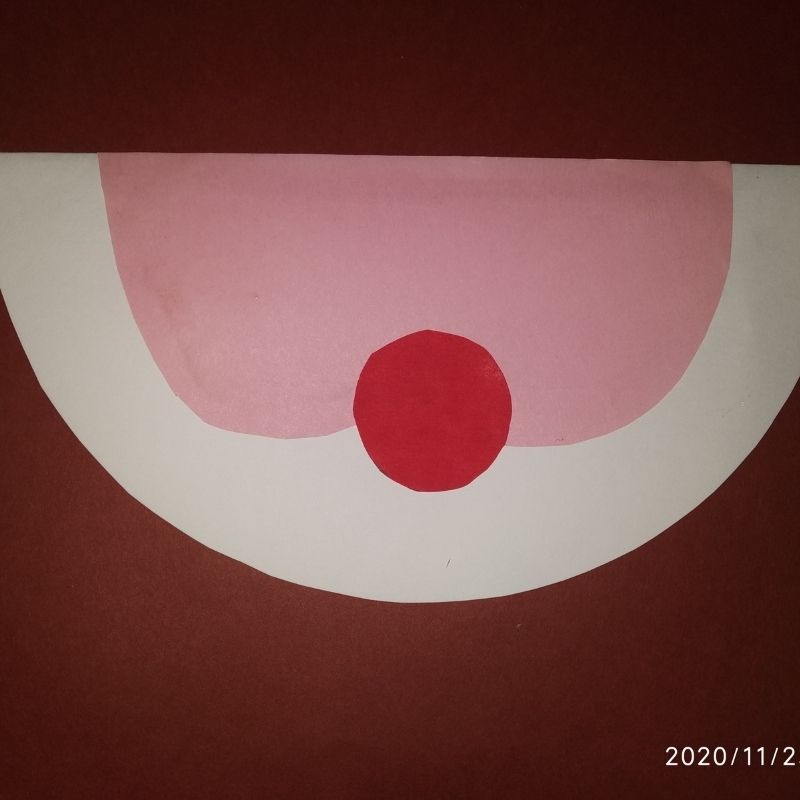
- Add details like eyes, smile line using a black sketch pen.
- Next, take a white sheet of paper and cut a thick strip using this white paper.
- Size of the strip should be around 2cms in width and length should be 16cms.
- Use a red paper to cut a triangle of around 15 cms in height with a broad base and narrow tip.
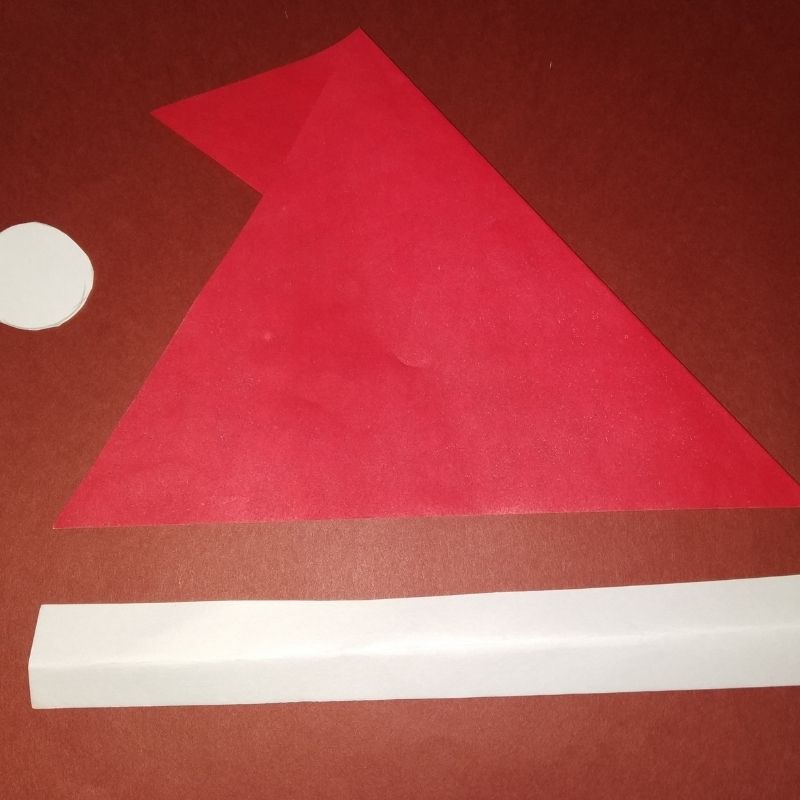
- Stick this cap on the white strip with its broad end resting on the white strip. Fold the top end of the cap into half and point the end on one side.
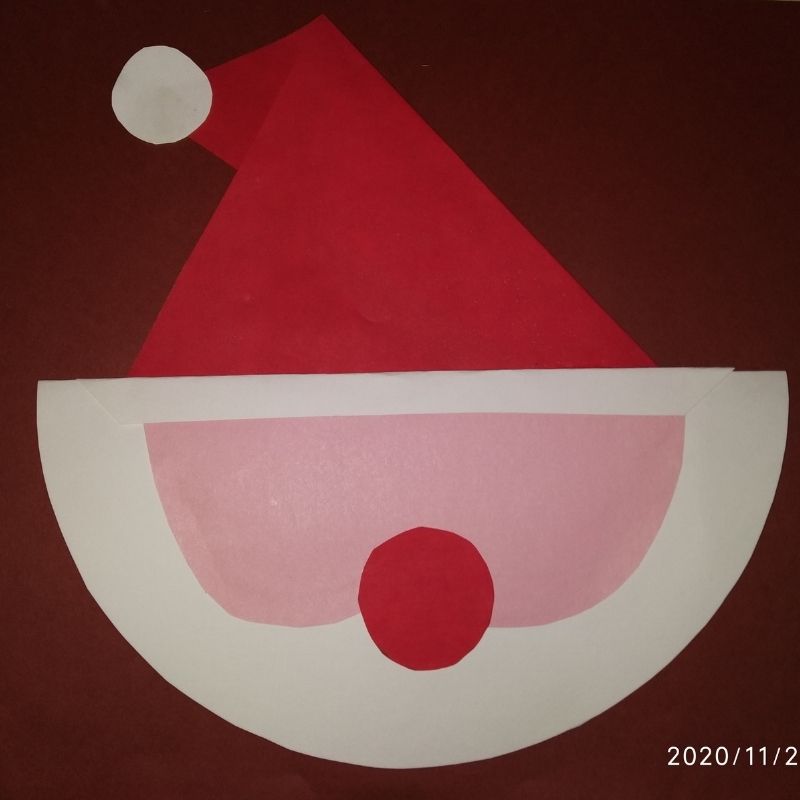
- Stick this entire assembled portion on the folded portion of the circle.
- Finally, stick a small white circle on the tip of the cap. This is the pom-pom ball on the tip of the cap.
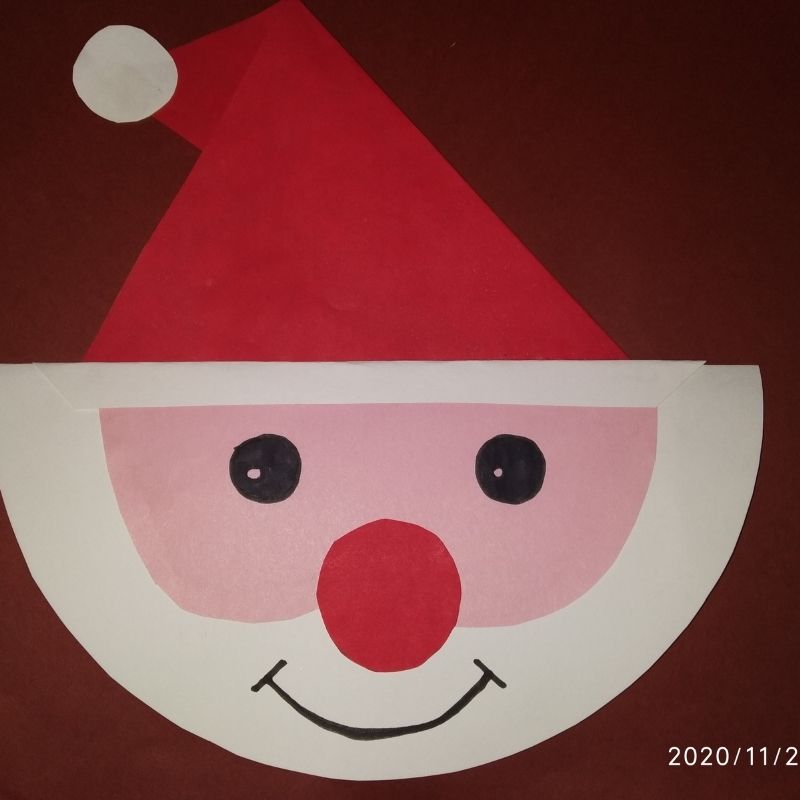
- Your DIY Santa Claus paper toy is now ready.
- Enjoy kids!
- Merry Christmas!





Be the first one to comment on this story.