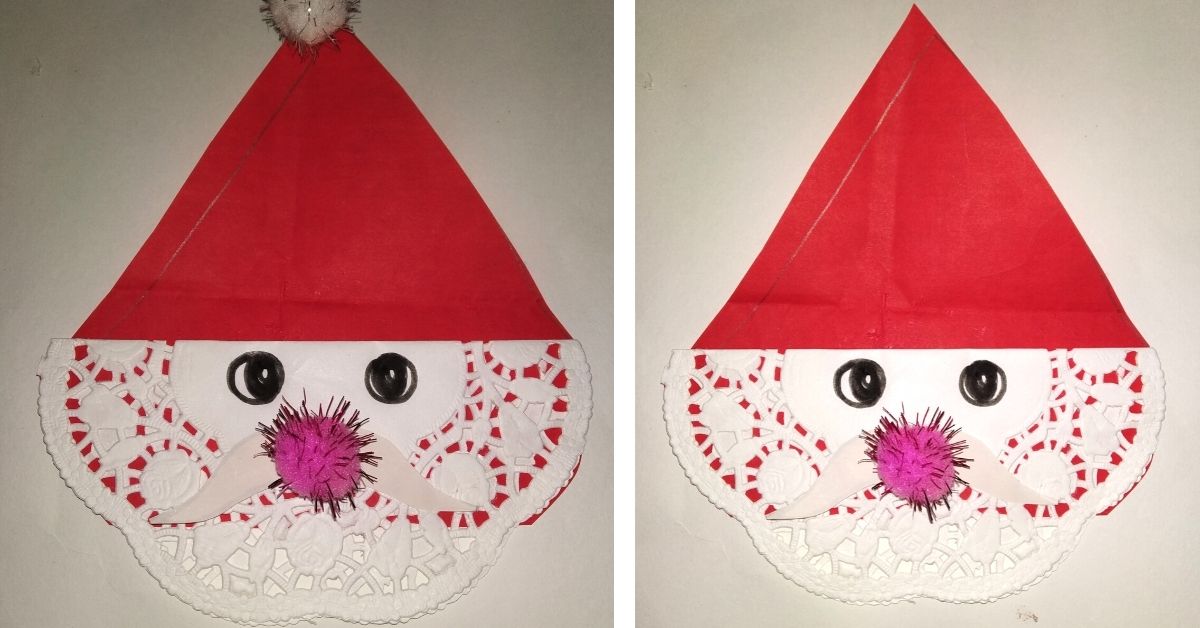
Ho ho ho! It’s the Christmas season and all of us want dear Santa to visit us with exciting gifts! Well yes, who doesn’t love gifts? So let’s celebrate Christmas with galore! Let’s make a paper doily Santa. Yes, doilies which we use for cakes and confectionaries would turn into a Santa! Surprised? Don’t be kids!
Let’s get started with simple at-home art and craft supplies
Follow the steps to know how to make DIY paper doily Santa
Materials Required to Make DIY Paper Doily Santa
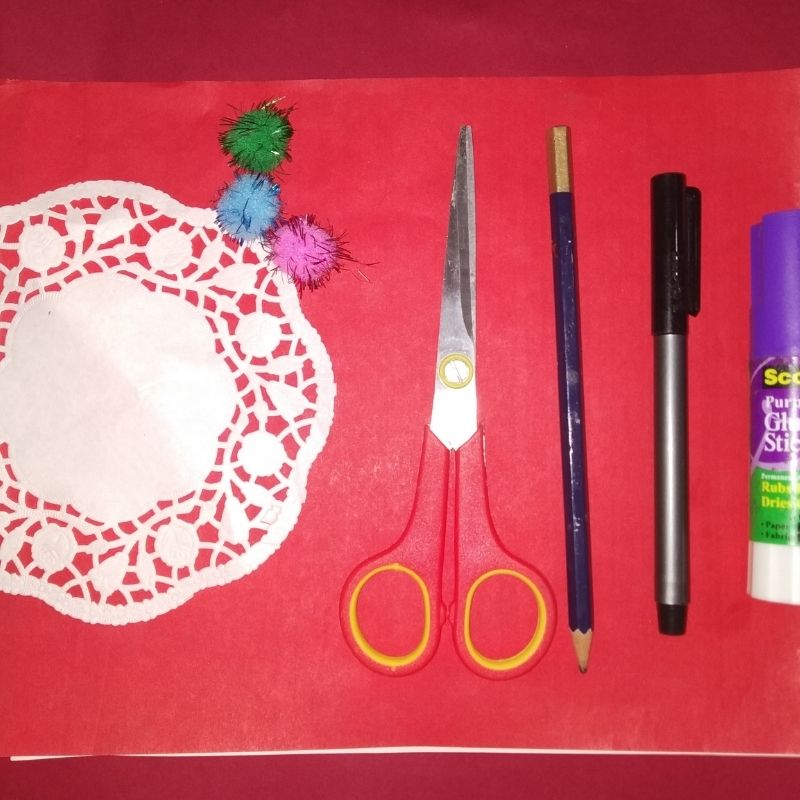
- Red paper
- 1 Medium-sized white paper doily
- 2 small red/pink pom pom balls
- White paper
- Sketch pens
- Pencil
- Scissors
- Glue
How to Make DIY Paper Doily Santa Step by Step
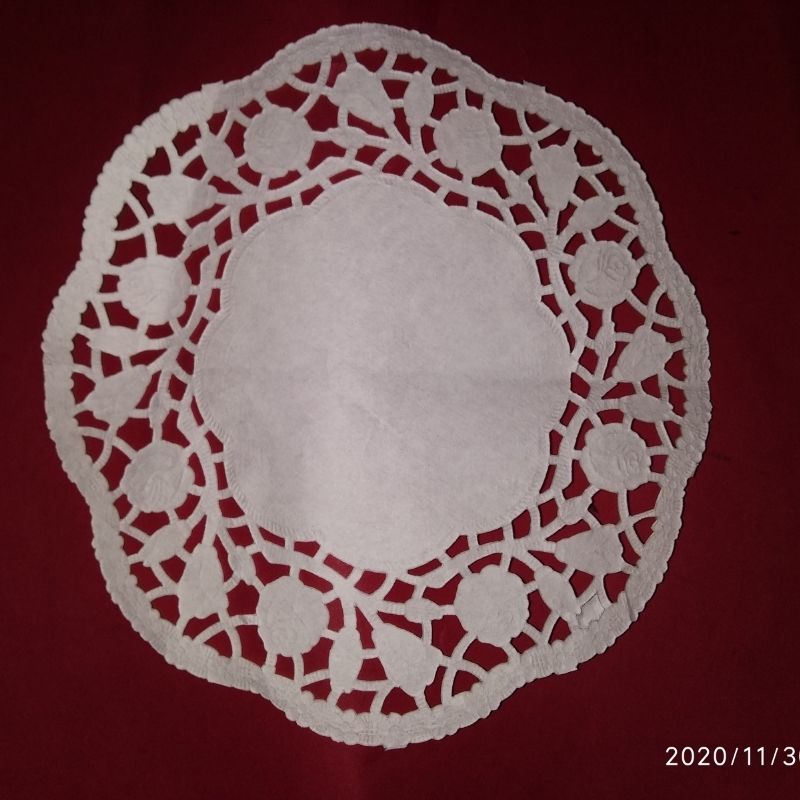
- Take a medium-sized circular paper doily.
- A paper doily has a lace border on the circumference and plain paper portion in the centre.
- We need white paper doily.
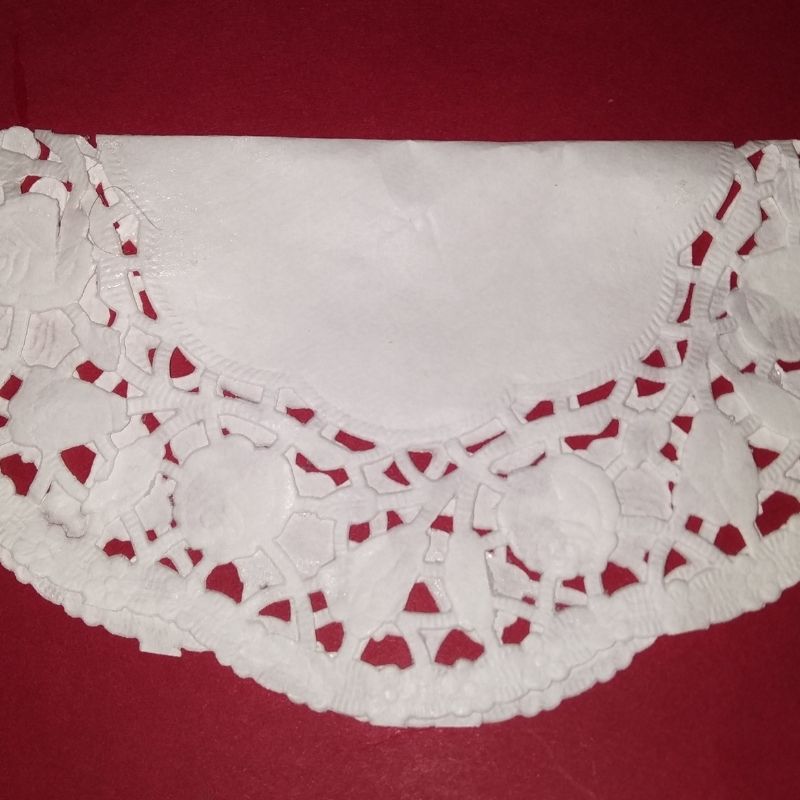
- Now fold this into half and stick it on the edges to get a semicircle.
- Next, take a red sheet of paper and draw a triangle of around double the length of the semicircular paper doily.
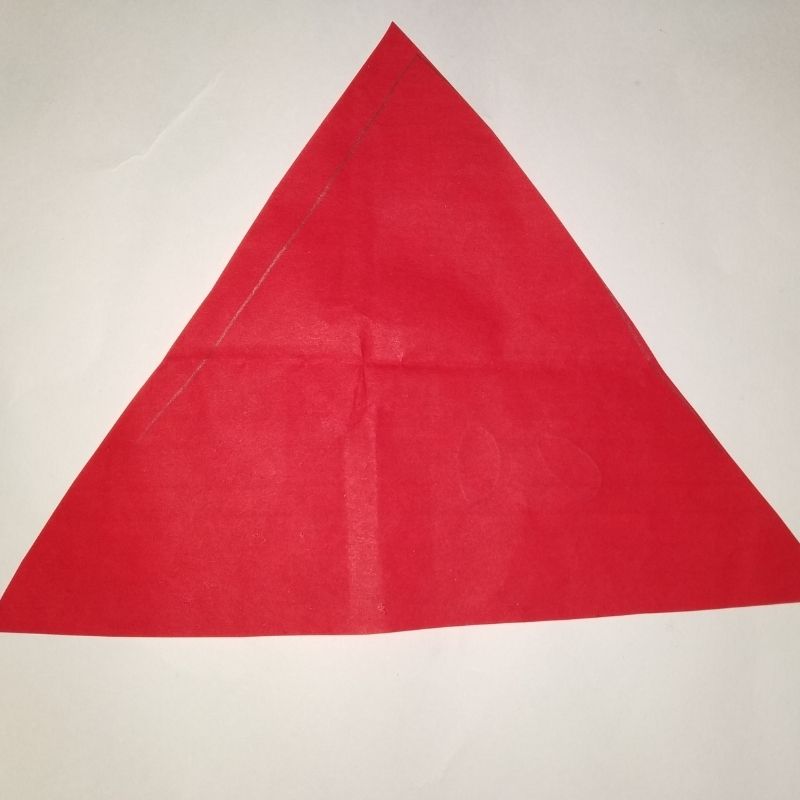
- Stick it on the back portion of the doily. Make sure the base of the triangle matches or is lesser than that of the paper doily.
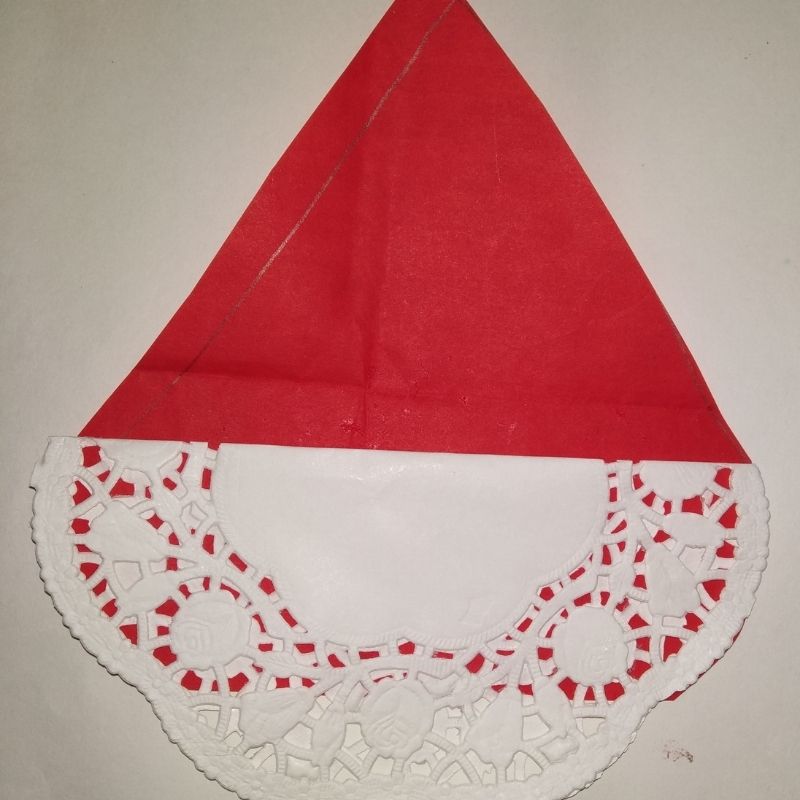
- Now we have the Santa face and cap base ready.
- Next, use a white sheet of paper, draw and cut the moustache of Santa Claus.
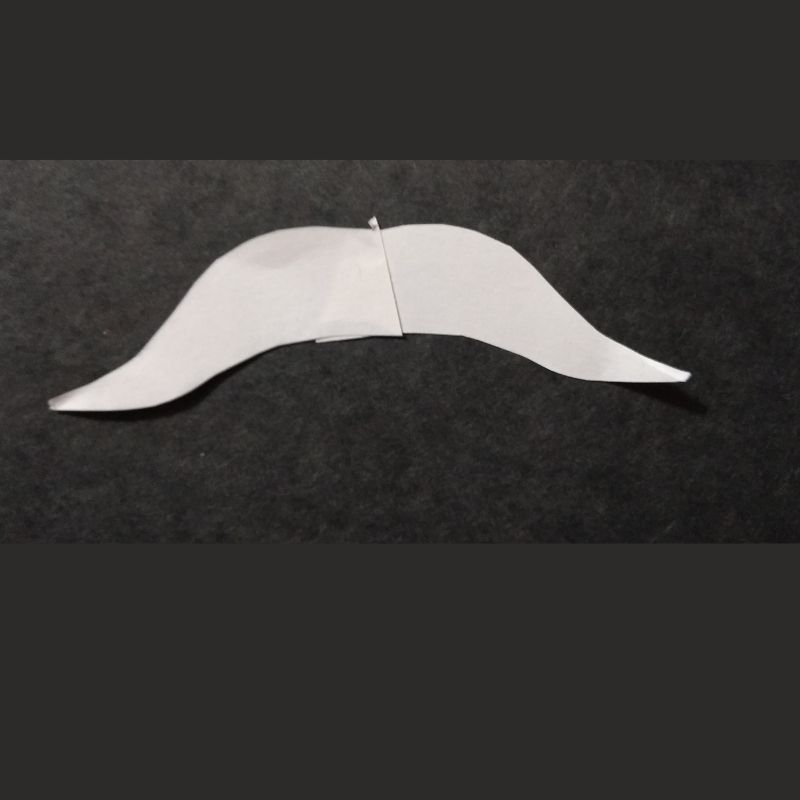
- Stick it in the middle of the plain portion of the folded paper doily.
- Once done, draw the eyes of the Santa Claus and stick a red pom-pom ball as his nose. Add another pom-pom ball on the tip of Santa’s cap.
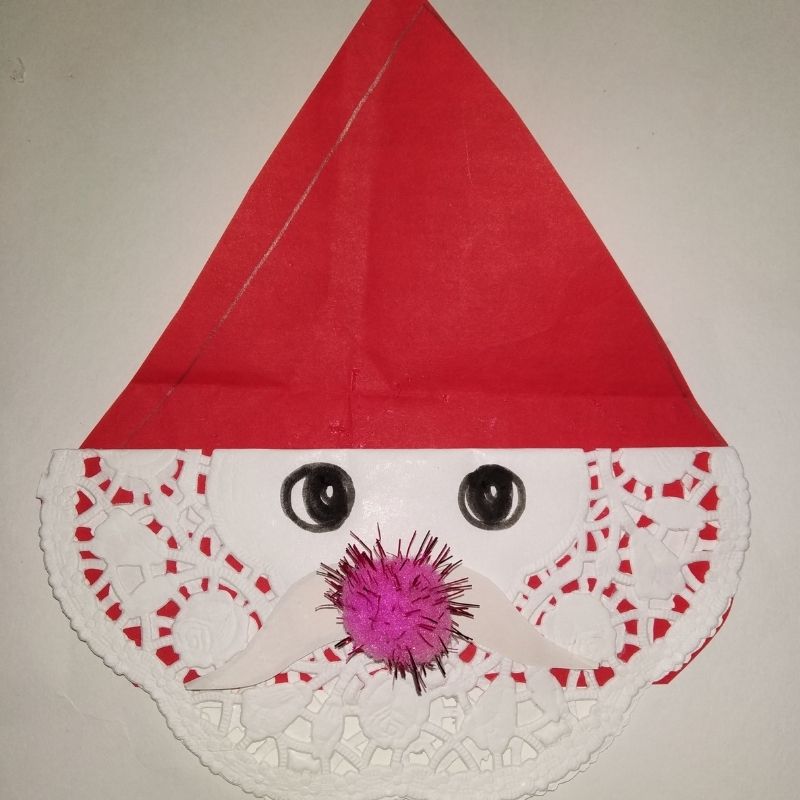
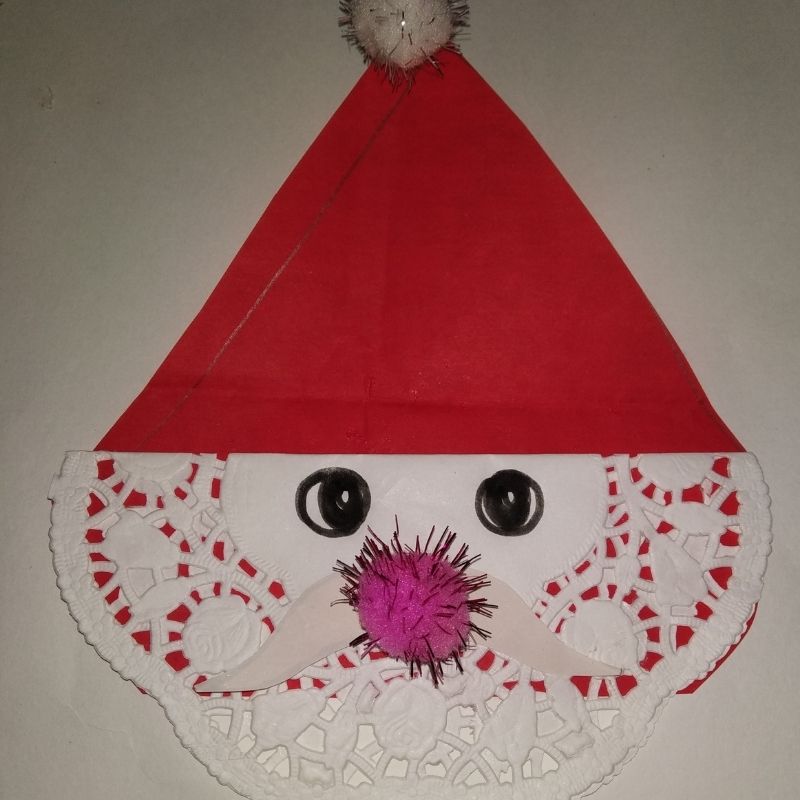
- That’s it, kids!
- Your beautiful and creative paper doily Santa is now ready.
- Use it as a culinary décor or a part of your Christmas crockery décor on the eve of Christmas and deck up your dining tables while you gorge on yummy plum cakes.
- Enjoy kids!
