We all love Santa Claus. It’s the best time of the year when the chilly winters bring in a lot of surprise gifts. Thanks to our very own Santa Claus. So all of us love to receive gifts and surprises from him. As per the story, Santa visits our house from the chimney, leave our gifts on the porch while we are still asleep. The next day we wake up to a whole lot of Santa’s surprises. Amazing isn’t it? So today let’s make one adorable elf headband as a warm gesture to welcome our dear Santa.
Let’s follow these simple instructions to know how to make DIY elf headband crafts for kids.
Materials Required to Make DIY Elf Headband
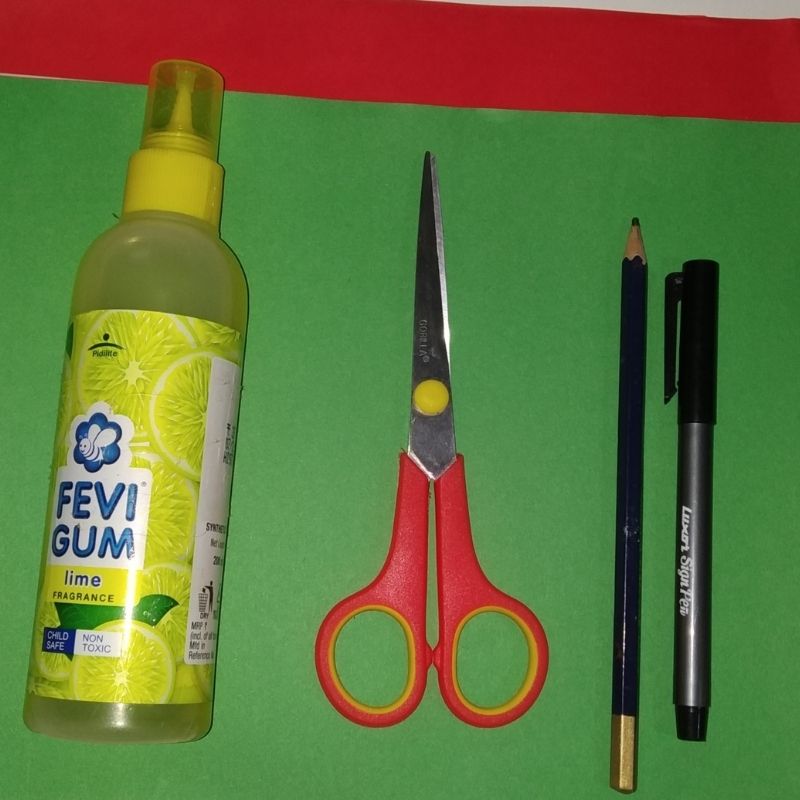
- Red paper
- Green paper
- White paper
- Sketch pens
- Pencil
- Scissors
- Glue
How to Make DIY Elf Headband Step by Step
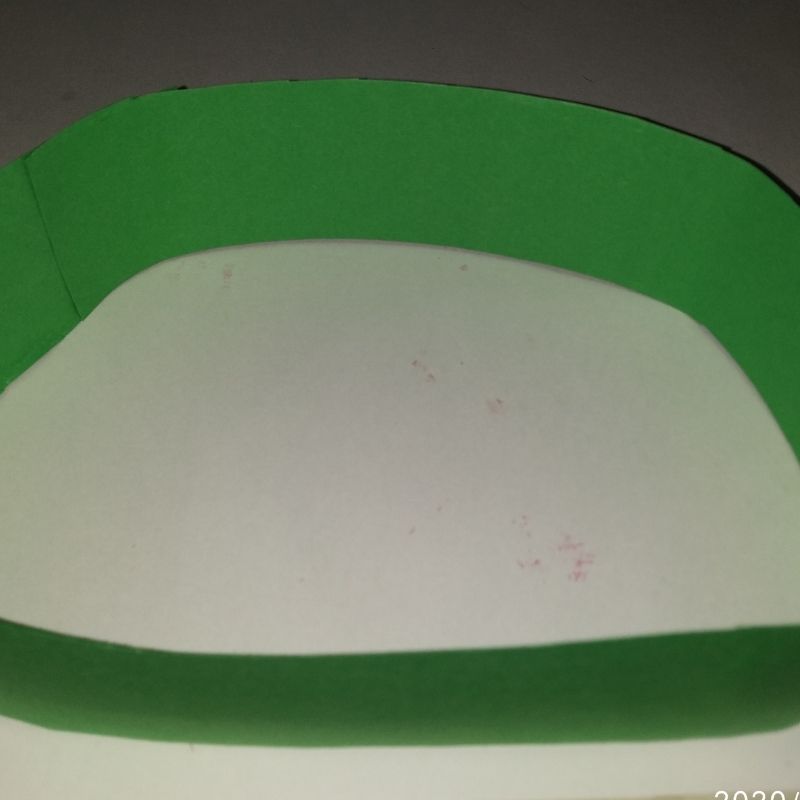
- Take a green paper and cut a thick strip of around 4cms. As per the head, size to encircle as a headband.
- If you need additional paper strips cut more and join two strips to completely encircle the head as per the head circumference.
- Next, stick the two strips at the ends to form a headband
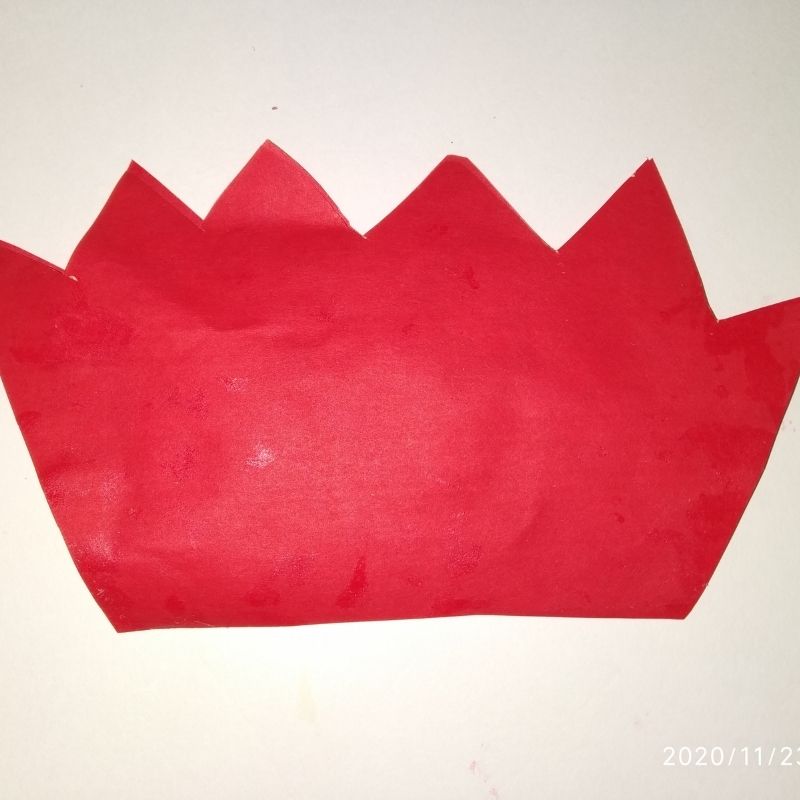
- Once done, now take a red sheet of paper and draw a crown-shaped portion from it.
- The size of this crown should be half the length of the headband and it should be slightly taller than the headband in height.
- Now cut this crown in red and keep aside.
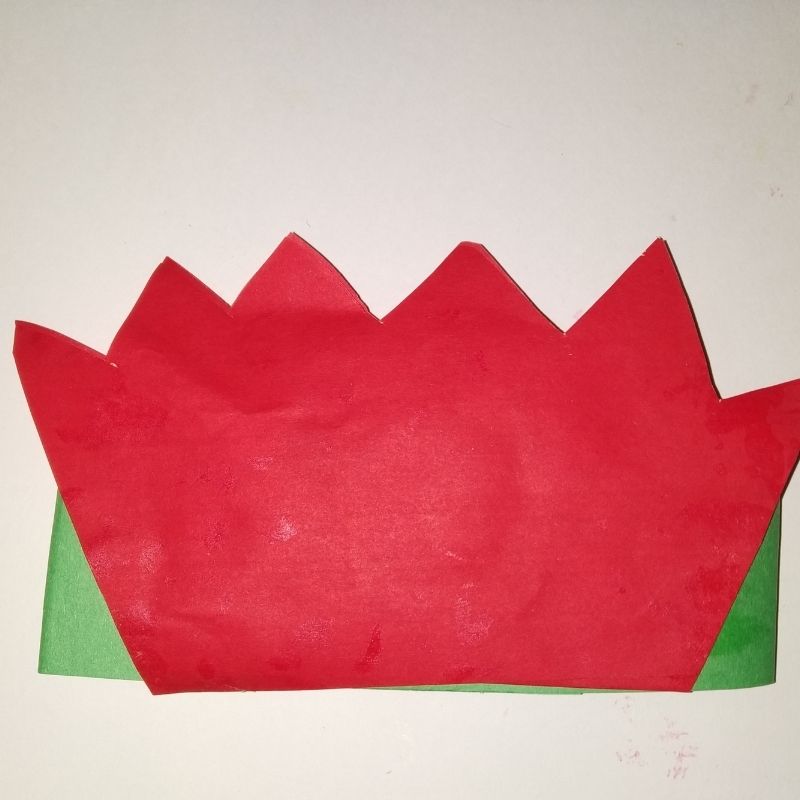
- Once you have the crown ready, stick the crown on the front surface of the headband
- Next, take a white sheet of paper and draw a triangle in the form of a cap with its apex slightly tilted at the end.
- Make sure the cap is broader at the base and tapering at the end. Cut this triangle.
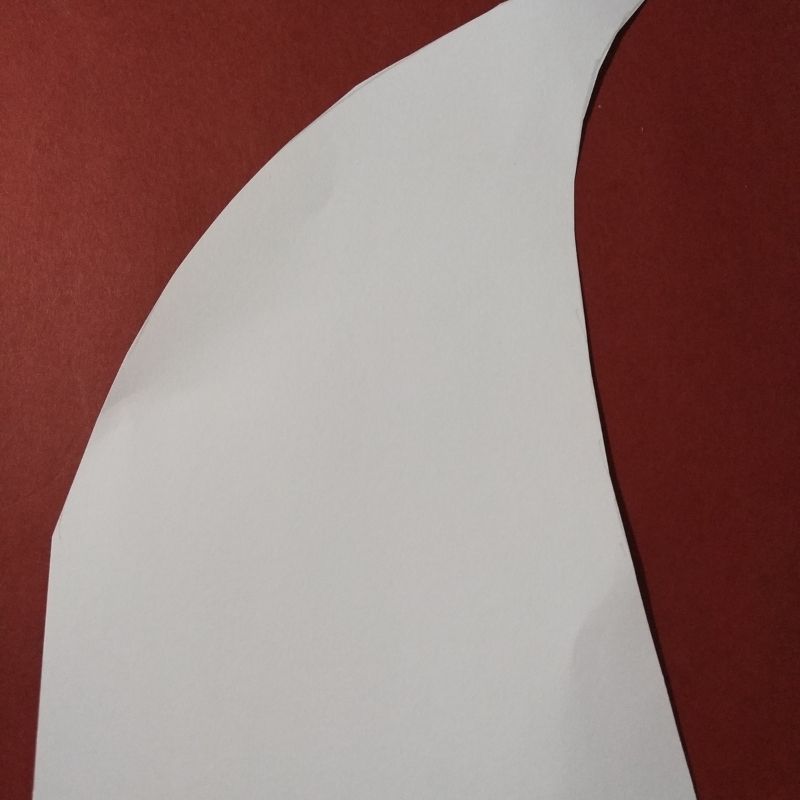
- Now draw thick green alternate strips on this triangular cap using a green sketch pen.
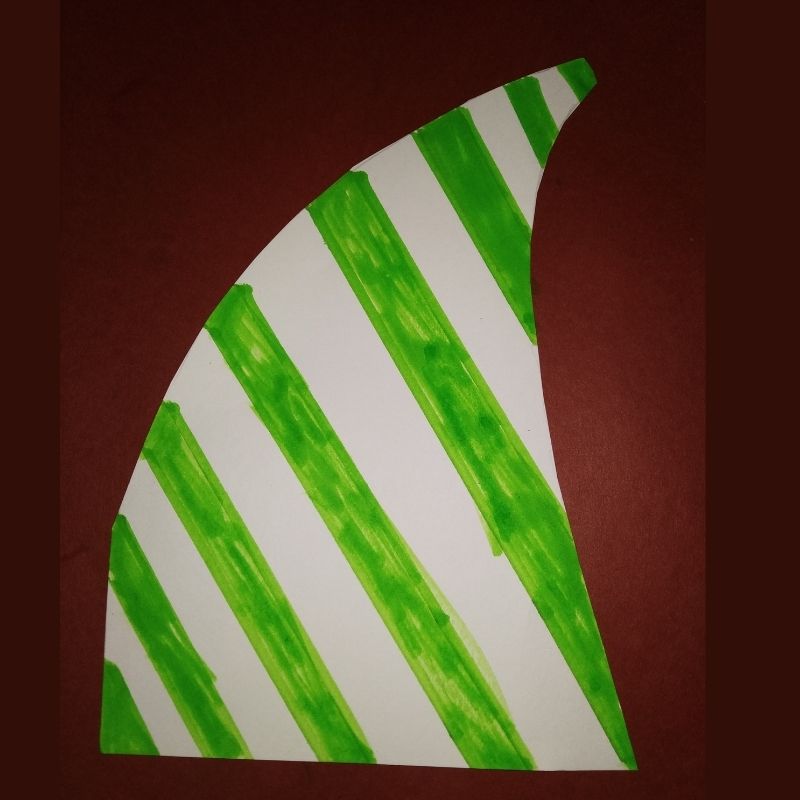
- Finally cut a small circle using a white sheet of paper.
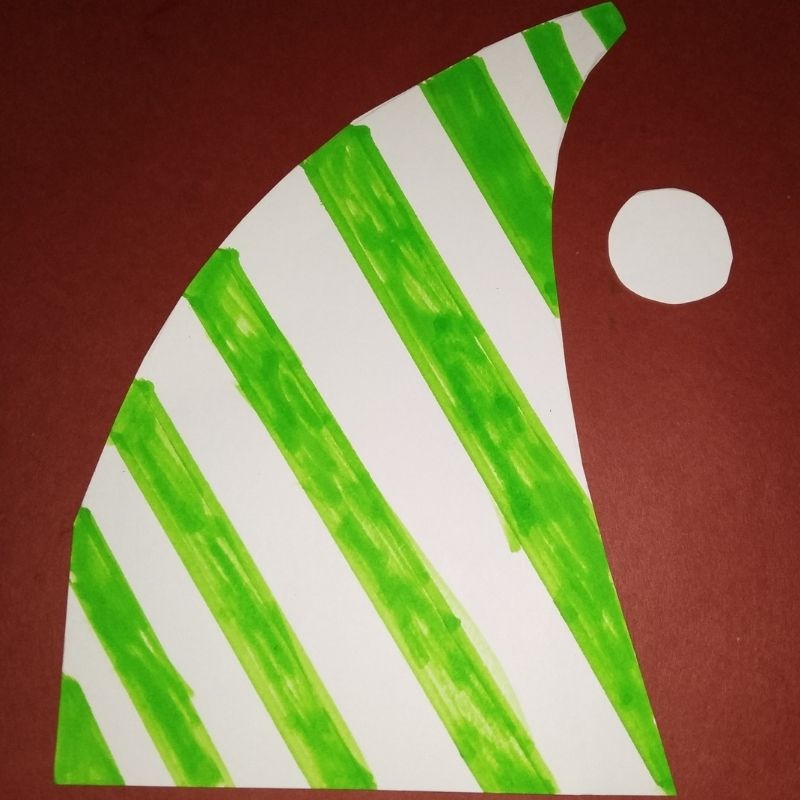
- Stick this circle on the apex of the cap.
- Finally, stick the cap on the headband just beneath the crown.
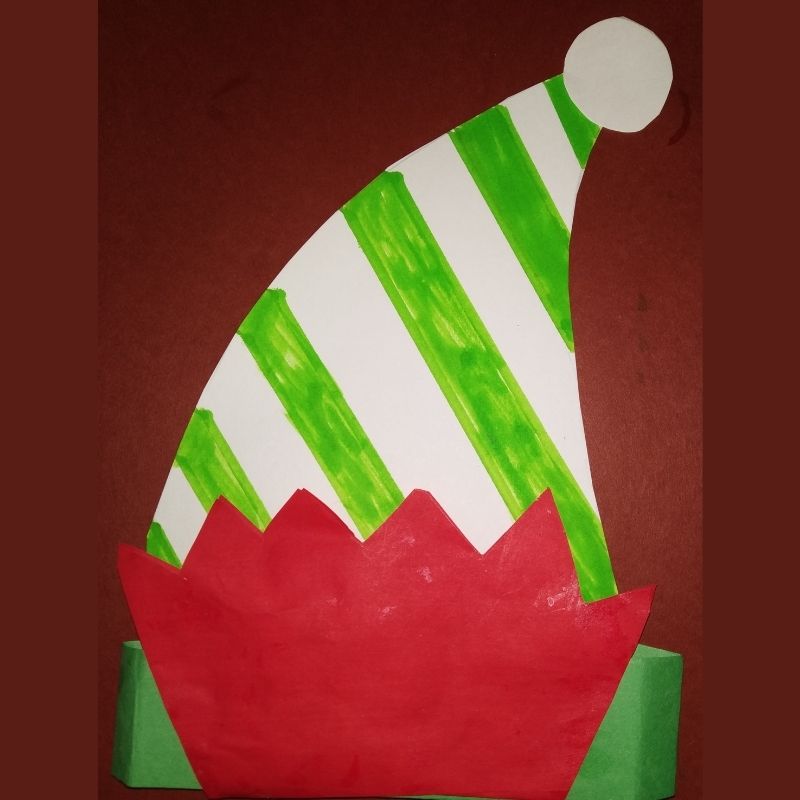
- That’s it, kids! Your beautiful yet easy elf headband is ready.





Be the first one to comment on this story.