It’s always fun to be creative. We love to do different things and try new ones. Similarly, let’s try a new kind of an envelope using paper circles and explore our creativity.
Follow these simple instructions to know how to make DIY coloured paper envelope. Gift your loved ones this creative piece of yours and see their happy faces.
Also, checkout How to make an easy Origami envelope or our other collection of Art and Crafts & DIY Ideas.
Materials Required to make Coloured Paper Envelope
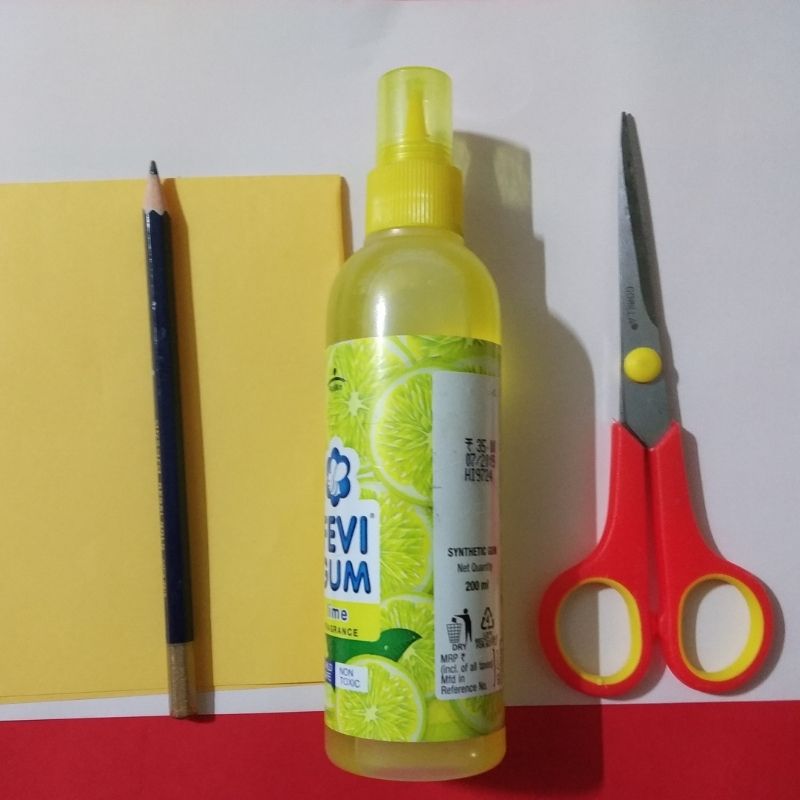
- Red sheet
- White sheet
- Ruler
- Pencil
- Glue
- Scissors
How to Make a Coloured Paper Envelope Step by Step
- Take a red and a white sheet of paper and cut 2 circles of 8 cm diameter of each colour.
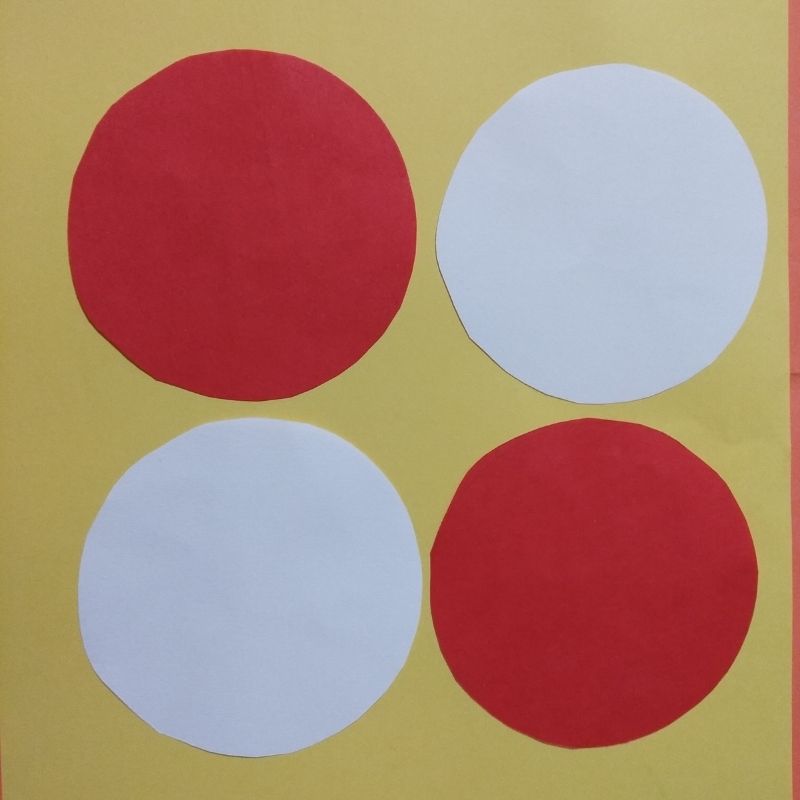
- So now you have two circles of red and white each. The size of the circle is 8cm in diameter.
- Next, fold all the four circles into half.
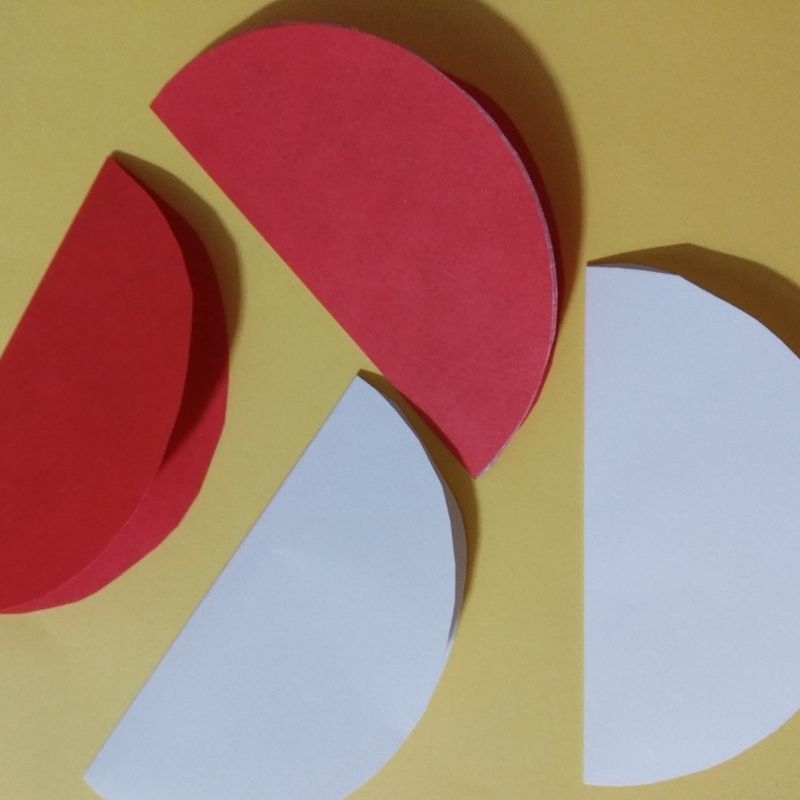
- After this, you will have two semicircles of red and white colour each.
- Next stick the circles, two horizontal and two vertical in a clockwise position. Make sure the vertical and horizontal circles are the same in colour.
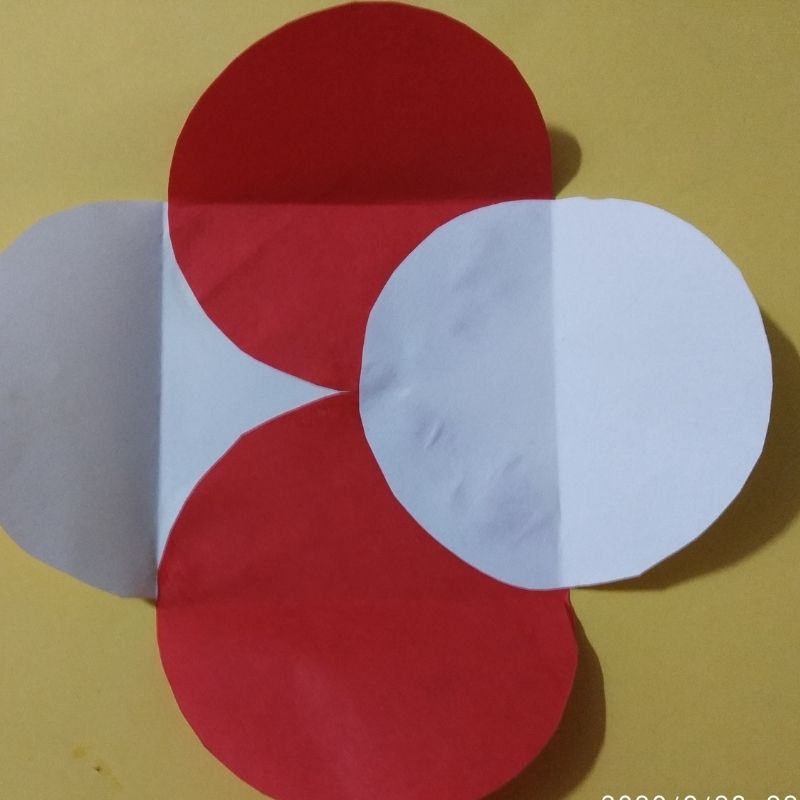
- Next, fold the circles in overlapping fashion over each other that one end is inside the other circle and consecutively follow the same pattern clockwise
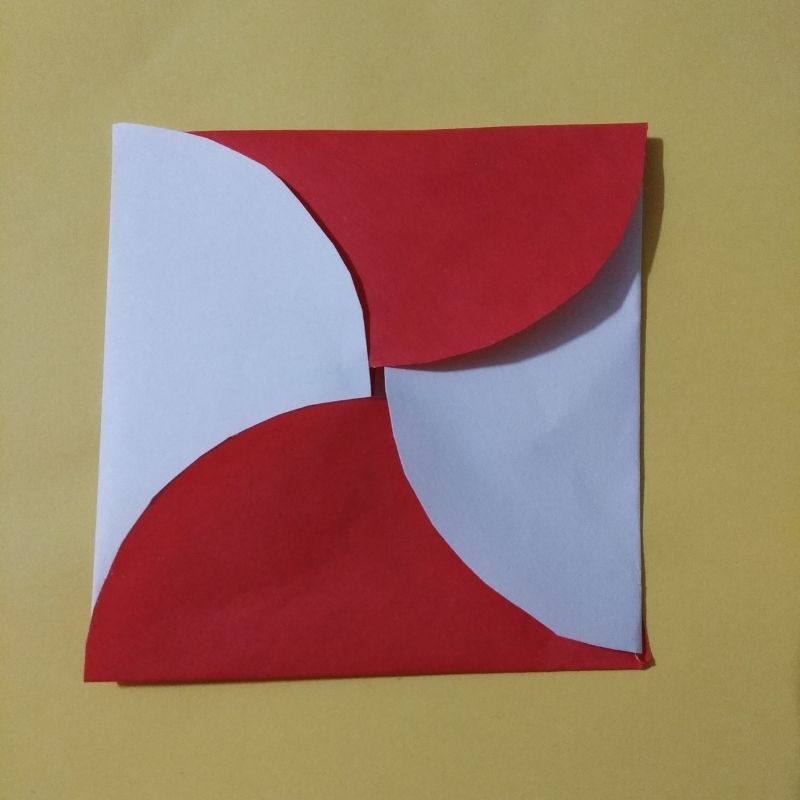
- Next, fold the circles in this way, your envelope is now ready after this step.
- After this cut a strip of around 1 cm width using a white sheet and tie around the envelope
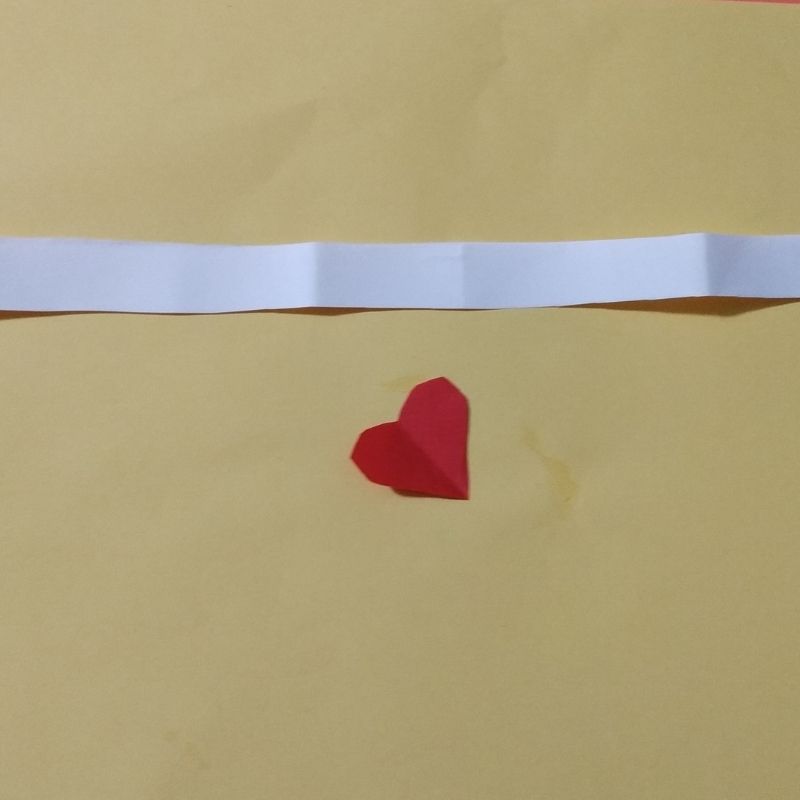
- Cut a small heart in red and stick it on the strip.
- That’s it, children, your creative coloured paper envelope is now ready.
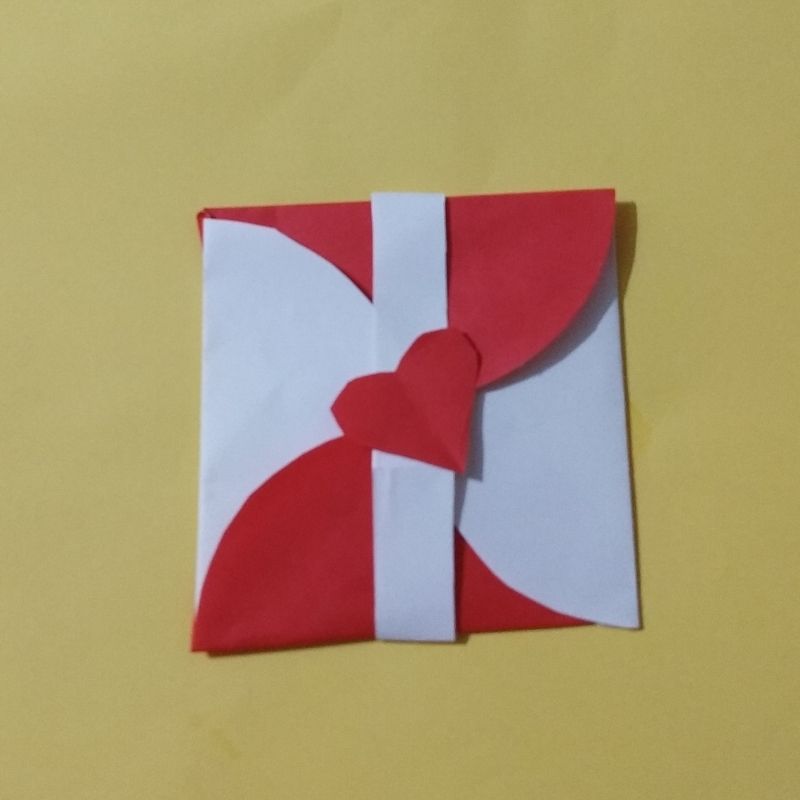
Enjoy…


