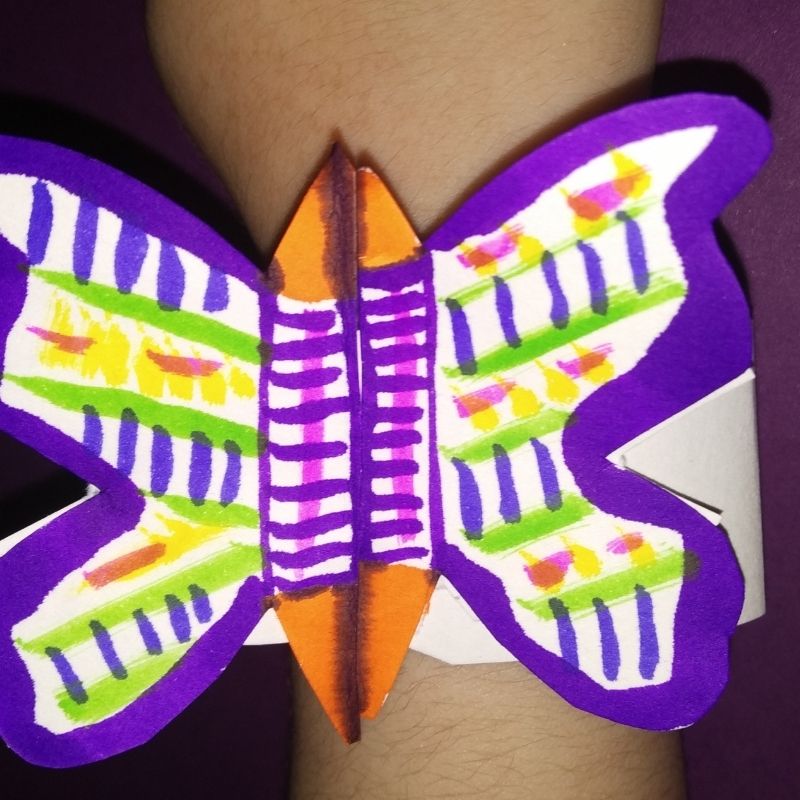
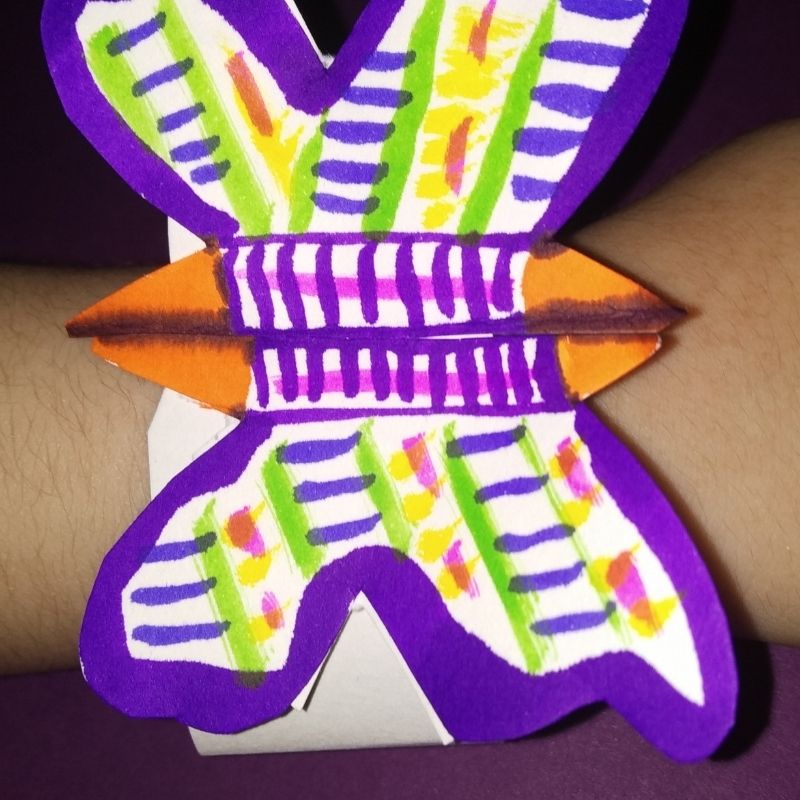
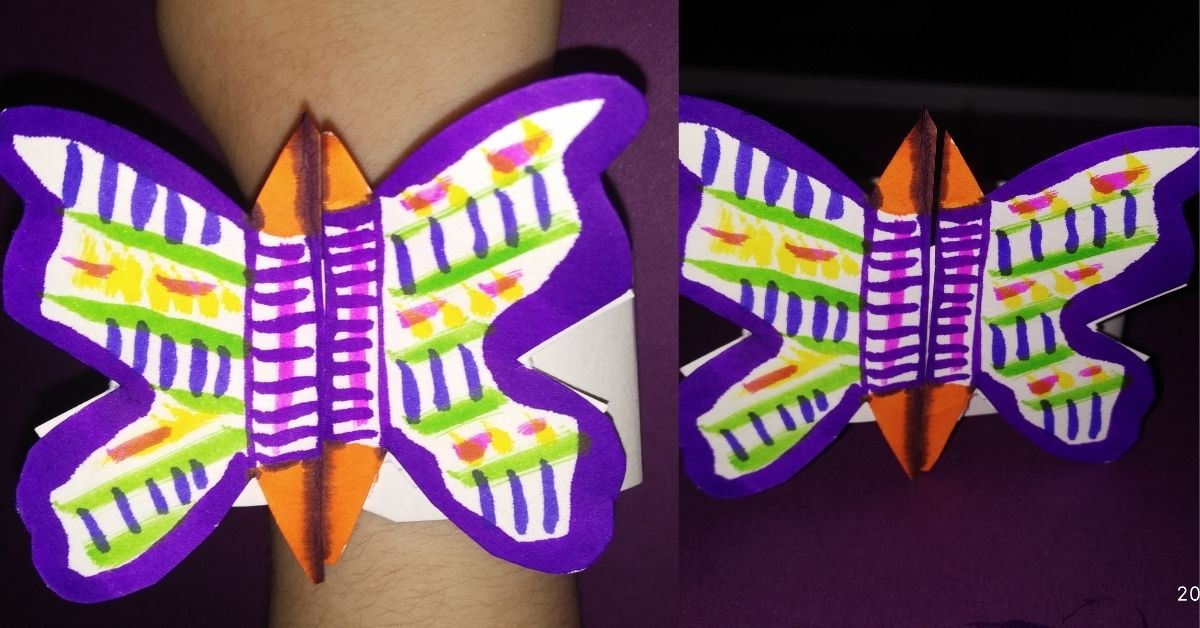
Hello kids! Bracelets are a beautiful piece of fashion accessory. You can sport it anywhere. It looks beautiful and funky. It’s easy to wear, you just need to slip it on your wrist or tie it around.
So today let’s make a beautiful butterfly bracelet. We just need basic at-home art and craft supplies and we are sorted.
Follow the instructions to make DIY Butterfly Bracelets for Kids
Materials Required to Make DIY Butterfly Bracelet
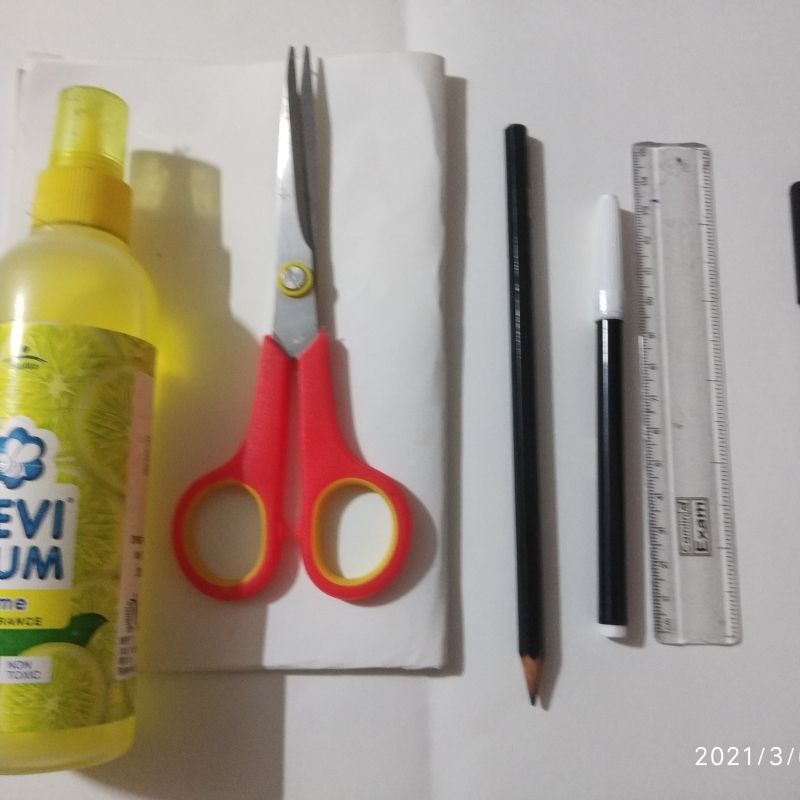
- White paper
- Ruler
- Sketch pens
- Glue
- Pencil
- Scissors
How to Make DIY Butterfly Bracelet Step by Step
- First, we need a white sheet of paper.
- The preferred size is A4.
- Next, fold this paper in half vertically.
- Cut one portion and now cut a strip of 10 cms by 4cms with extended oval-shaped projections.
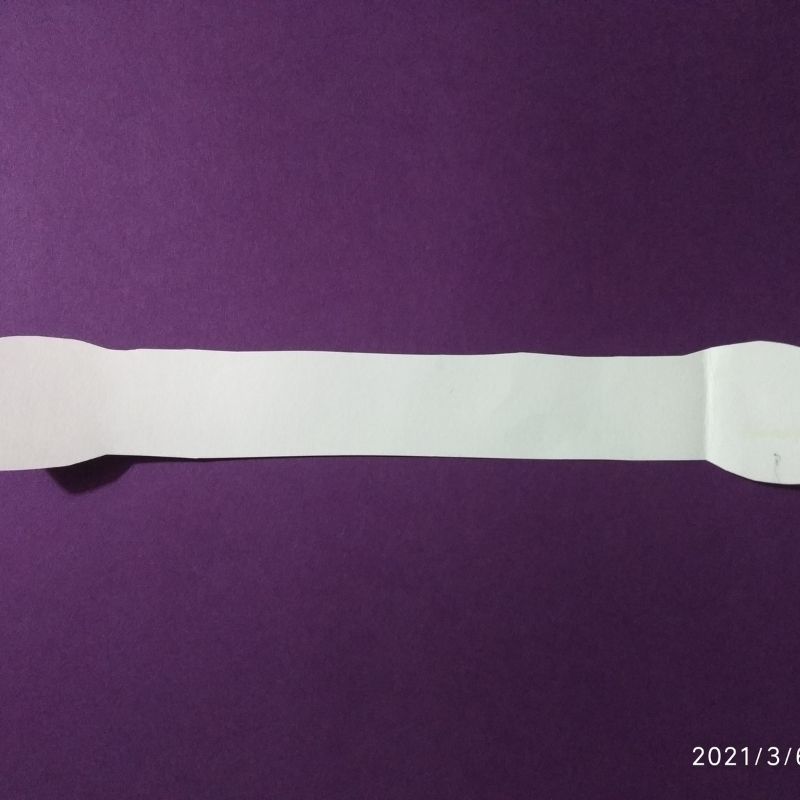
- This is the base of your bracelet.
- The length of 10cms is just for reference you can measure your wrist size and accordingly cut the paper.
- Next, we need a butterfly of 5cms to be drawn on a sheet of white paper with patterns.
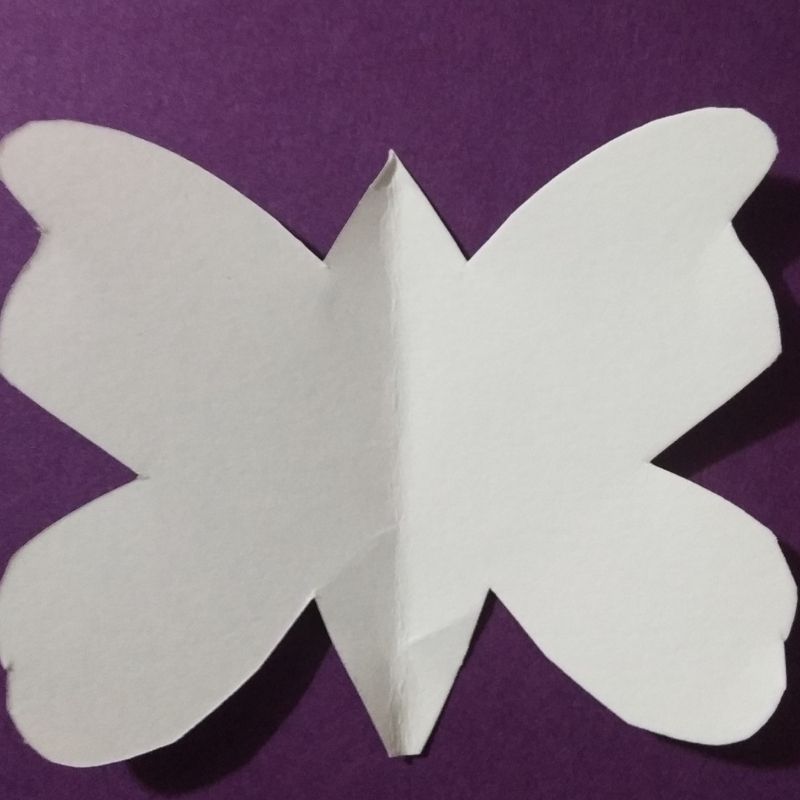
- Later colour it with sketch pens and make it colourful.
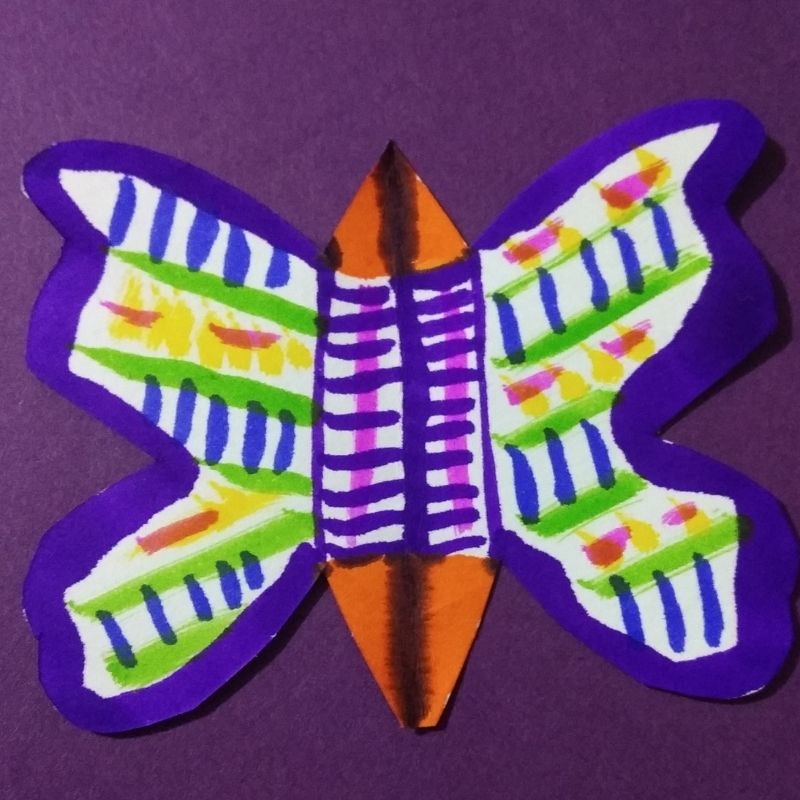
- Make sure the butterfly is symmetrical; now cut it into two pieces from the centre.
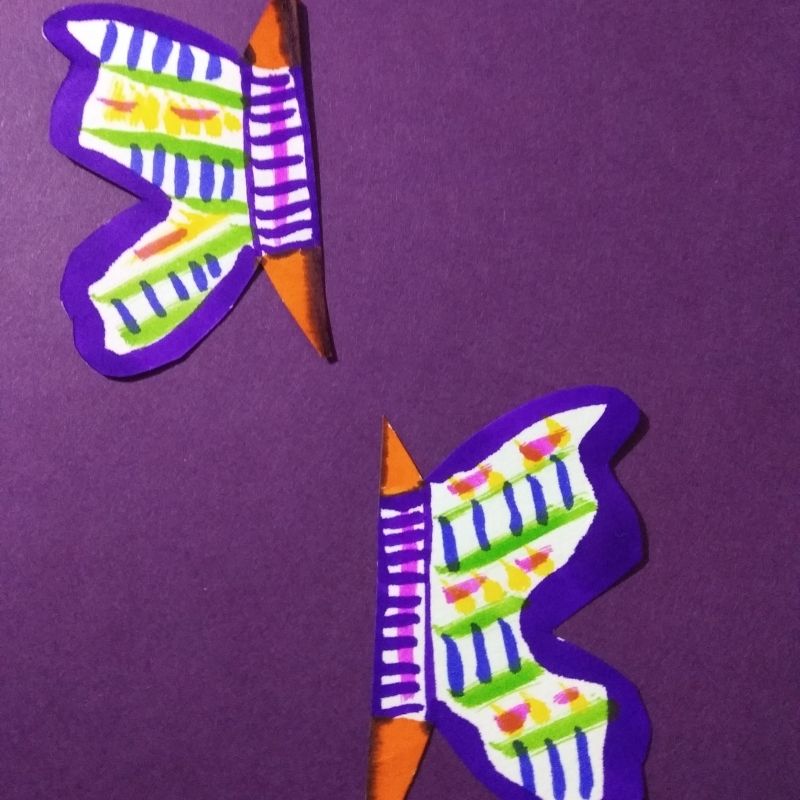
- Now you have the left and the right portion of the butterfly
- Stick it each on the oval projections.
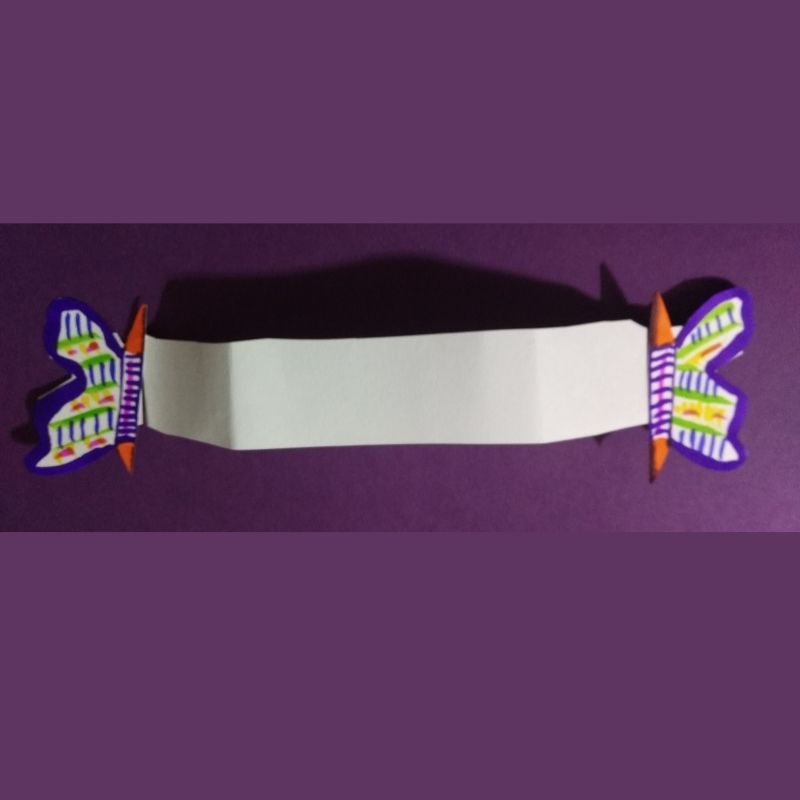
- Now you need to make a slit on the upper right and lower left, the strip adjacent to the butterfly wings on each side.
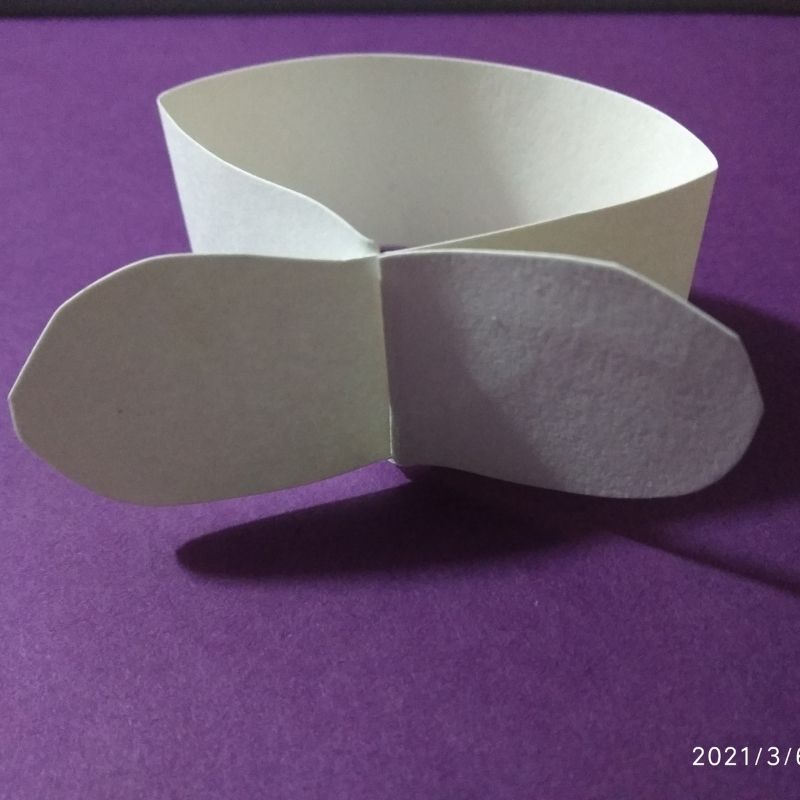
- This would help engage the two ends together and help attach the two ends of the bracelet in the center.
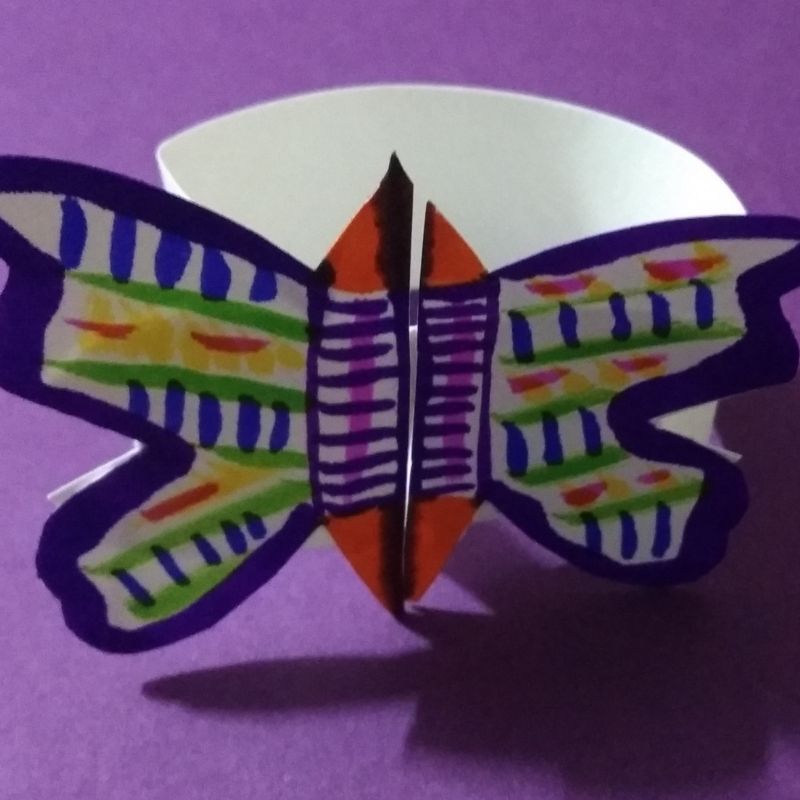
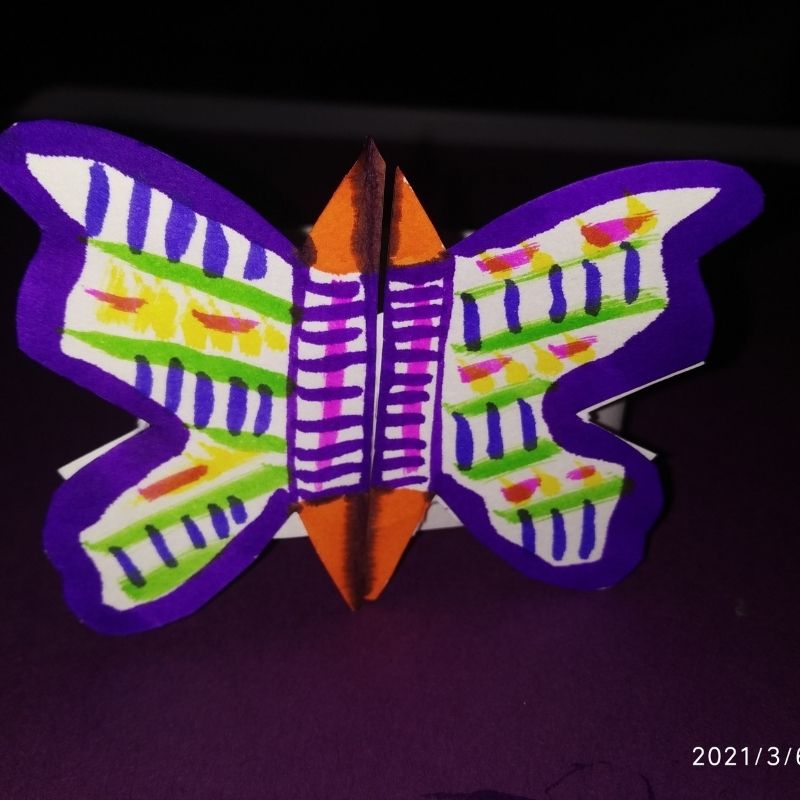
- That’s it, children! Try for yourself and explore your creative side.
