All of us love Disney characters. Kids love cars and they love to play vrooommmmmmm with cars. Even there is a Disney character which is a car. Remember kids? Yes, you are right the same red car from Disney cars! So today let’s recreate the magic of Disney pixar cars using popsicle sticks and simple art supplies at home.Follow the instructions to know how to make Disney pixar cars with popsicle sticks.
Materials required to Make Disney Pixar Cars with Popsicle Sticks
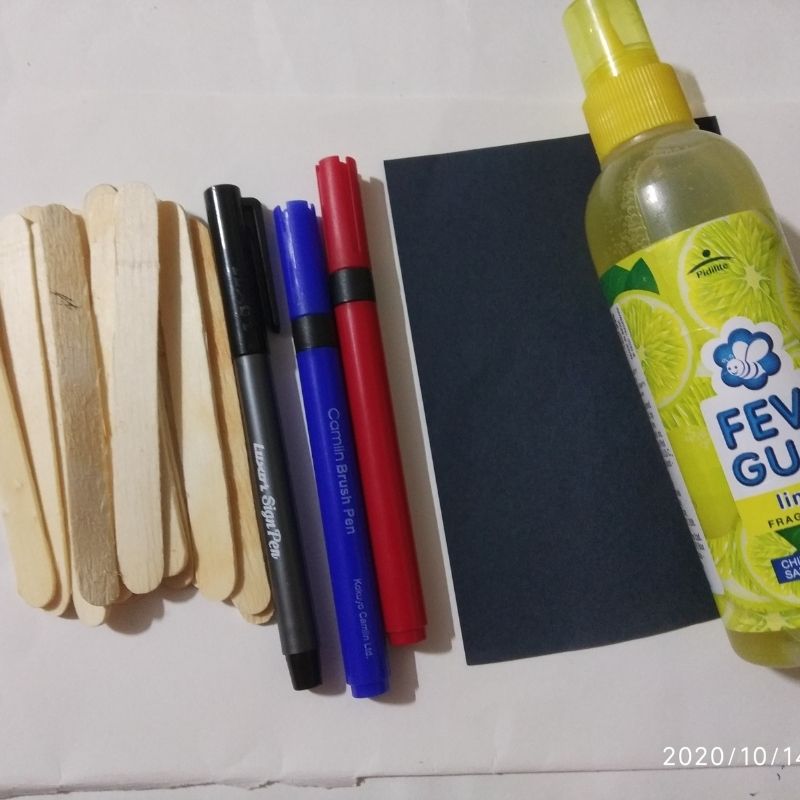
- Popsicle sticks
- White paper
- Black paper
- Sketch pens
- Pencil
- Scissors
- Glue
How to Make Disney Pixar Cars with Popsicle Sticks Step by Step
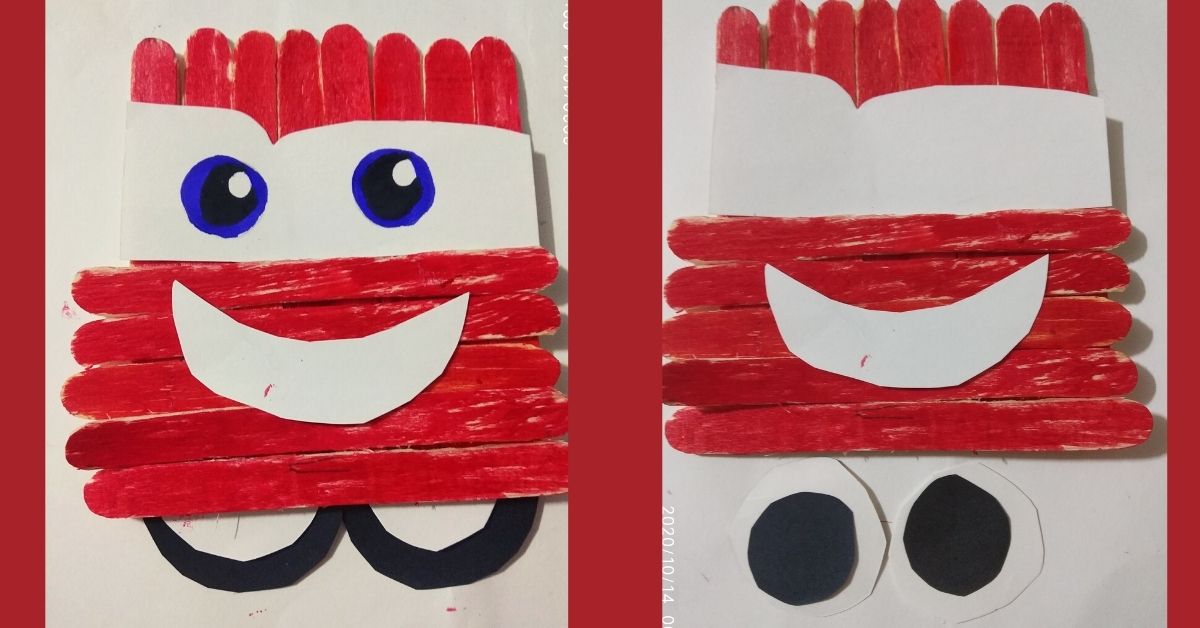
- Take a white sheet of paper and arrange around 8 popsicle sticks over it vertically next to each other.
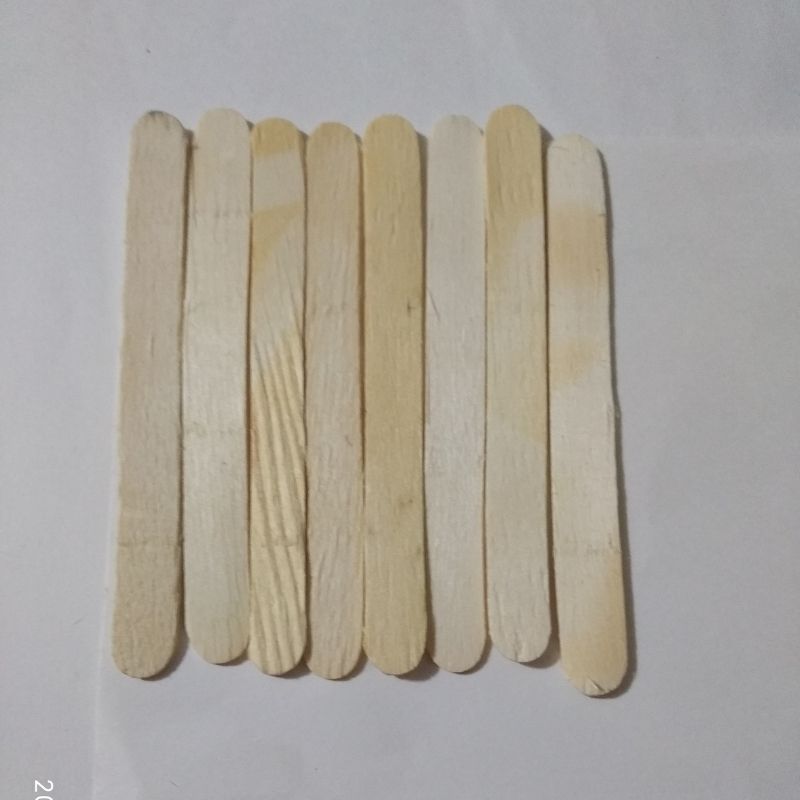
- Stick them flat on the paper next to each other.
- Colour these sticks with red sketches or paint.
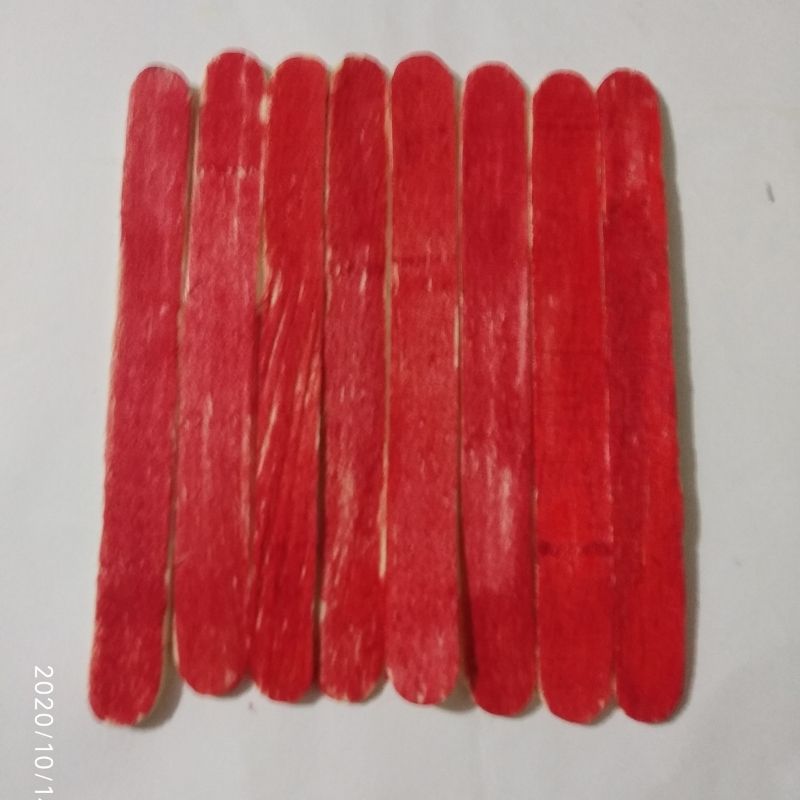
- Next, arrange and stick 5 popsicle sticks horizontally starting from the bottom of this vertically arranged sticks.
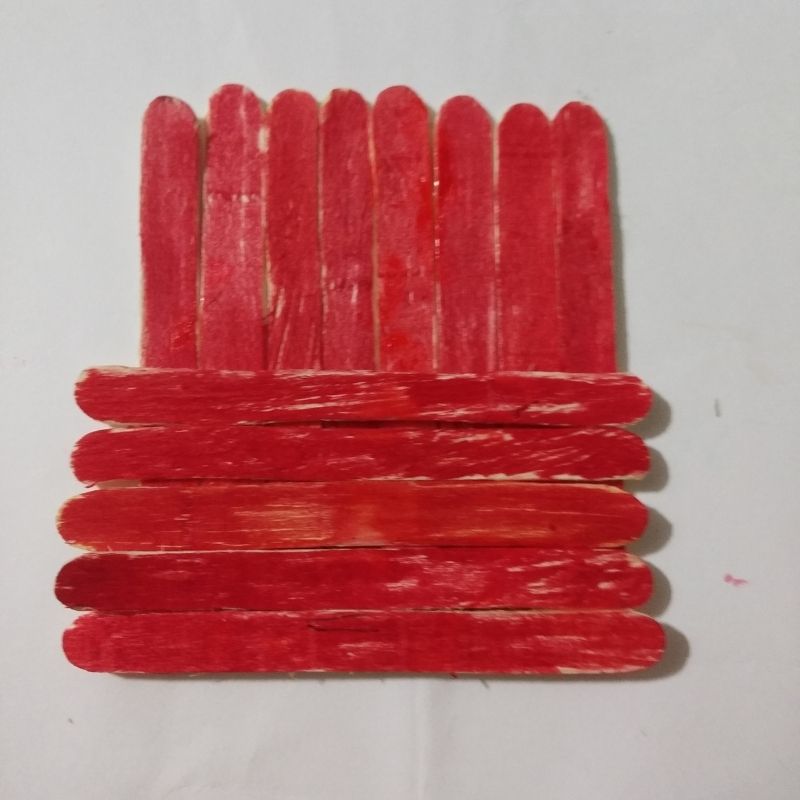
- Again colour these sticks in red.
- Next, use a white sheet to draw the face of the Disney car and cut and stick it over the vertically arranged sticks over the horizontal sticks.

- Next, cut two small circles in black and two in white smaller than the black circles.
- Stick these as tyres on the bottom end of the sticks arranged horizontally.
- Draw and cut a white smile line and stick it on the horizontally arranged sticks.
- Add details to the face using black and blue sketch pens.
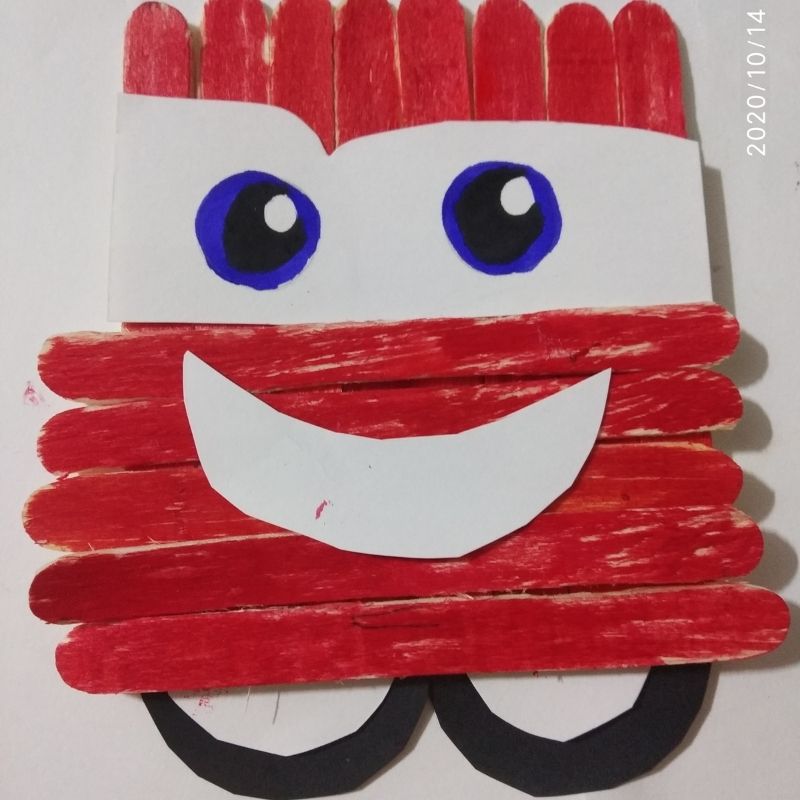
Your Disney pixar car is now ready kids!
