HO! HO! HO! Santa class is the favourite amongst kids, he’s the one who gives us loads of gifts and we enjoy opening all of those gifts and flaunting them amongst our friends. We often compare as well who has got the best gift of all! These childhood memories make us feel so good about Christmas every year. One thing that makes Christmas so special is the Christmas tree! Yeah, we decorate it with so many ornaments and handmade pieces! Let’s make a Christmas tree corner bookmark today and enjoy the Christmas Eve by tagging our favourite Christmas stories with this bookmark.
Follow the instructions to know how to make Christmas tree corner bookmark.
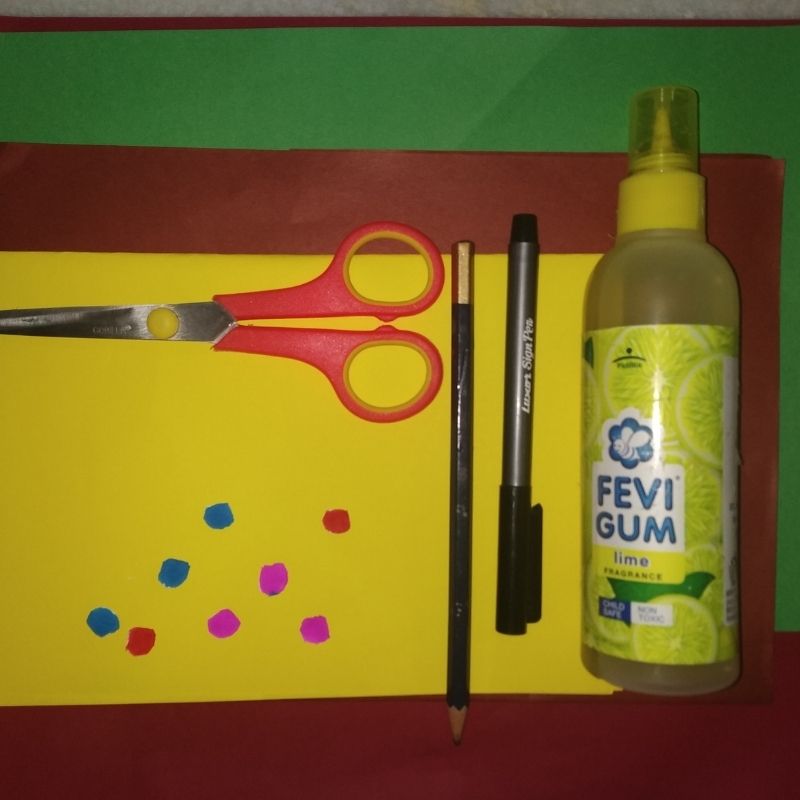
Materials Required to Make Christmas Tree Corner Bookmark
- Green paper
- Yellow paper
- Brown paper
- Colourful paper polka dots or small cut circles.
- Sketch pens
- Pencil
- Scissors
- Glue
How to Make Christmas Tree Corner Bookmark Step by Step
- Take a green square sheet of paper. The preferred size is around 15cm.
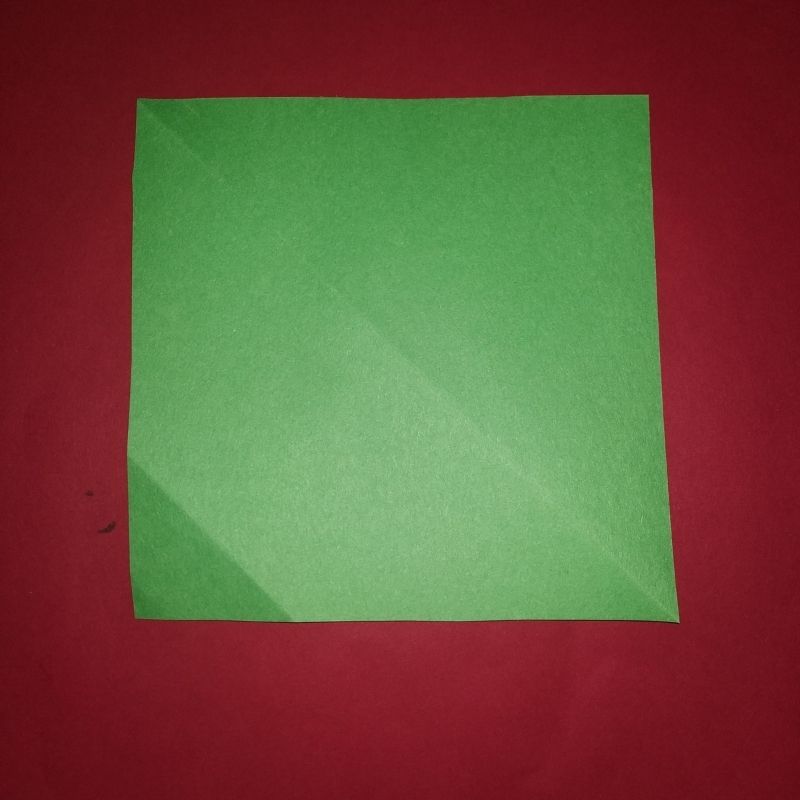
- Next, fold this sheet into a triangle with the apex pointing upwards.
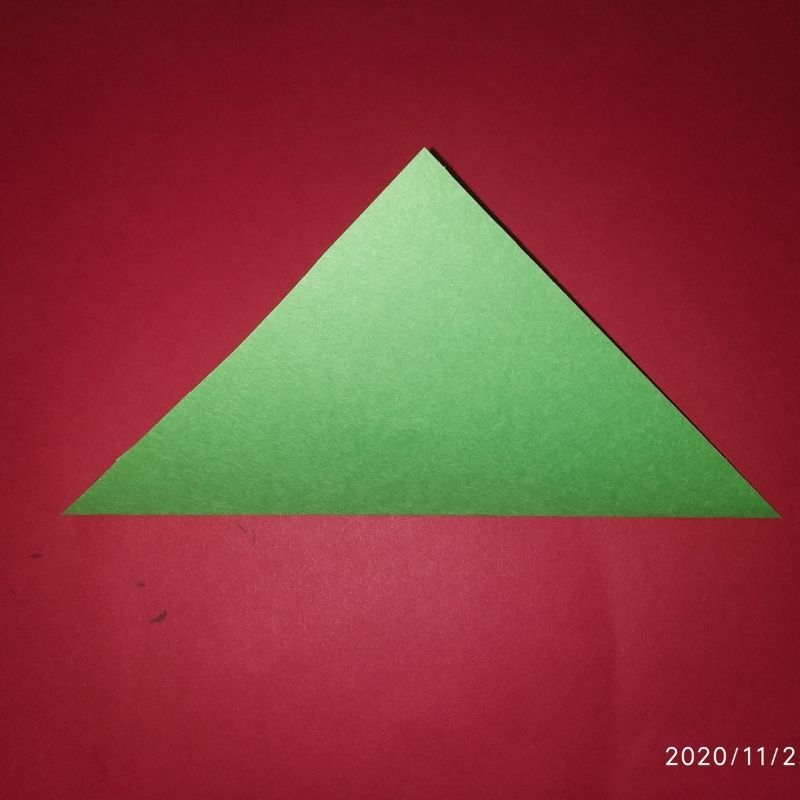
- Once done, you will have a triangle with its apex pointing upwards.
- Now fold this triangle into two side vertical triangles.
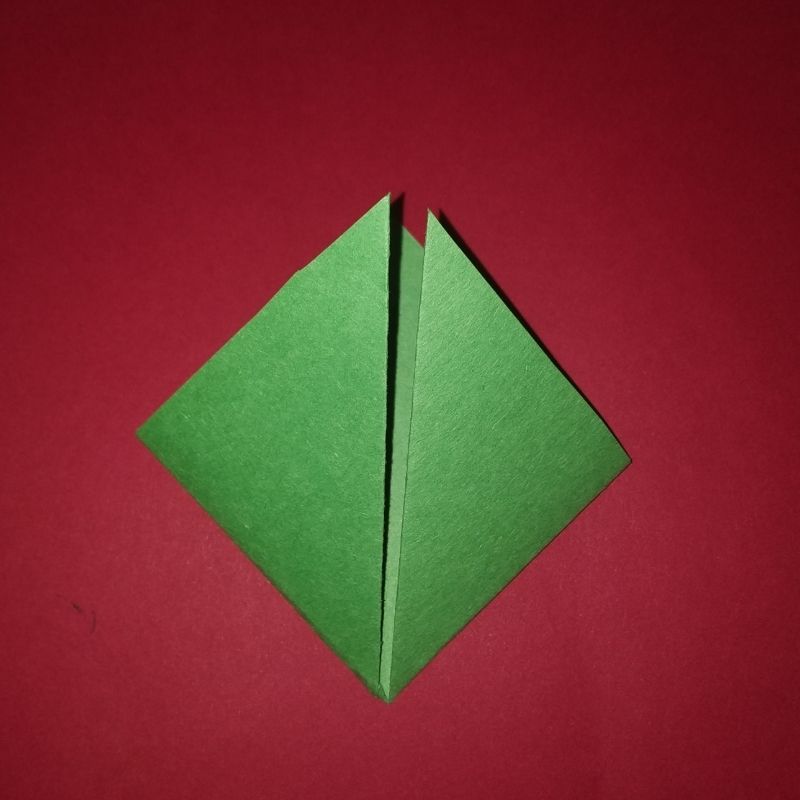
- Now open these two triangles and fold the front portion of the apex into a small triangle horizontally.
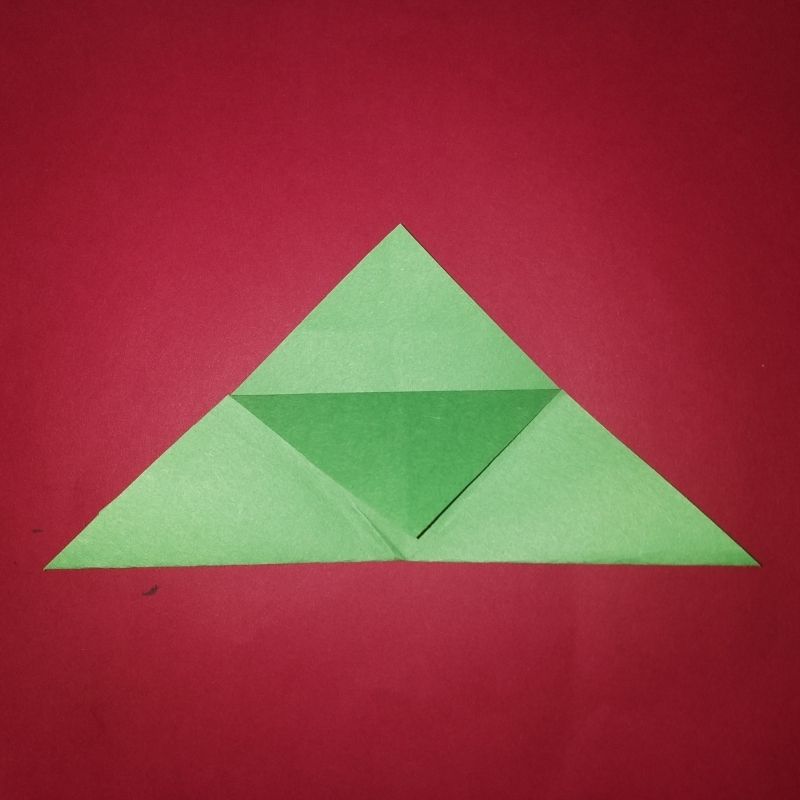
- Once done, tuck in the two side triangles into this pocket.
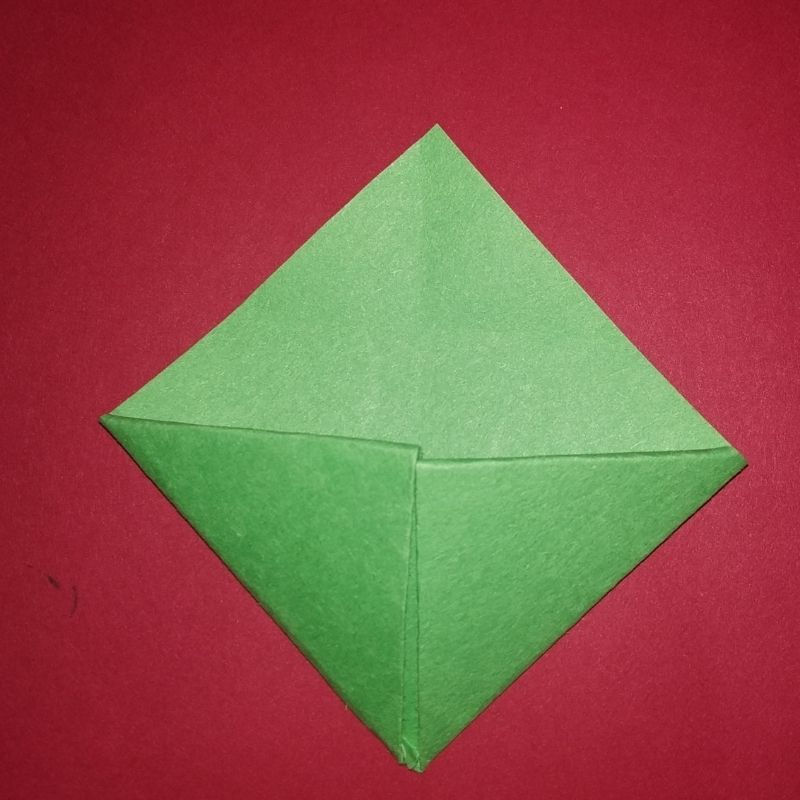
- Your corner bookmark base is ready.
- Next, take a yellow sheet of paper and draw a five-pointed small star on it.

- Cut this star and stick it on the apex of the corner bookmark.
- Next, cut the sides of the bookmark to give a layered appearance of the tree.
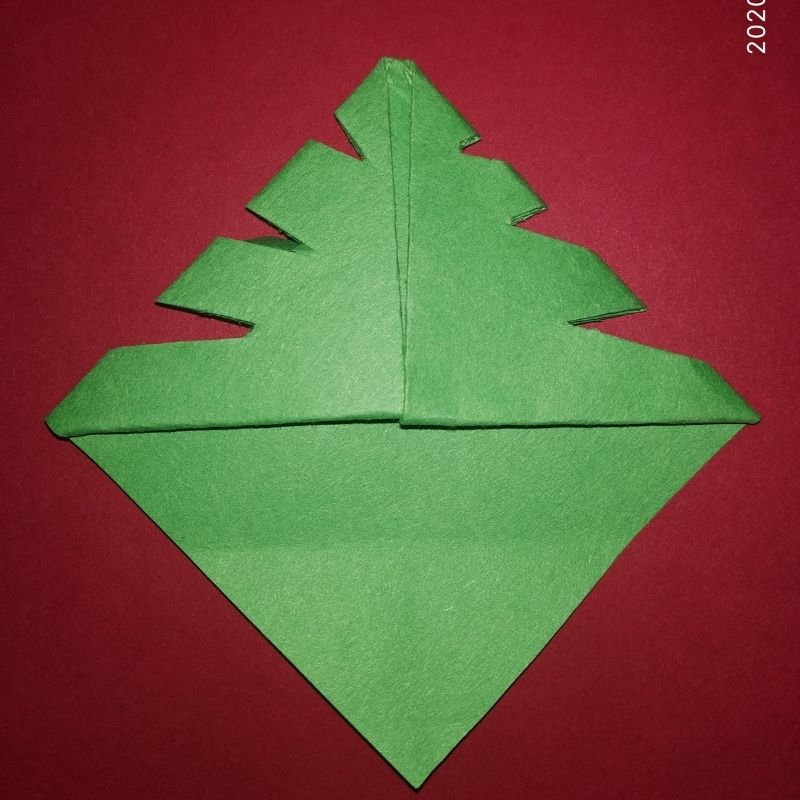
- Next, take a brown sheet of paper and cut a thick strip of around 2cm by 8cm and stick below the corner bookmark of the tree.
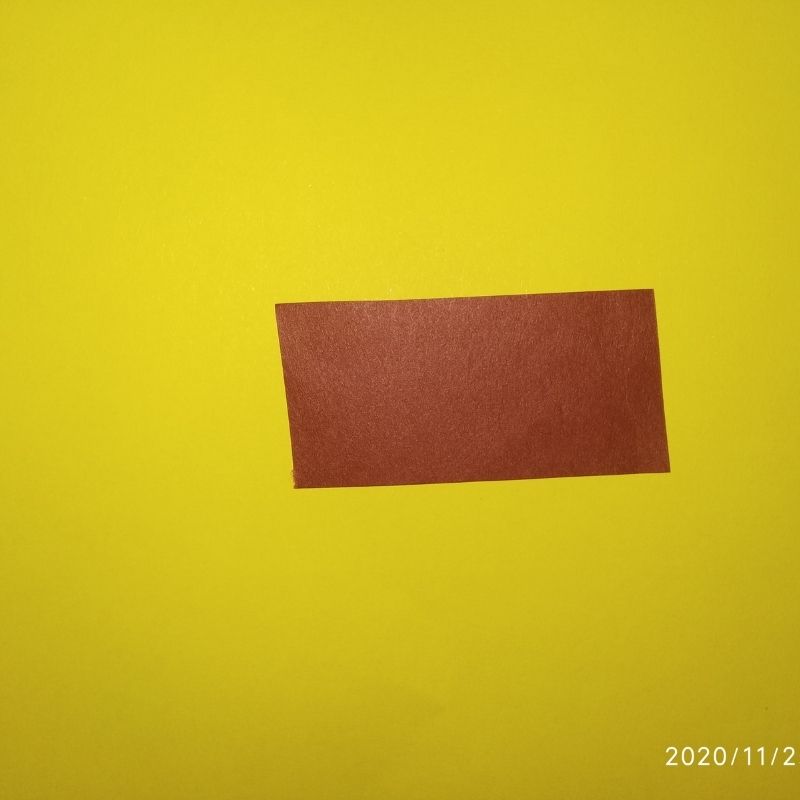
- Lift the bookmark side and stick the strip beneath it.
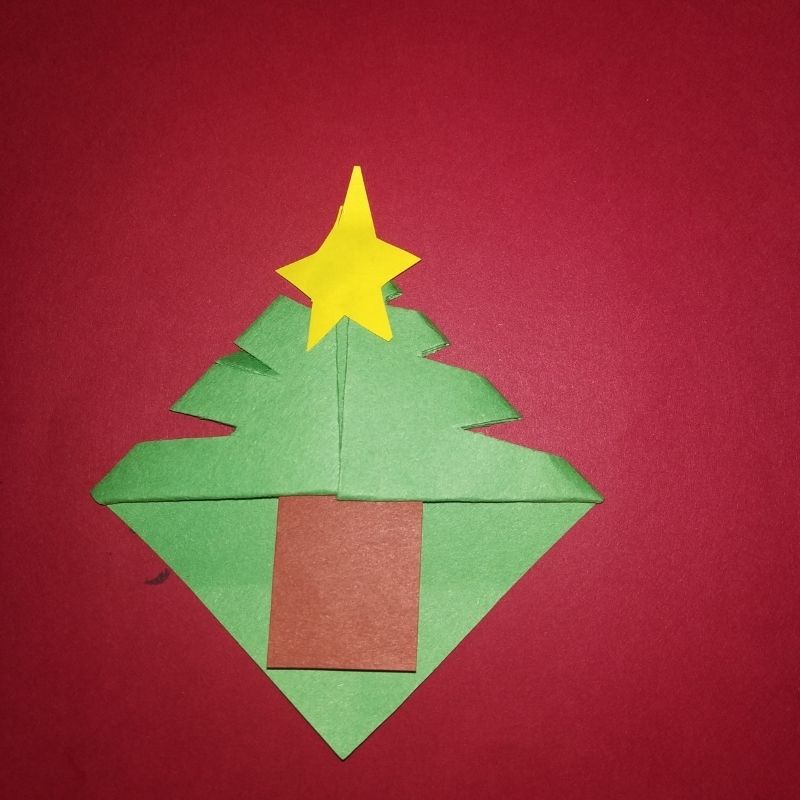
- Your beautiful Christmas tree corner bookmark is now ready.
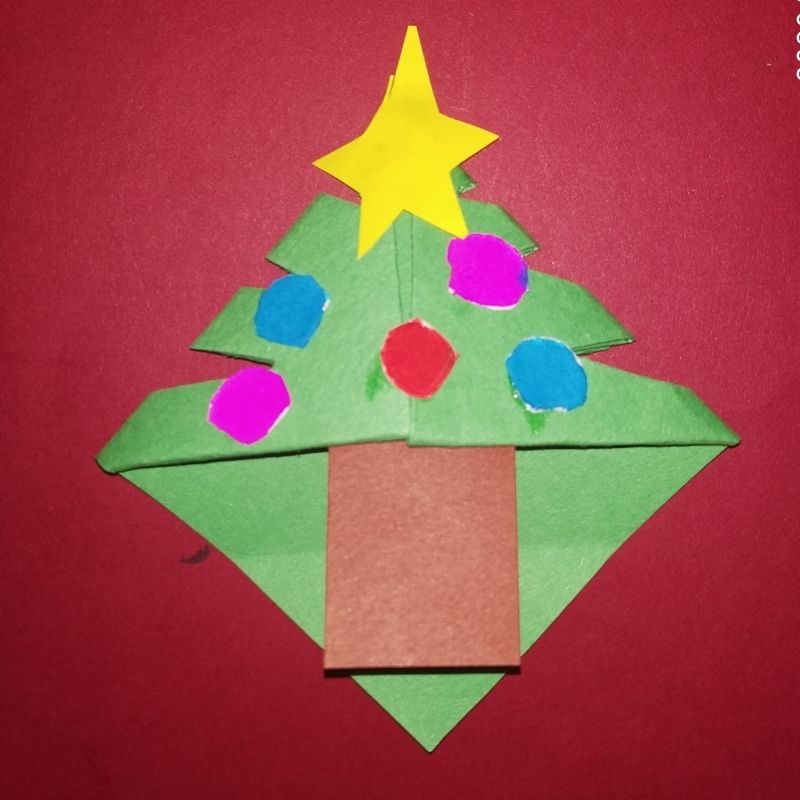
- Finally, stick colourful polka dots or small cut circles to make it look more attractive decorated and laden with ornaments.
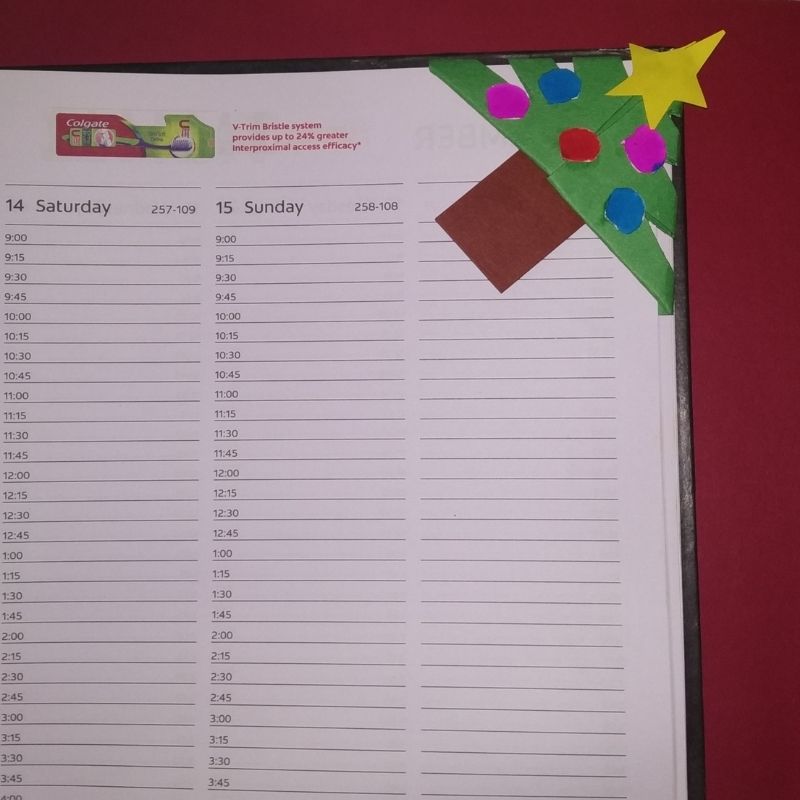
Enjoy kids!



Be the first one to comment on this story.