We love colourful butterflies. They fly free and move from one flower to another. It’s an amazing sight to see colourful butterflies flying in flowerbeds, gardens and open skies. They simply look adorable. Today let’s make one such amazing butterfly craft. Yes, we will make a beautiful butterfly handprint card. Gift it to your friends or loved ones.
Kids will love to see how a simple paper turned out in an amazing beautiful butterfly craft.
Follow the steps to know how to make butterfly handprint card.
Materials Required to Make Butterfly Handprint Card
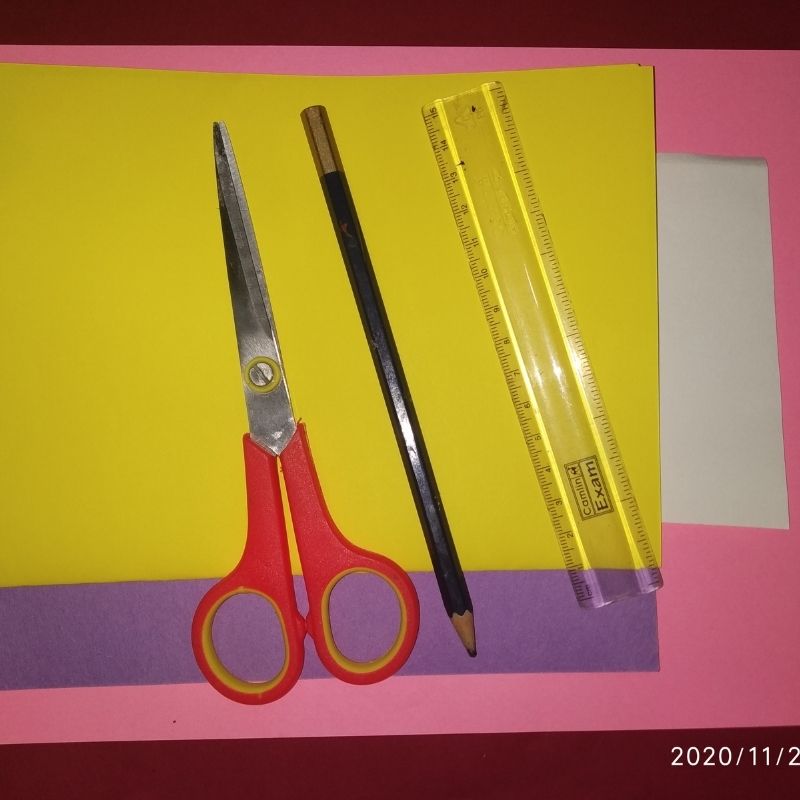
- White paper
- Pink paper
- Yellow paper
- Purple paper
- Sketch pens
- Pencil
- Scissors
- Glue
How to Make Butterfly Handprint Card Step by Step
- Take a pink paper and draw handprint on it.
- You need two handprints so fold the sheet into half and cut the handprints.
- Now you will have two pink handprints ready.
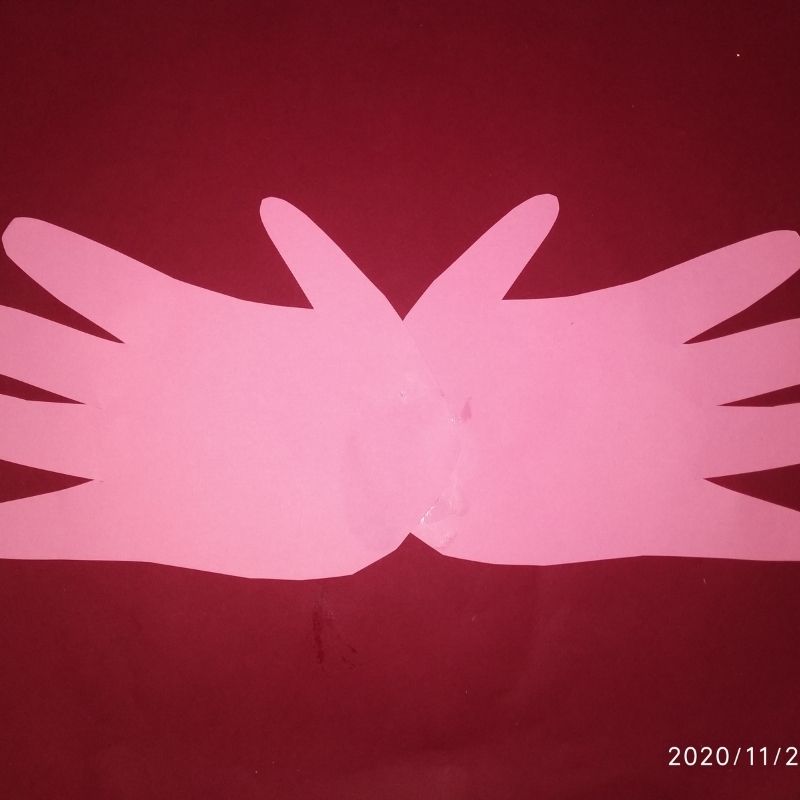
- Next, stick these two handprints sideways to each other in the middle to form two wings of the butterfly.
- Next, take a yellow sheet of paper and draw the head and the body of the butterfly.
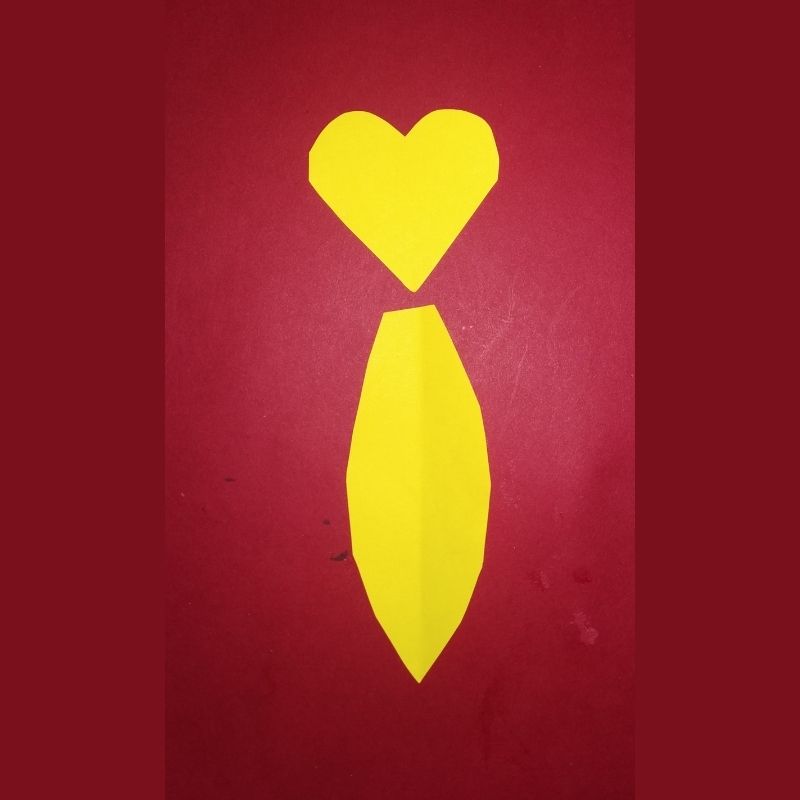
- Stick them in the middle where the two wings are stuck to each other.
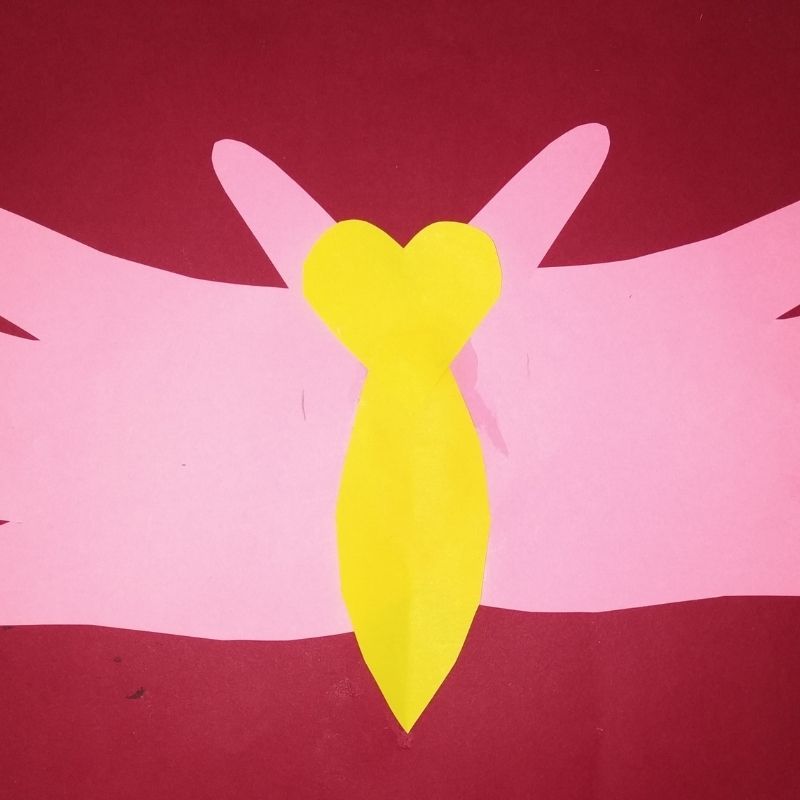
- After this step, you need to cut two small strips of pink paper and two small circles using white paper.
- Two small pink strips would serve as the antenna and the two small white circles would serve as the eyes.
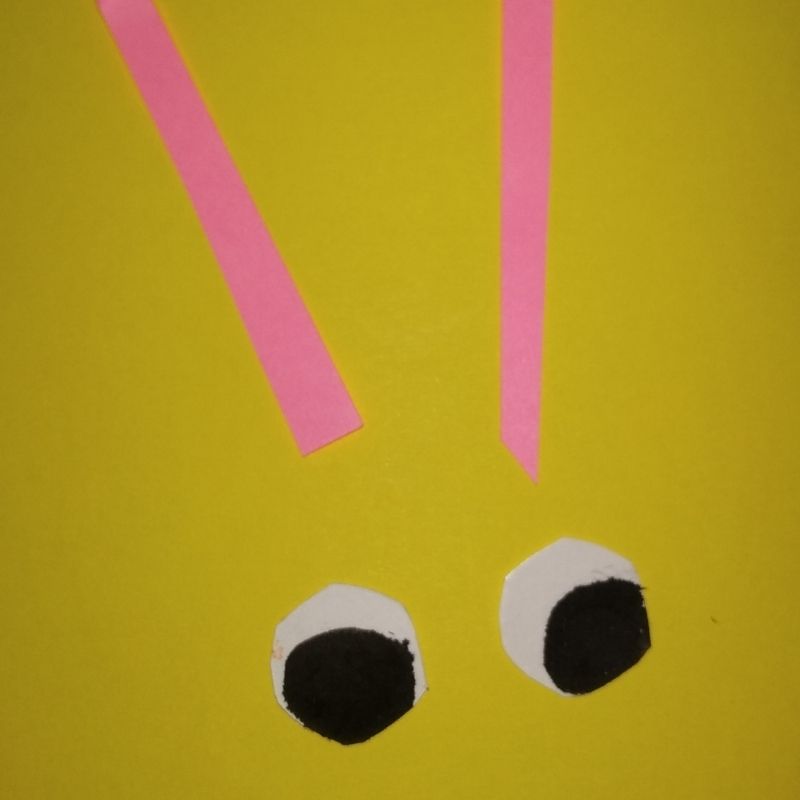
- Stick them on the head portion
- Next, add details to the eye portion and smile line using a black sketch pen.
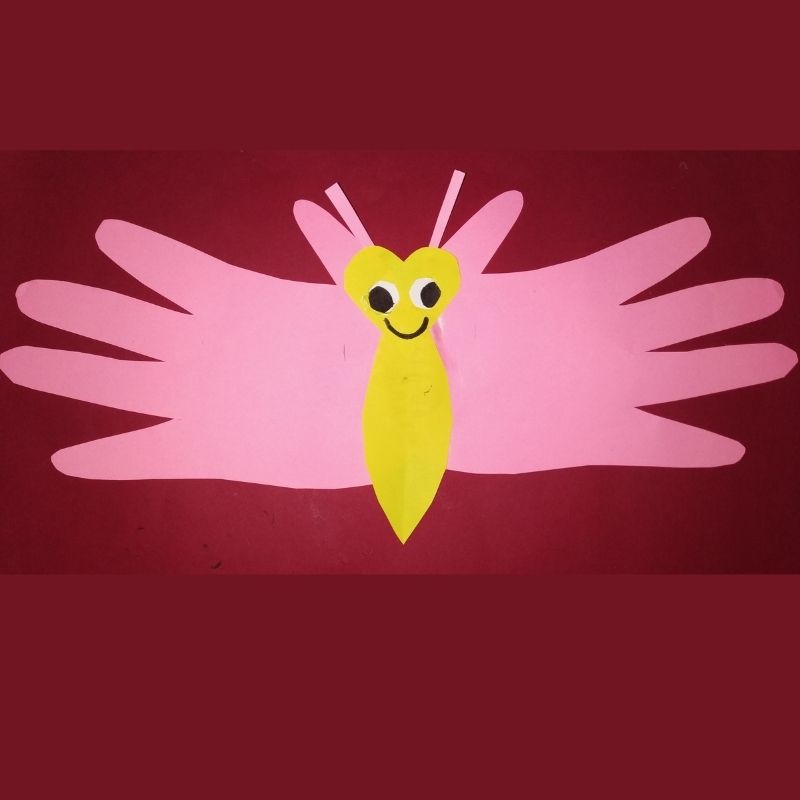
- Now take a purple sheet of paper and draw small circles out of it.
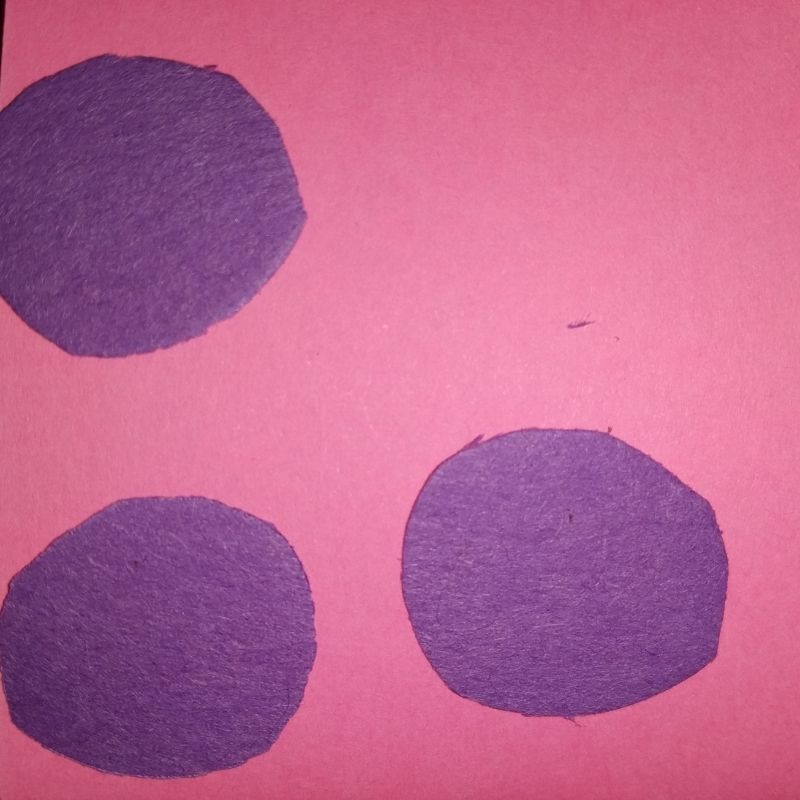
- Stick the polka dots on the wings of the butterfly.
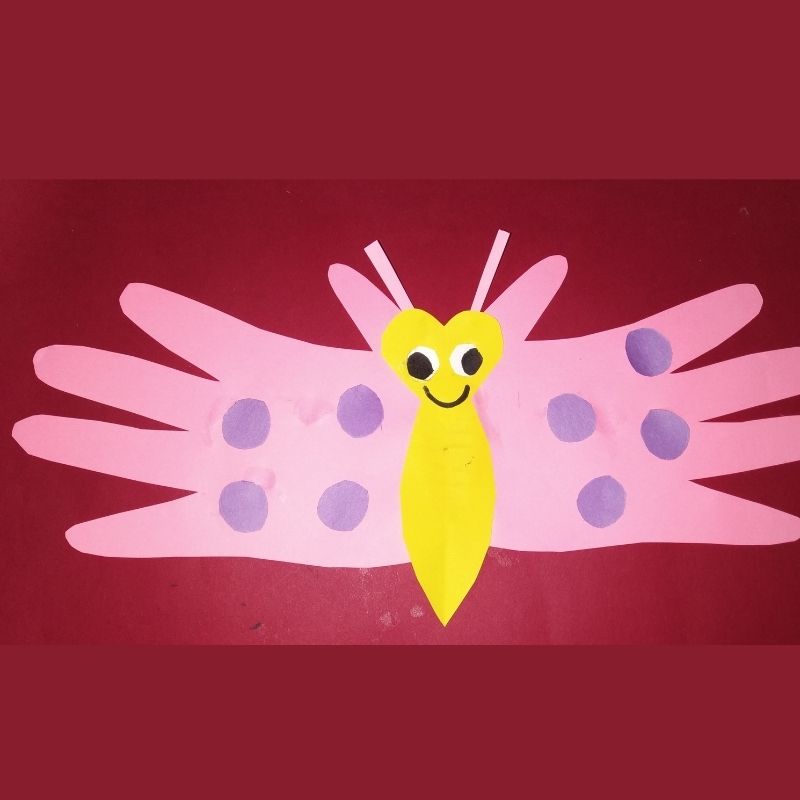
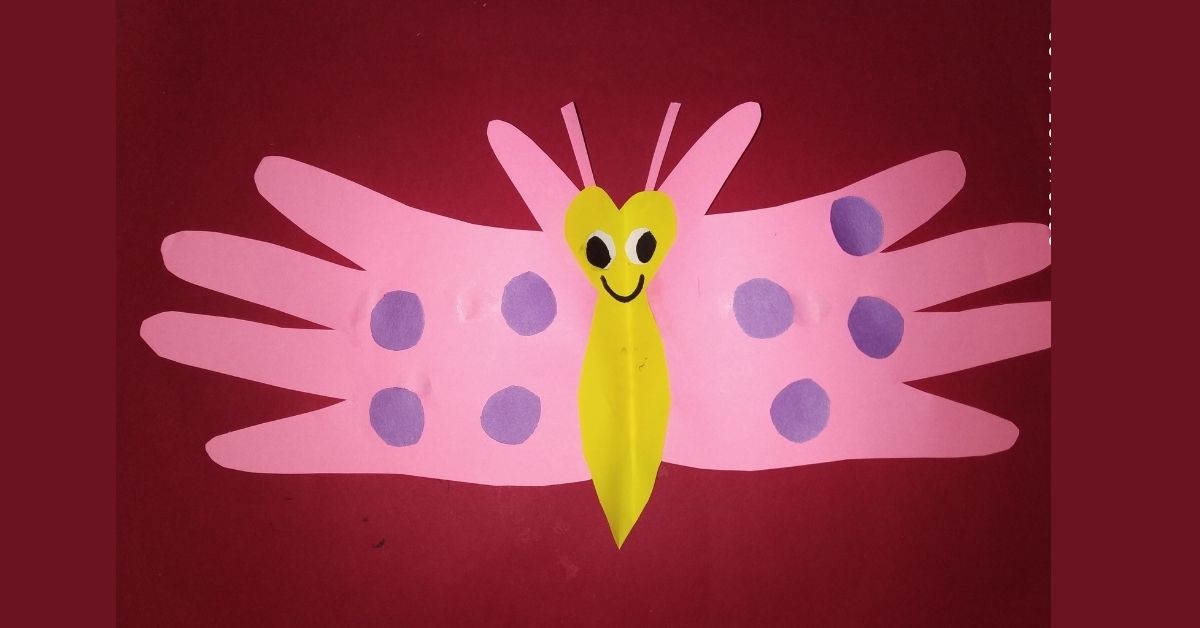
- That’s it your butterfly handprint card is now ready.
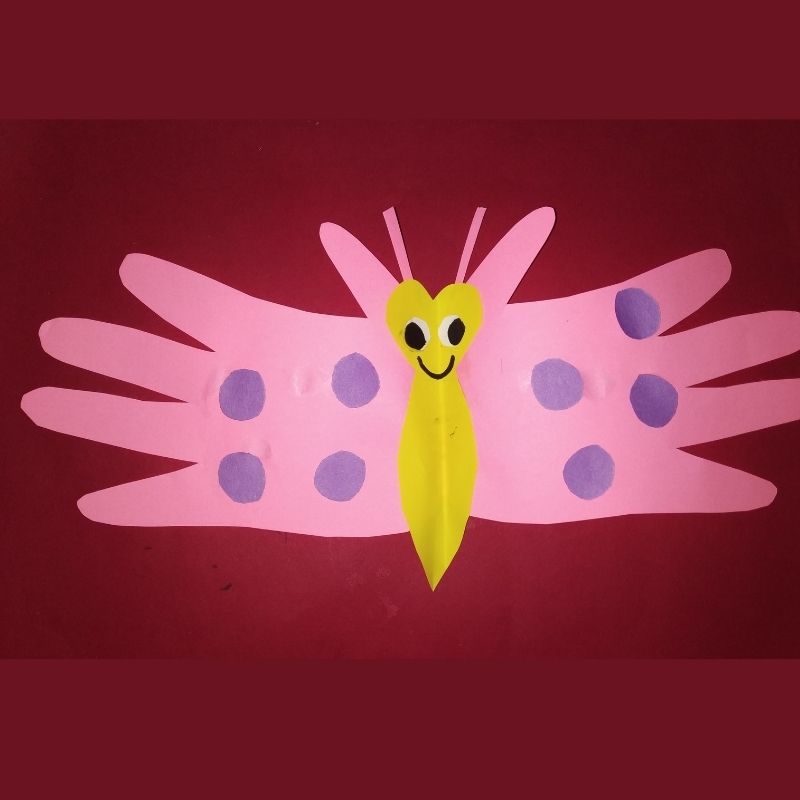
Enjoy kids!




Be the first one to comment on this story.